Bamboo Tiger Scrimshaw

Bamboo Tiger Finished
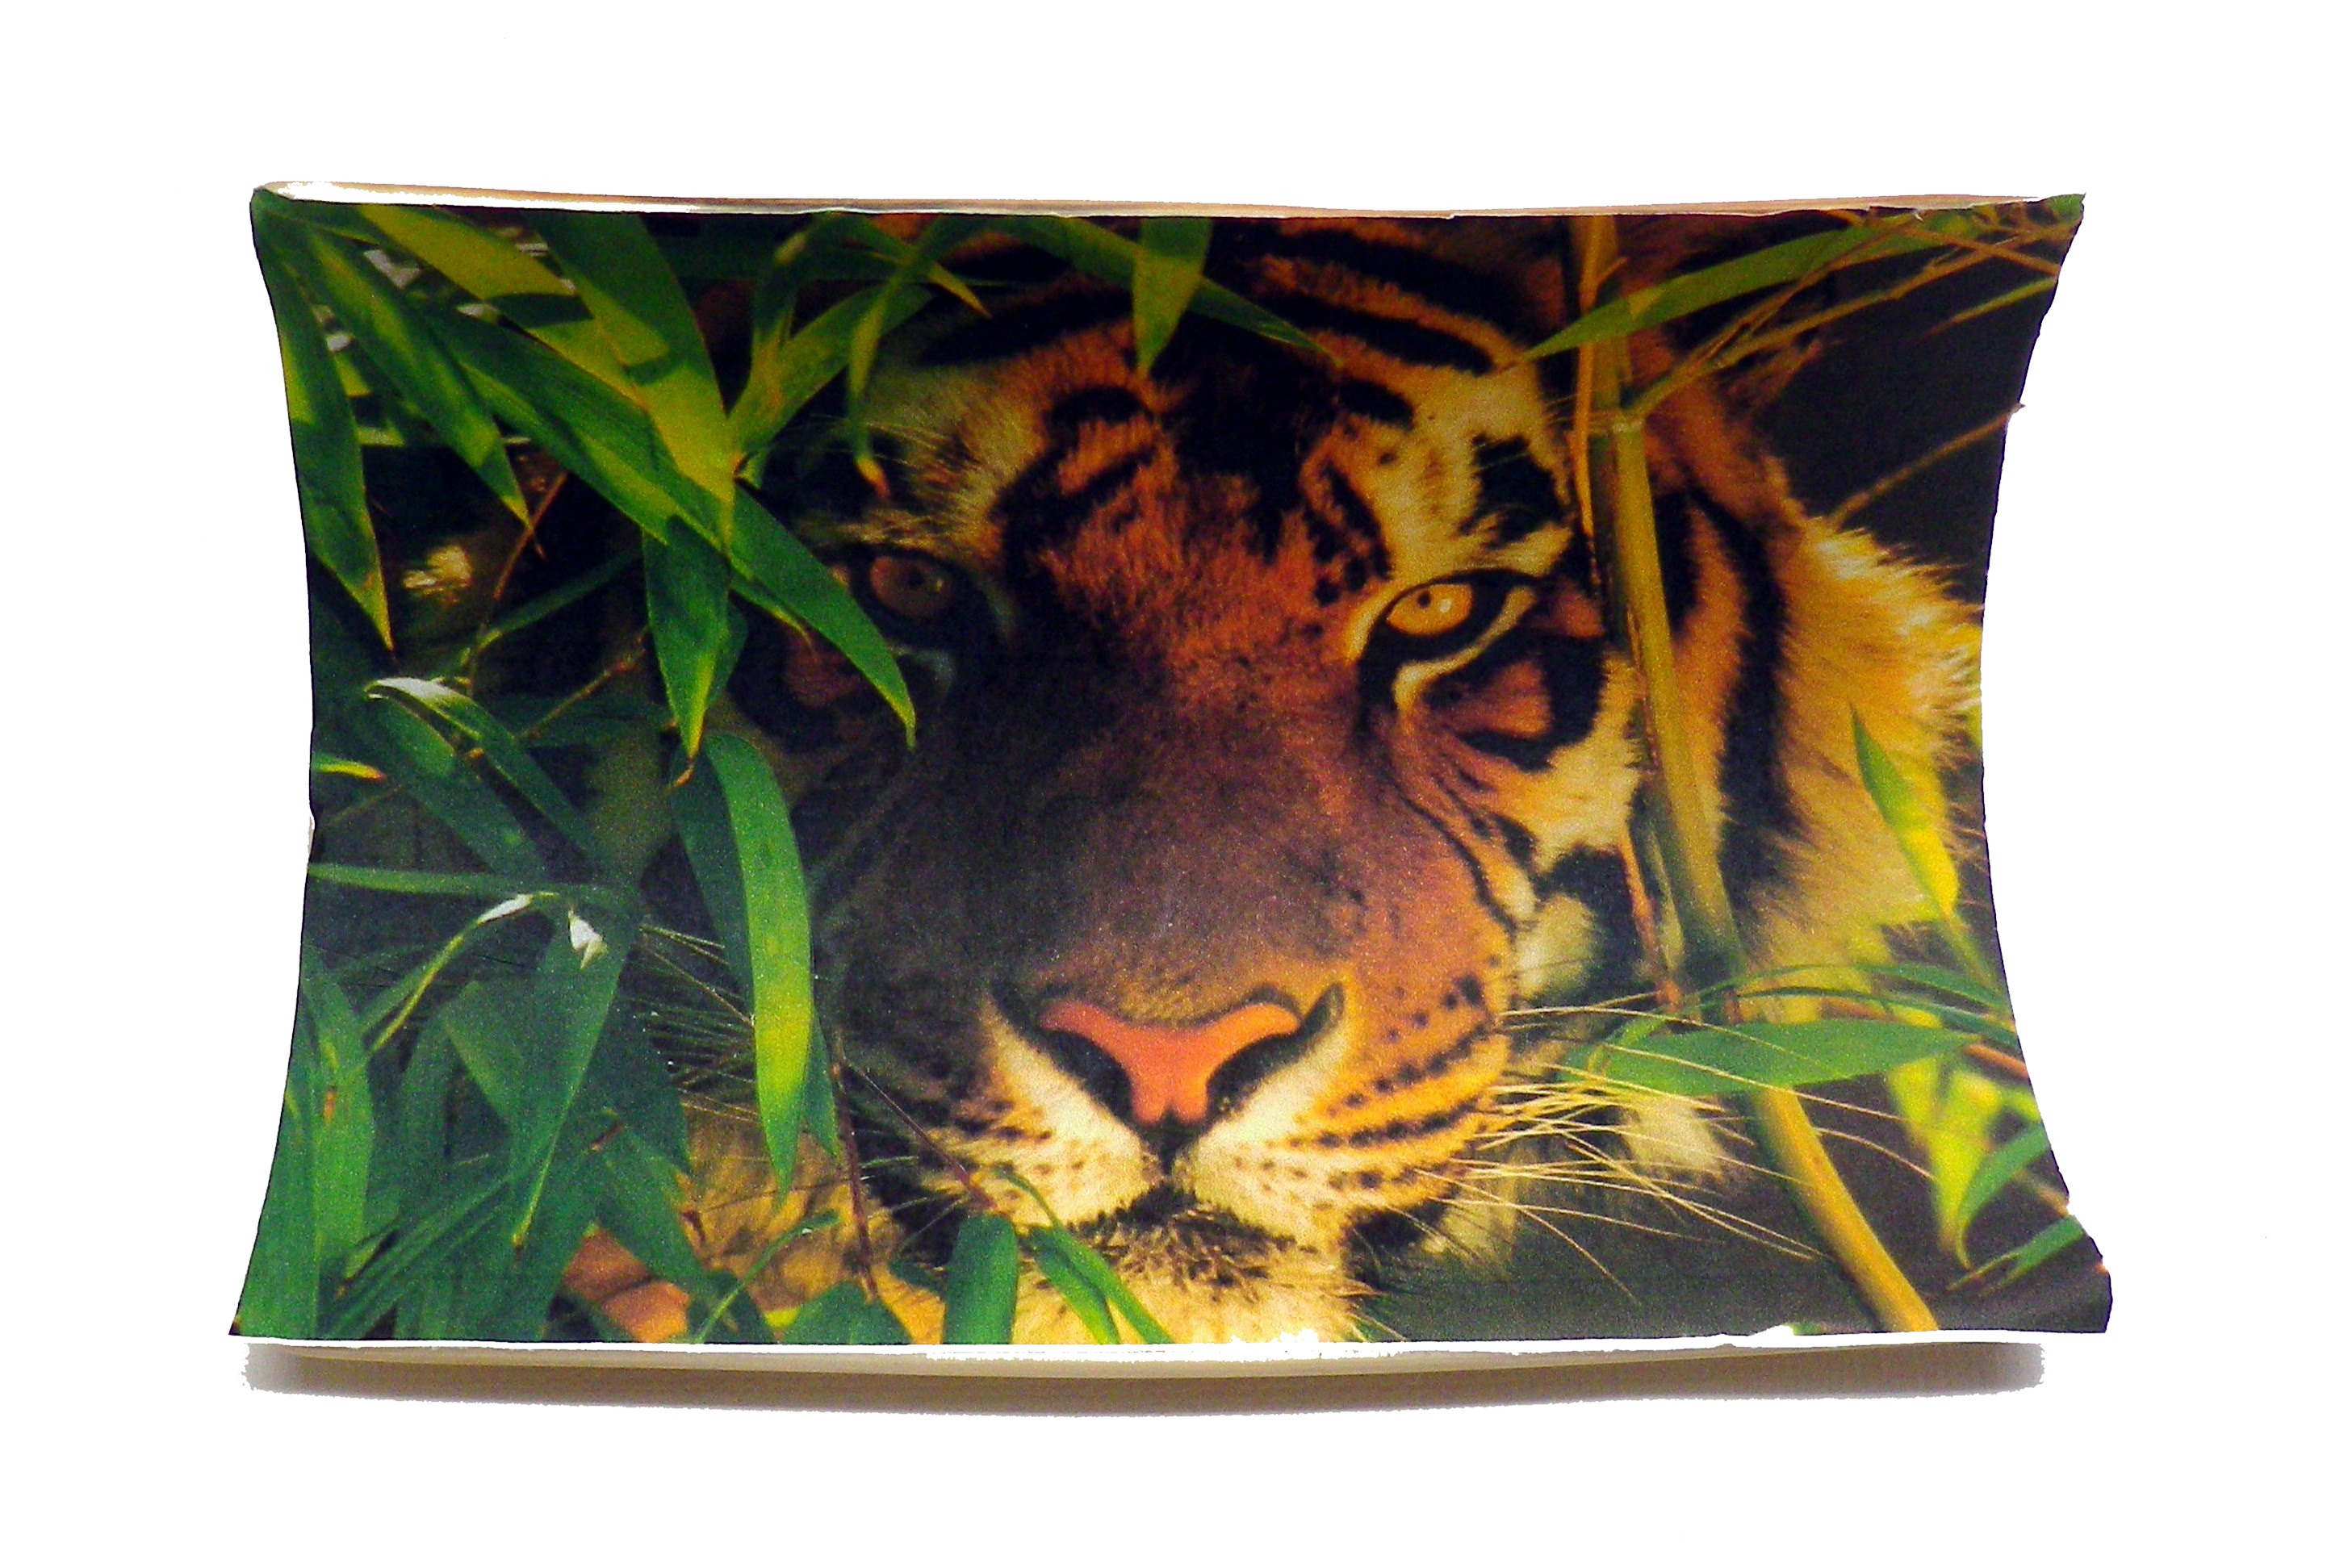
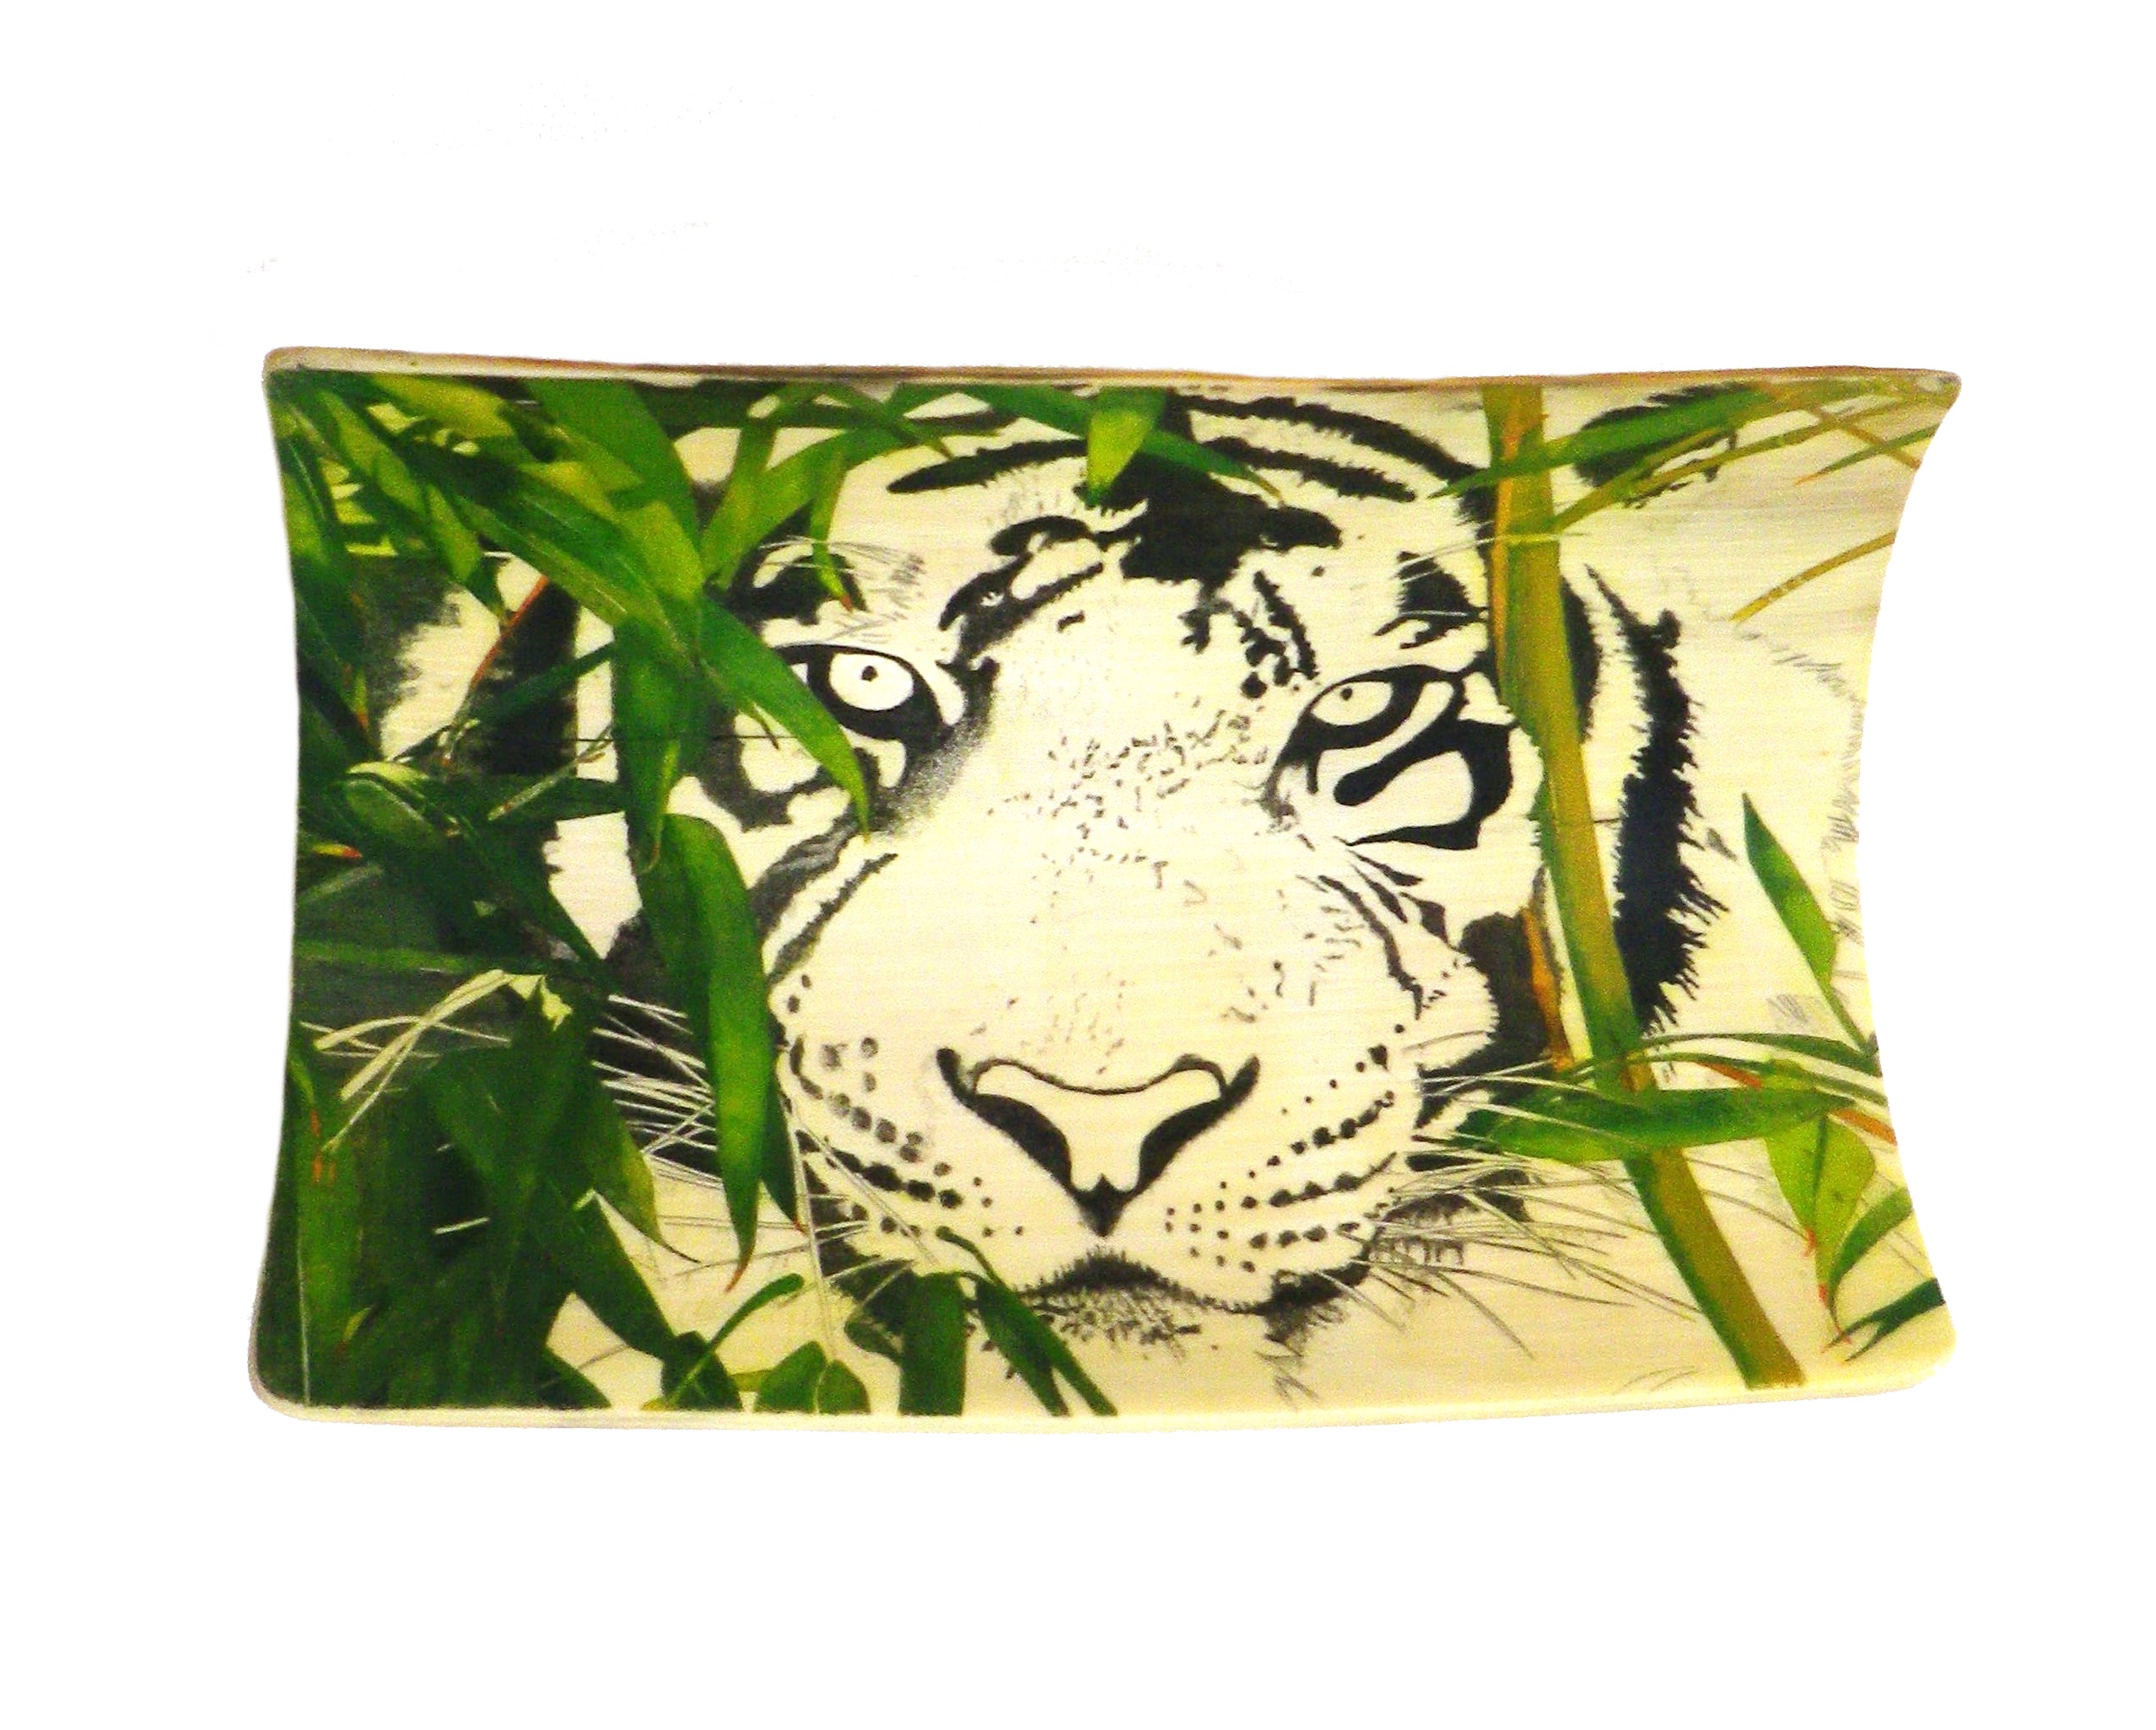
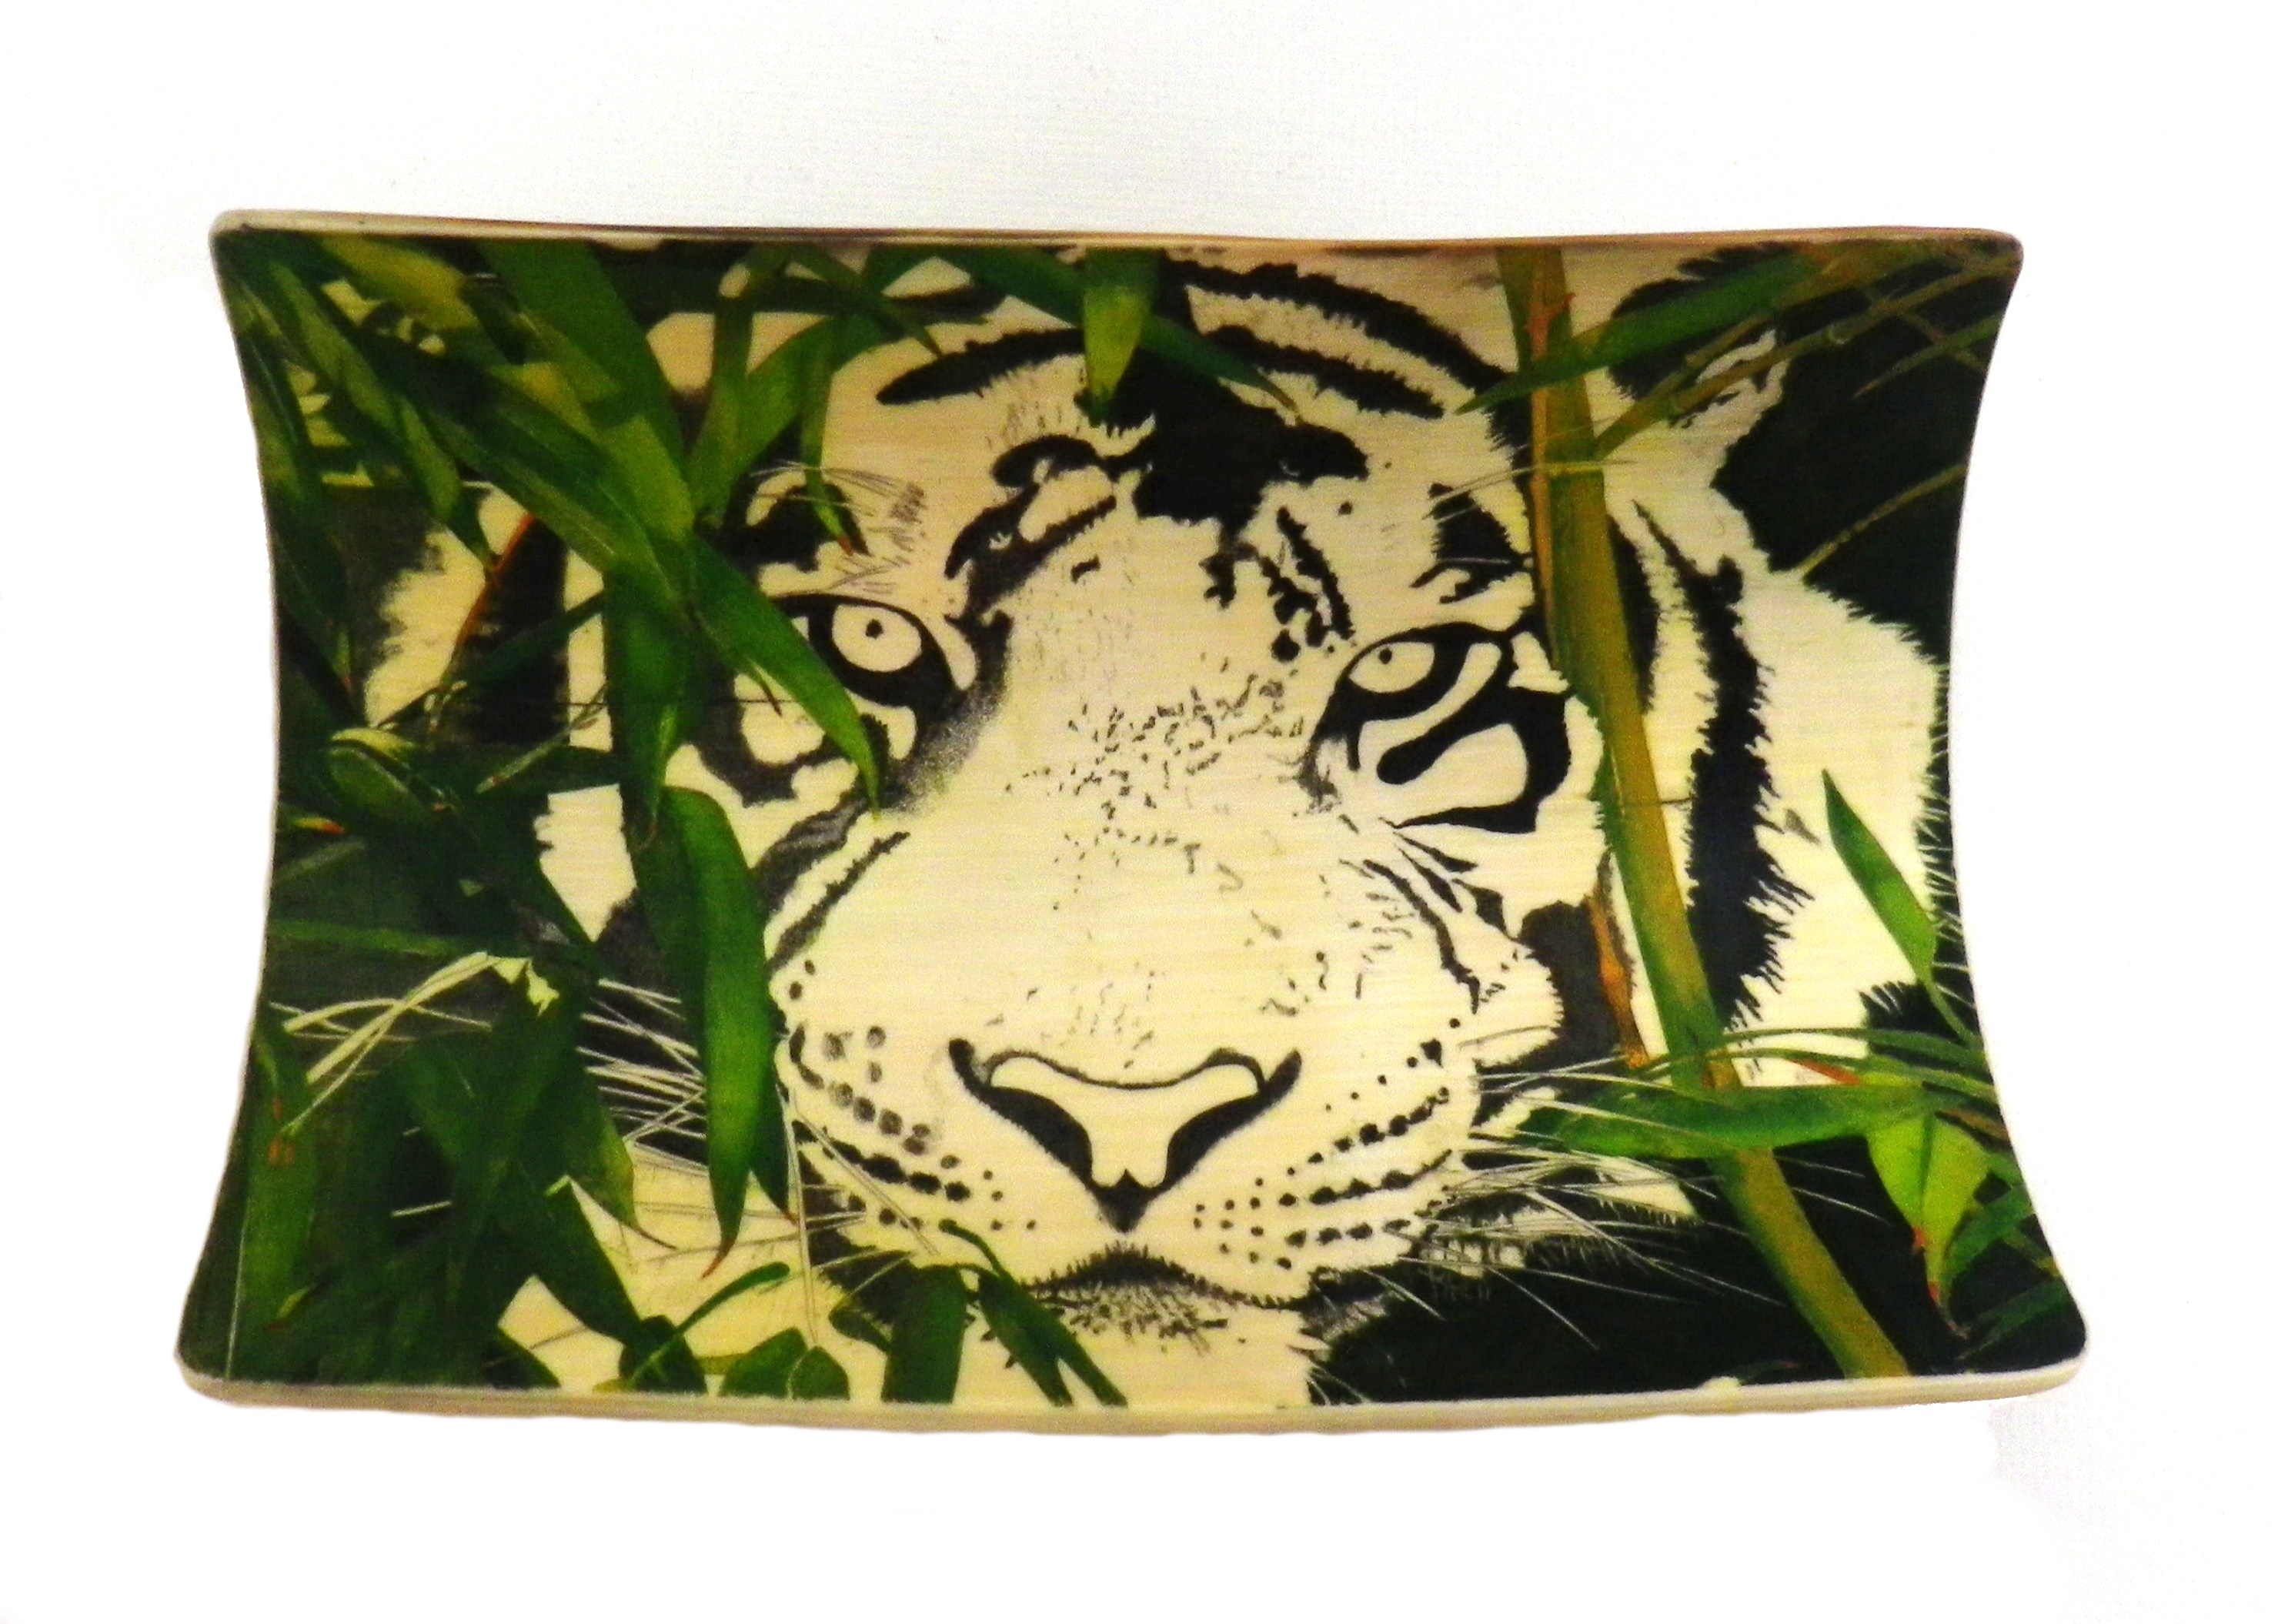
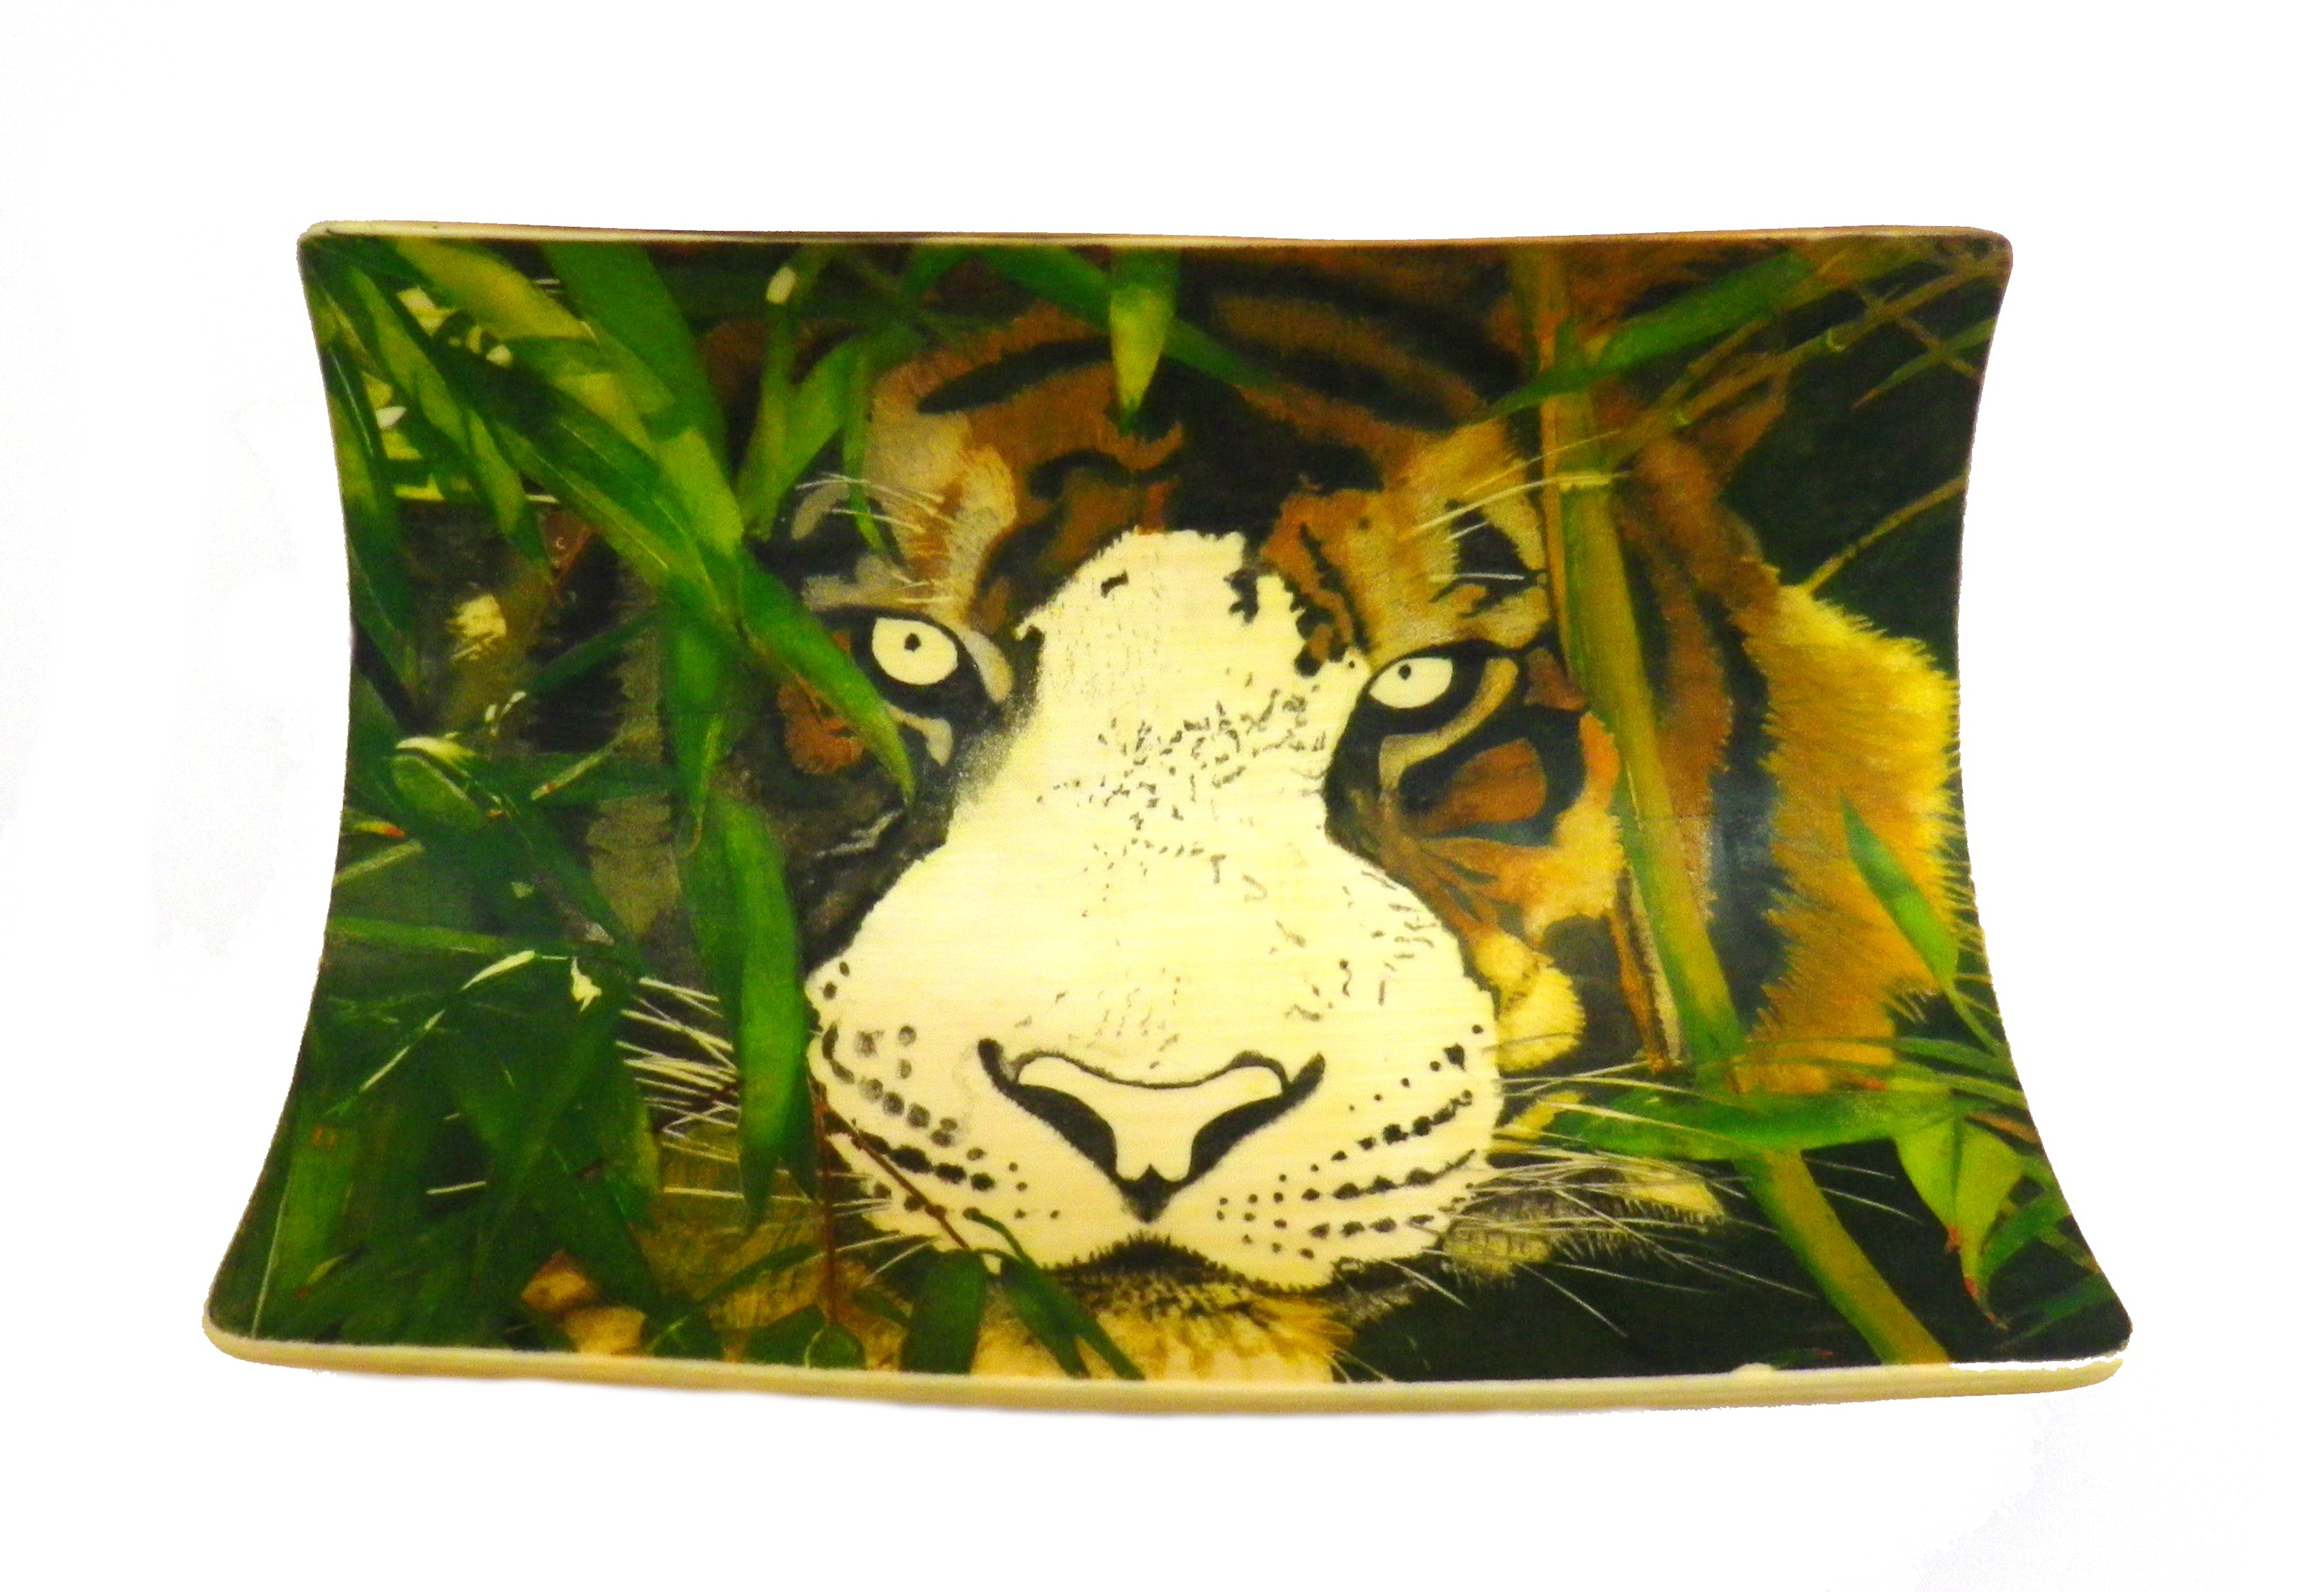
I love this picture of the Tiger looking out from behind the bamboo. The orange and black of the tigers face contrast nicely with the green bamboo leaf border.
Step 1 – 21/7/15
The Mammoth ivory weighs 91 grams and is 15cm wide x 12cm high around the curve.
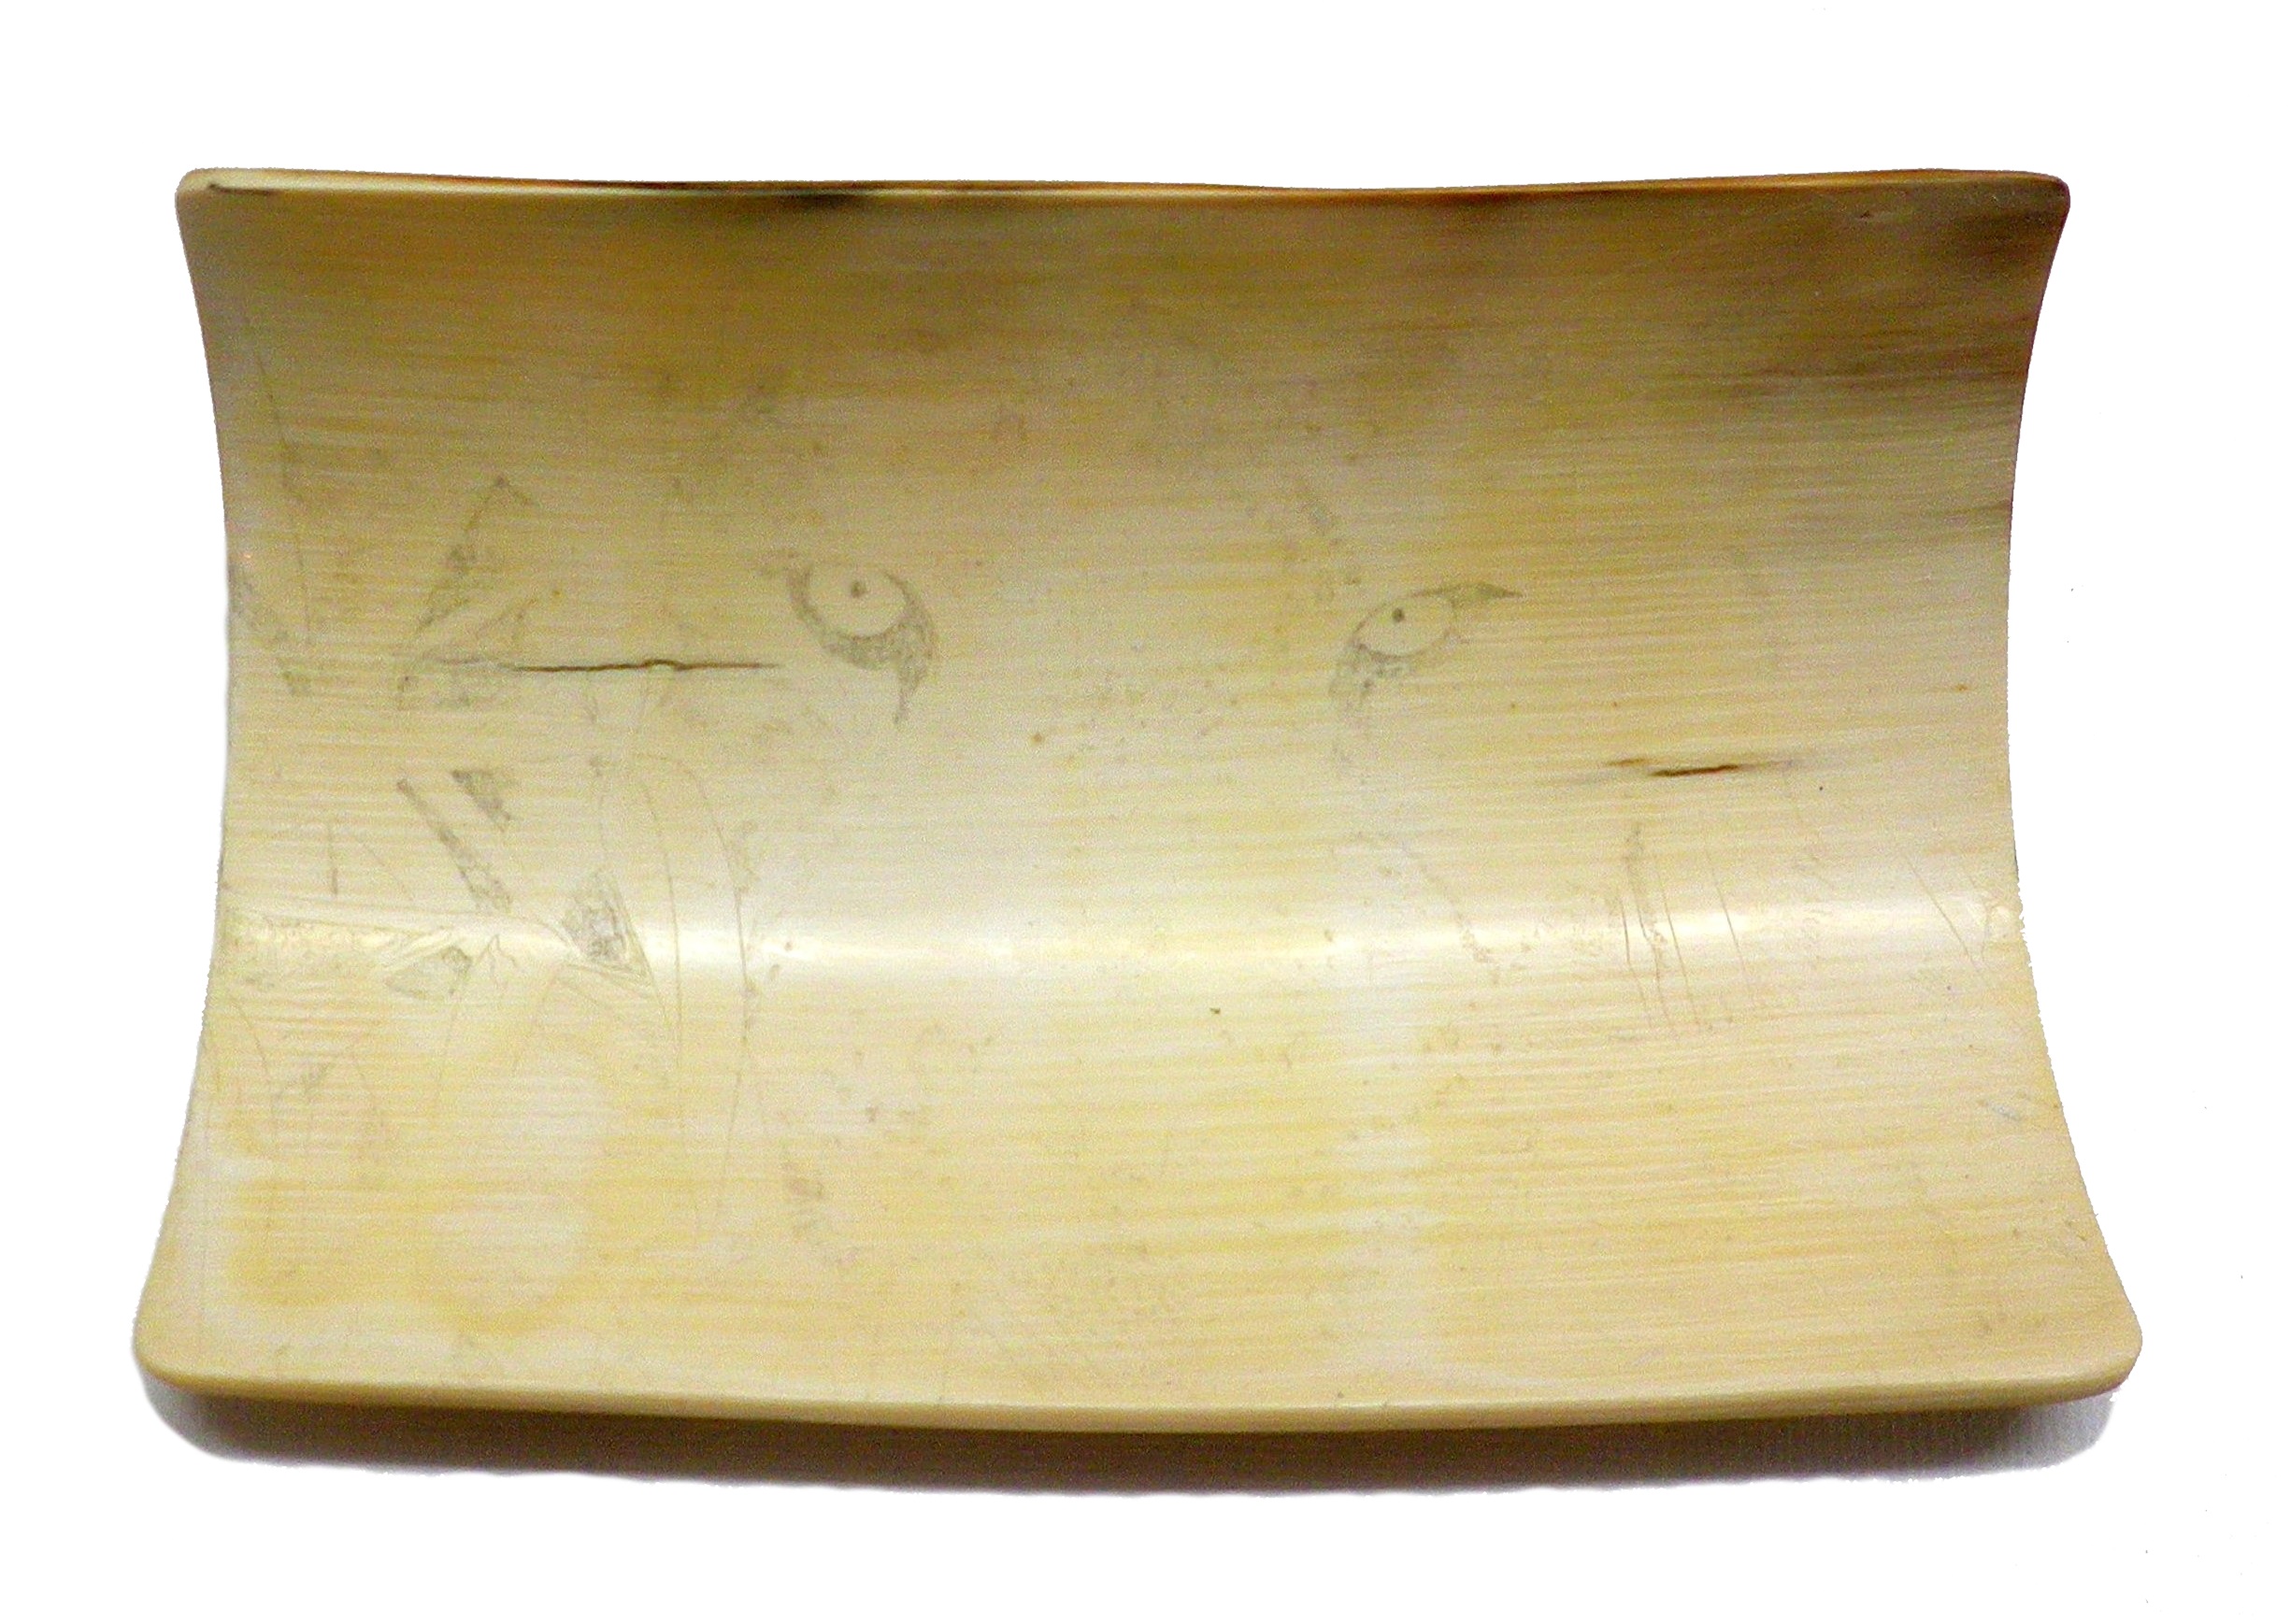
When I polished the ivory, the outside was brown and discoloured from the fossilisation process. When I sanded the inside curve however, it came back to a creamy white colour. Because of this, I decided to scrimshaw the inside curve like I did for the frog scrimshaw on the home page. It’s a little harder to work but it is a beautiful piece of mammoth ivory.
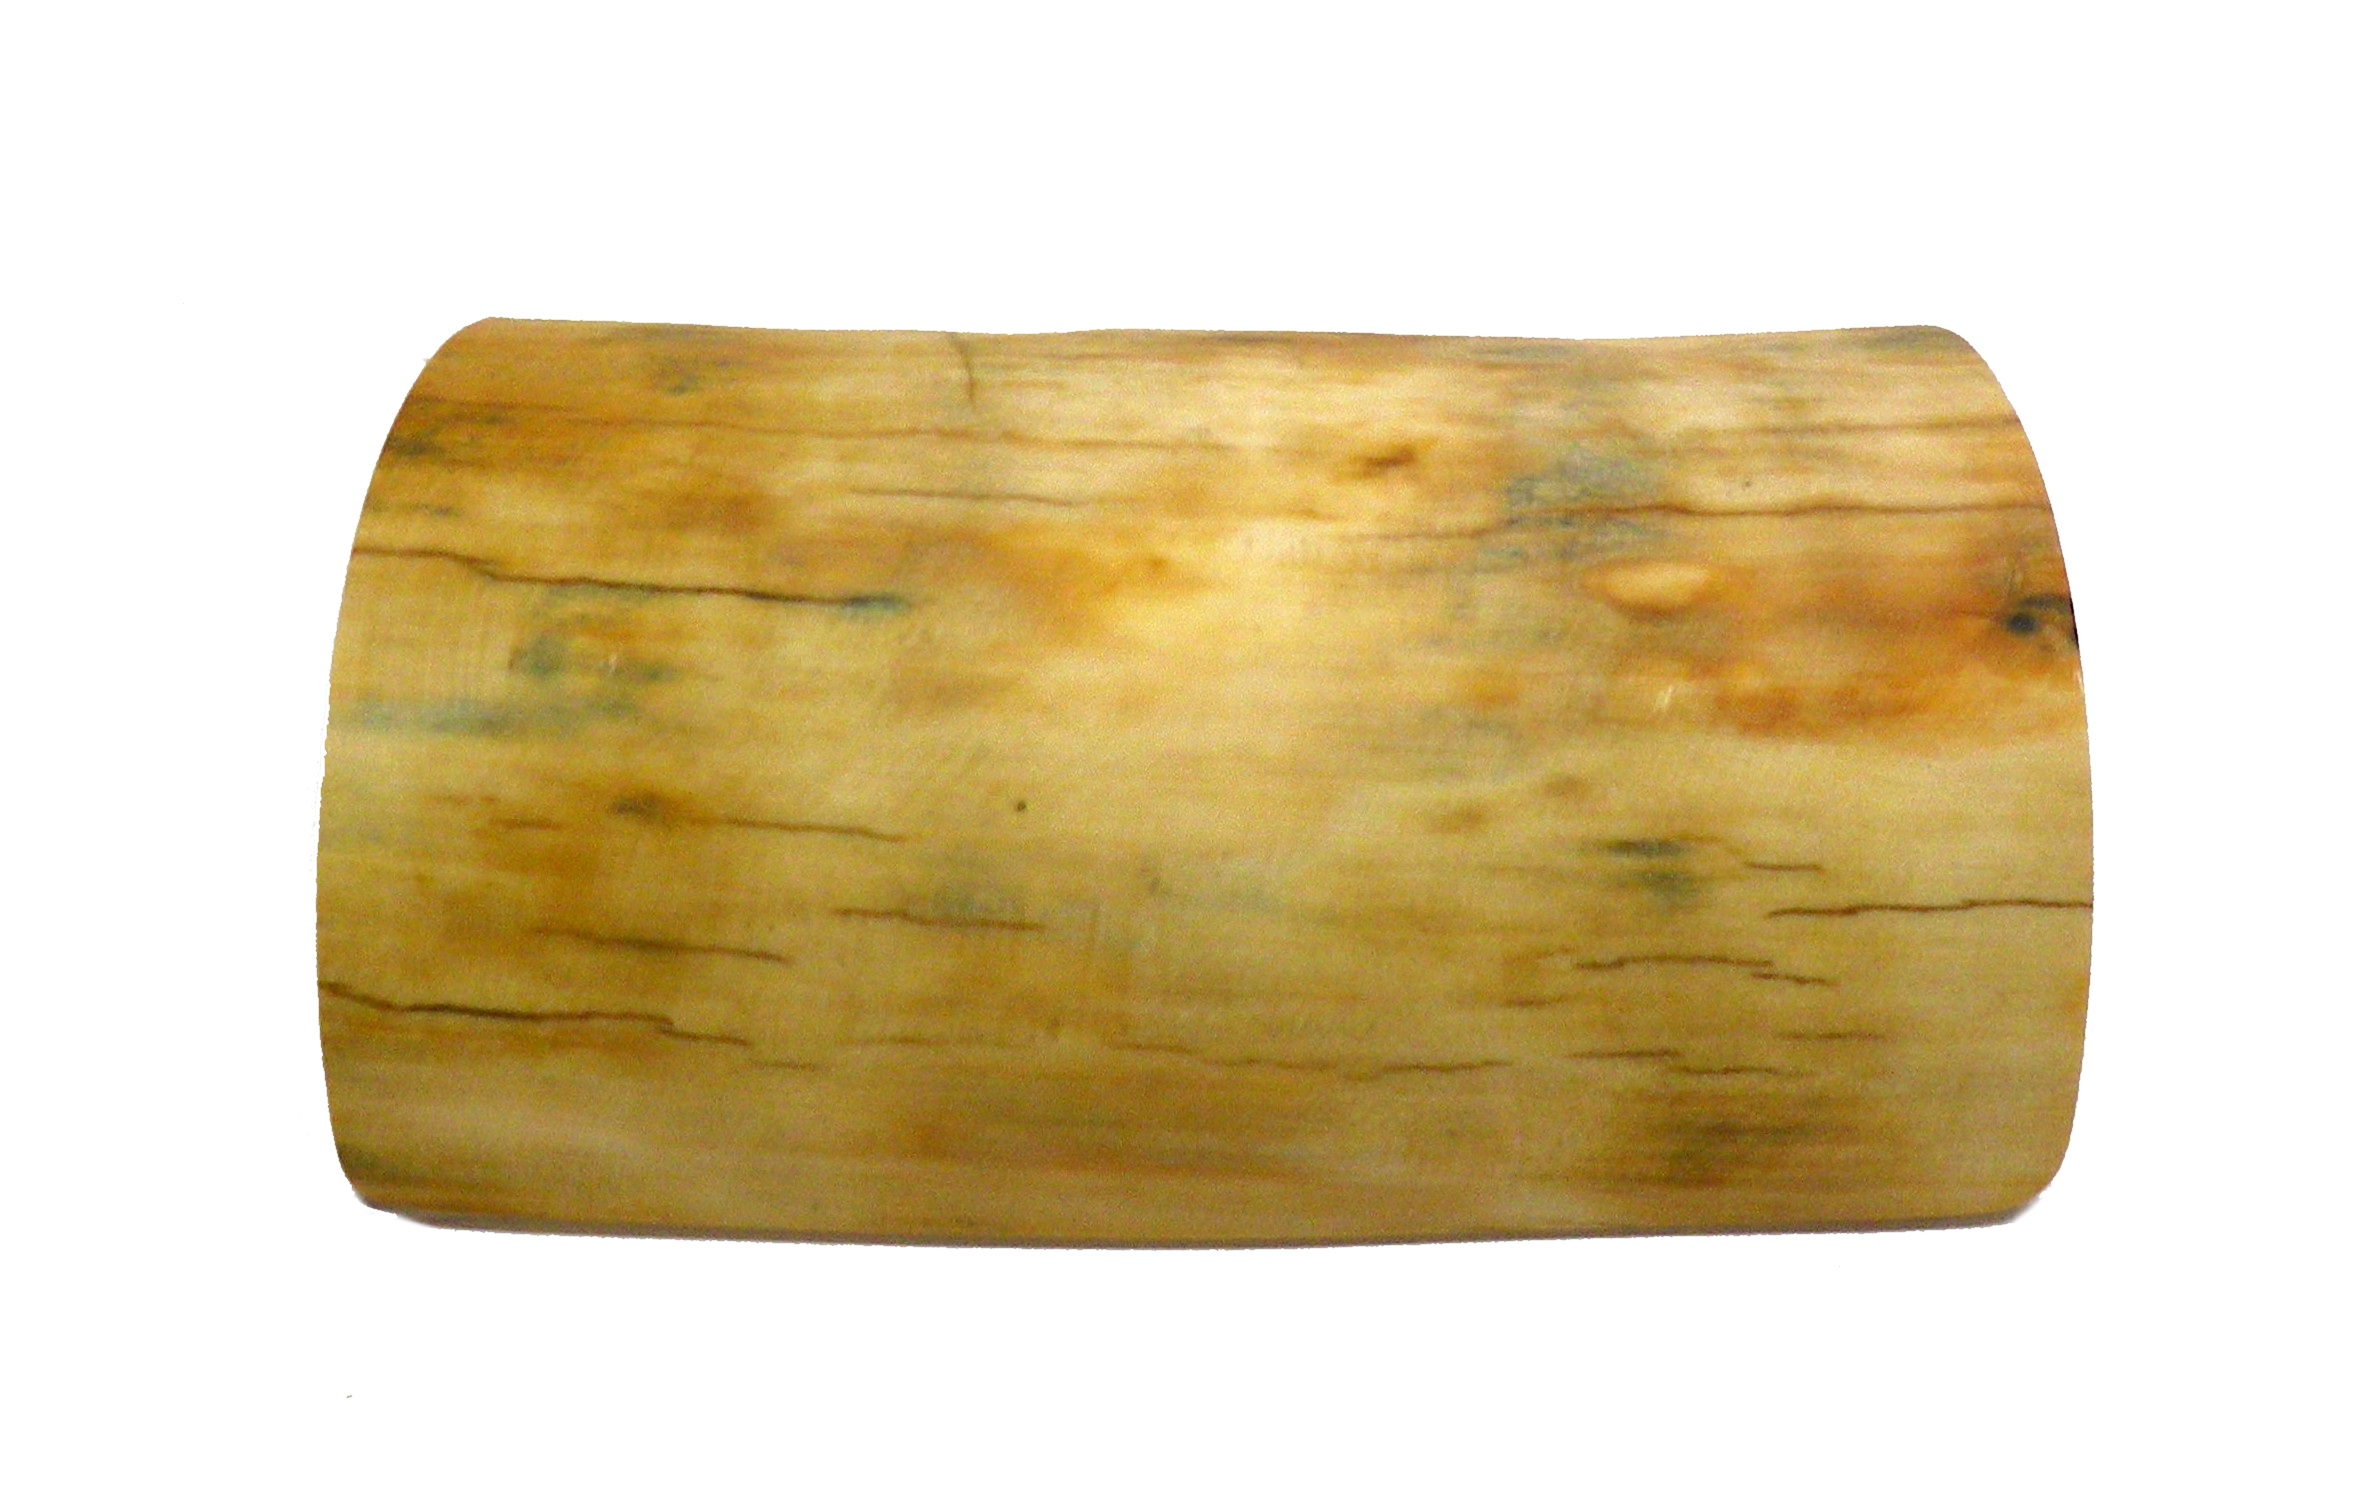
Outside of Mammoth Ivory for Bamboo Tiger
This is the ivory with the tiger picture attached ready to cut out the outline and some detail.
Bamboo Tiger Scrimshaw ready to cut out.
After several hours, the key features and some details have been cut out.
Bamboo Tiger Scrimshaw With Basic Outline
After the black oil paint is applied, you can start to see the basic outline of the scrimshaw. To make the initial scrimshawing phase easier, it’s best to cut as much detail as you can while the picture is attached to the ivory.
Next, its time to start scrimshawing. I’ll begin with the black areas.
Bamboo Tiger Scrimshaw With Basic Outline and Some Details
Step 2 – 23/7/15
Now that all the black areas are finished, it’s time to start on the background.

Bamboo Tiger Scrimshaw With Black Areas Added
Step 3 – 26/7/15
This picture shows the stippling process under high magnification.

Bamboo Tiger Scrimshaw Close Up Stippling
Some of the bamboo leaves to the left of the head are finished. This has been a major undertaking. Each of these leaves has taken hours of work to get right because the light filtering through adds a dappling effect. This is a perfect example of why it’s so important to find the right picture to copy.
Bamboo Tiger Scrimshaw Bamboo Leaves On Left Added
Step 3 – 27/7/15
All of the bamboo leaves to the left of the tiger are now finished. Next I’ll do the leaves and Bamboo stalks to the right.

Bamboo Tiger Scrimshaw All Bamboo Leaves On Left Added
Step 4 – 28/7/15
The bamboo leaves and stalks are all finished. Next I’ll work on the dark background to the right of the tiger.
Bamboo Tiger Scrimshaw Bamboo Stalk On Right Added
Step 5 – 30/7/15
The dark green of the background is finished, now its time to scrimshaw the tigers face.
Bamboo Tiger Scrimshaw Background Finished
Step 6 – 1/8/15
The face has now been started, at the speed I am going it looks like I’m about half way through the project. This scrimshaw is very time consuming, even after all these years I am still learning little things as the project goes along, this use of colour is such a challenge.

Bamboo Tiger Scrimshaw Part of Face Added
Step 7 – 3/8/15
Colour has been added to the top of the tigers head and the face is starting to come to life. I’m starting to plan ahead for the kind of base I’ll need to make; maybe silver.

Bamboo Tiger Scrimshaw Top of Head Added
Step 8 – 7/8/15
Most of the tiger’s forehead is finished. Next I’ll scrimshaw the right side of the face.

Bamboo Tiger Scrimshaw Right Side of Face Started
Step 7 – 10/8/15
The right side of the face is now fully scrimshawed and its time to finish the scrimshaw. I’ll leave the eyes and nose until last.
Bamboo Tiger Scrimshaw Right Side of Face Finished
Step 7 – 12/8/15
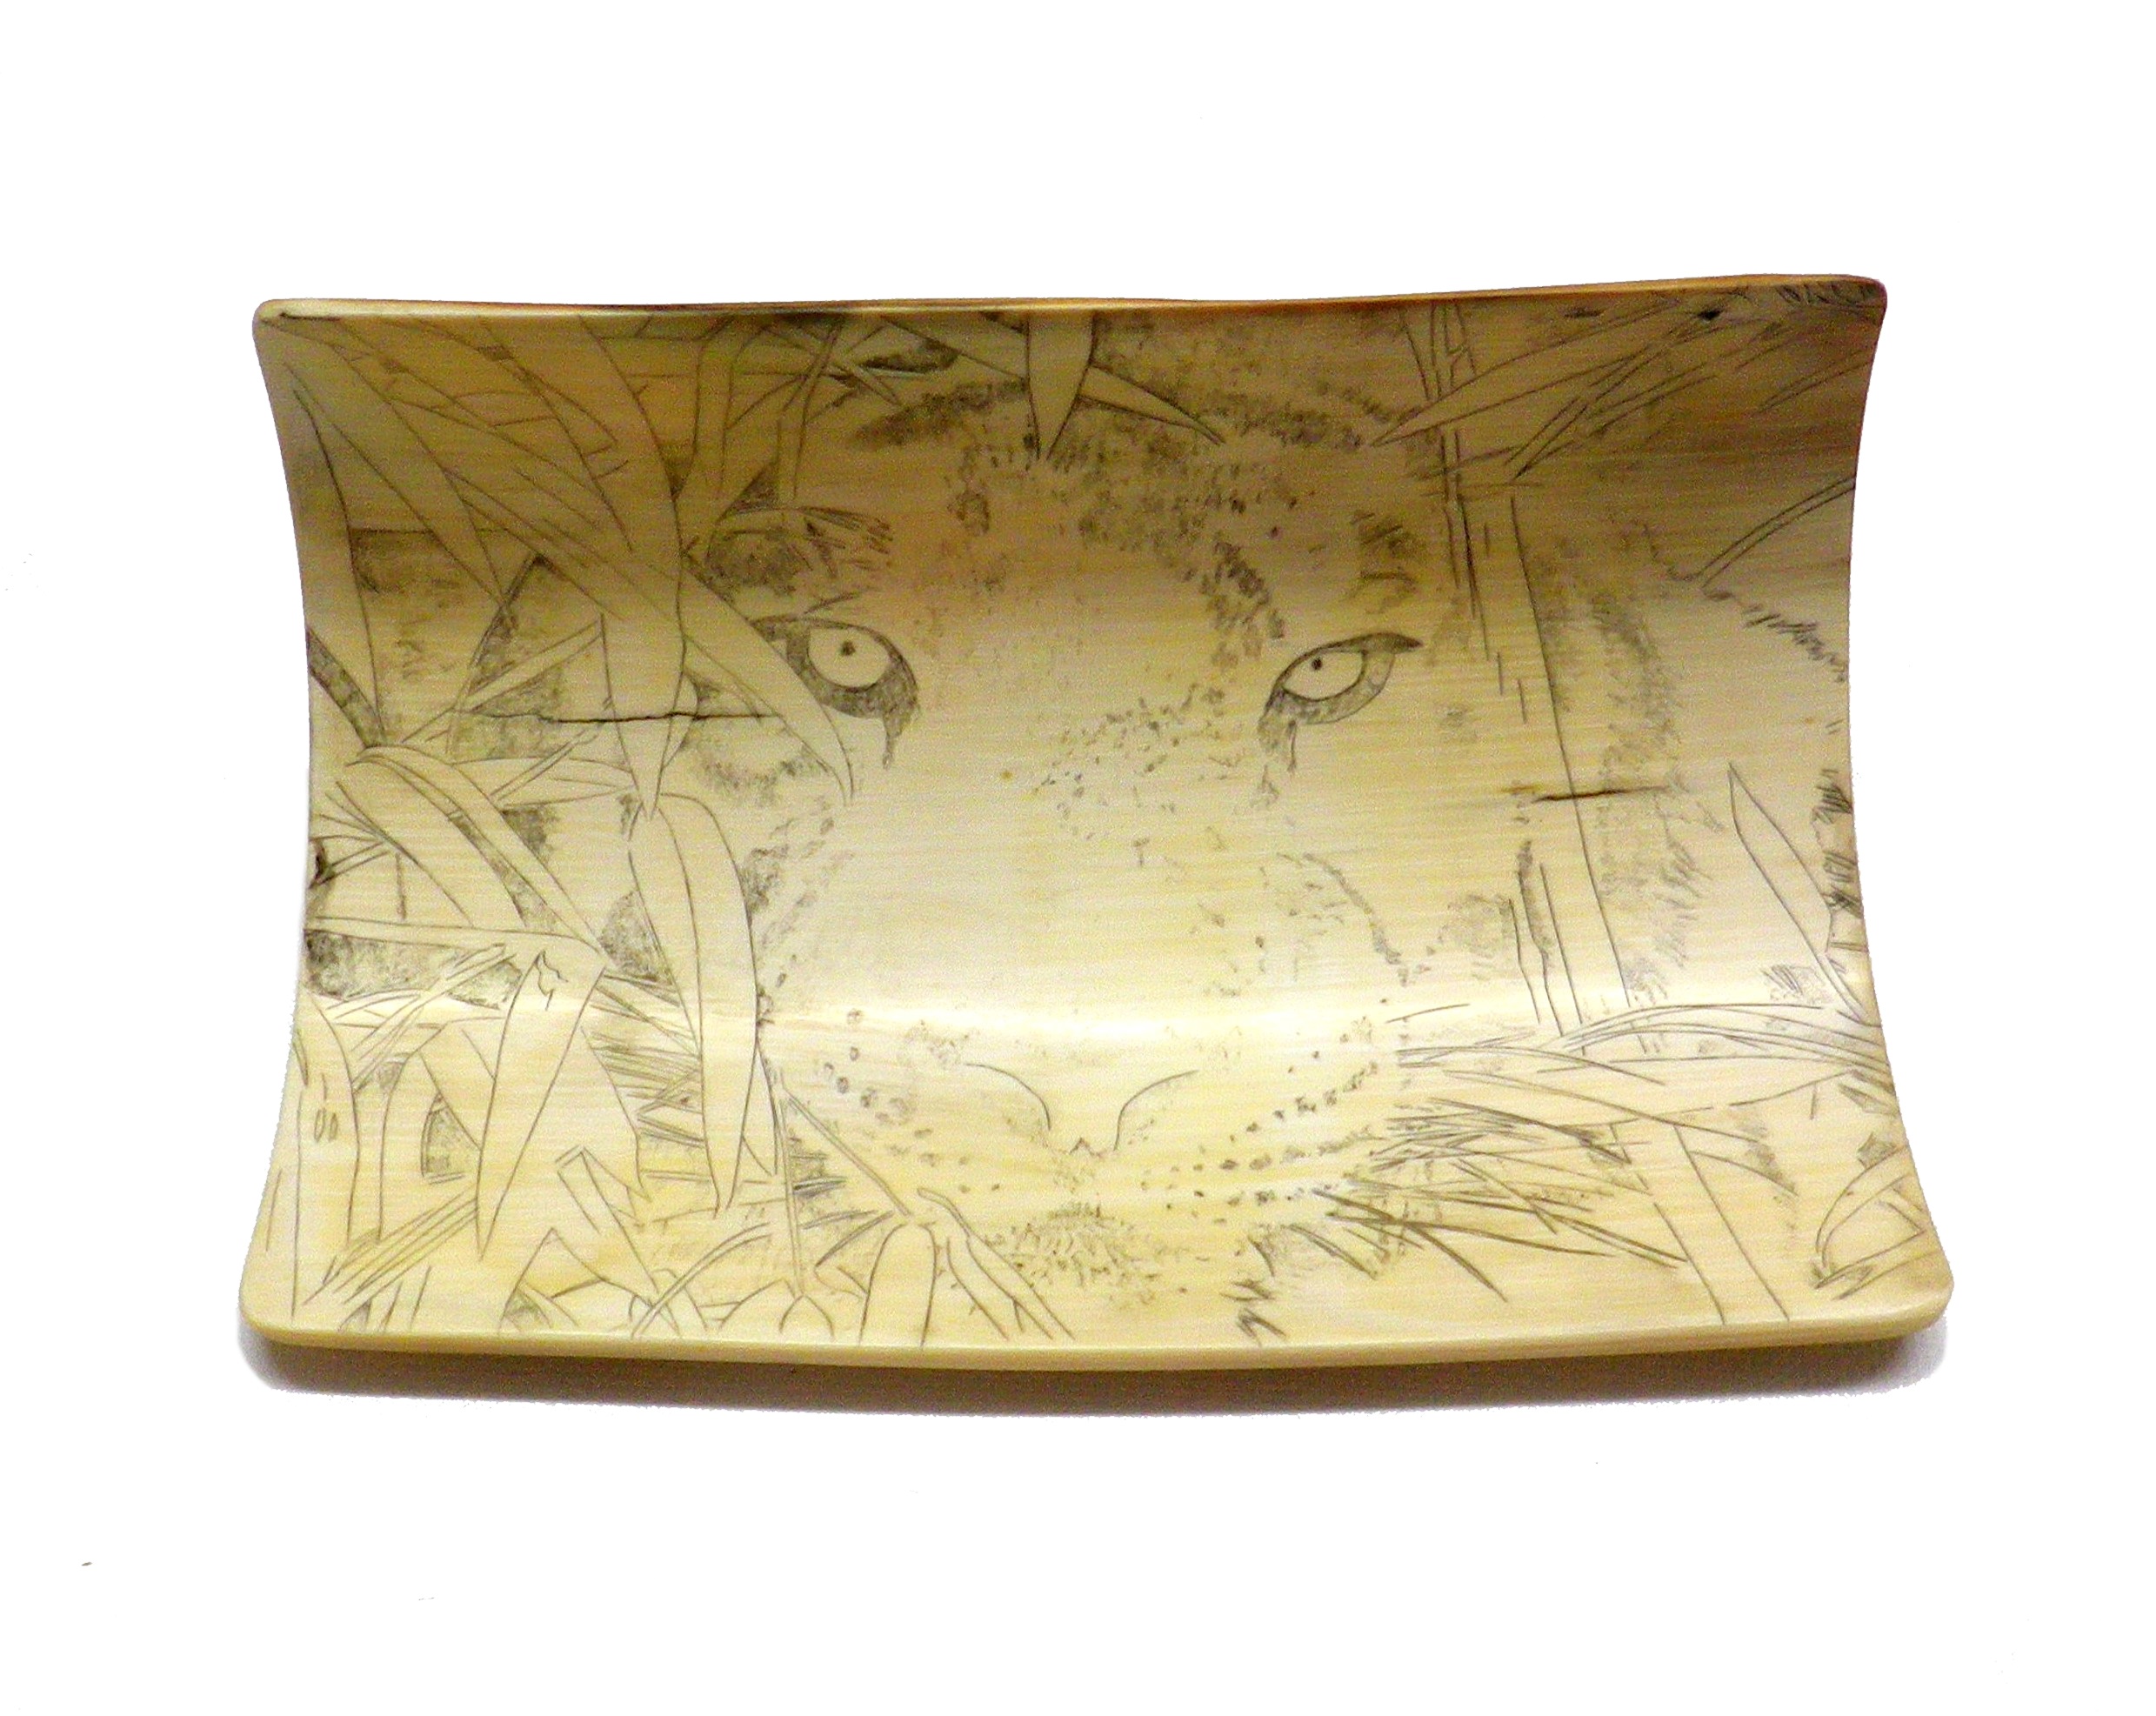
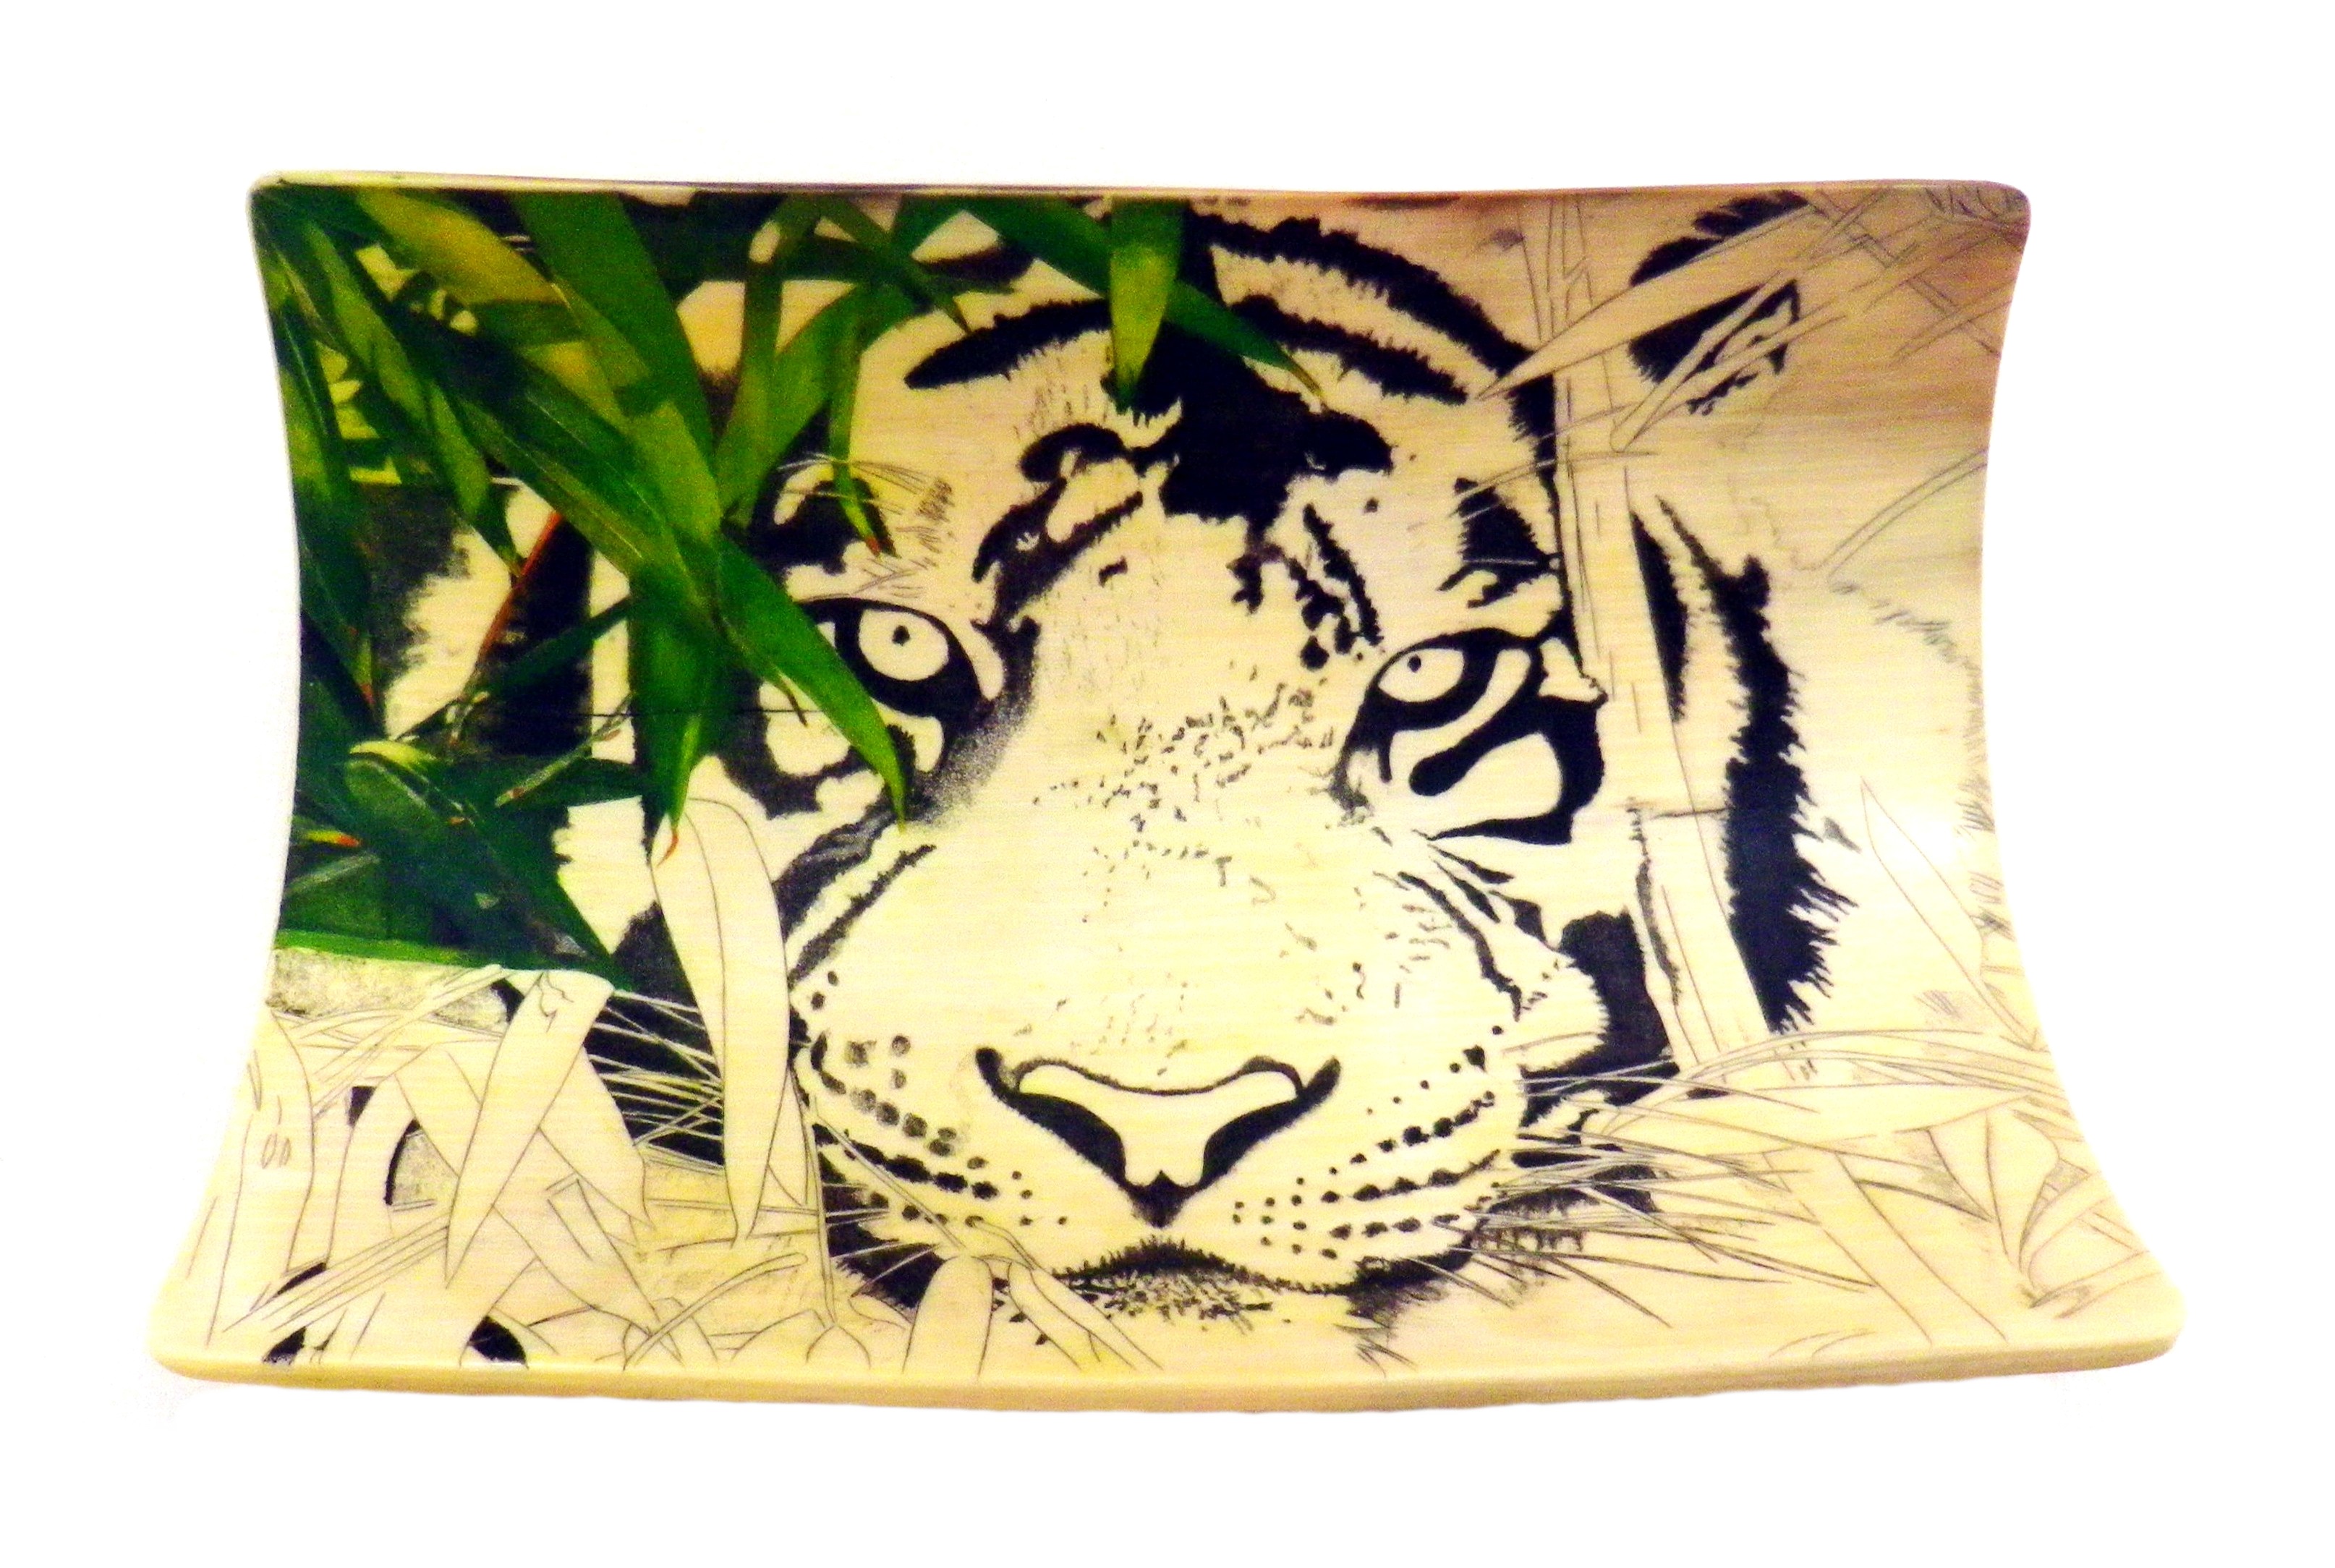
It’s finally finished. This was a huge job and I fell asleep several times working on it late at night. The dappled lighting effect really makes this scrimshaw stand out. Working on the concaved surface was a constant struggle. Getting the ivory in the right position to see what I was doing was difficult. Next I’ll begin on the stand.
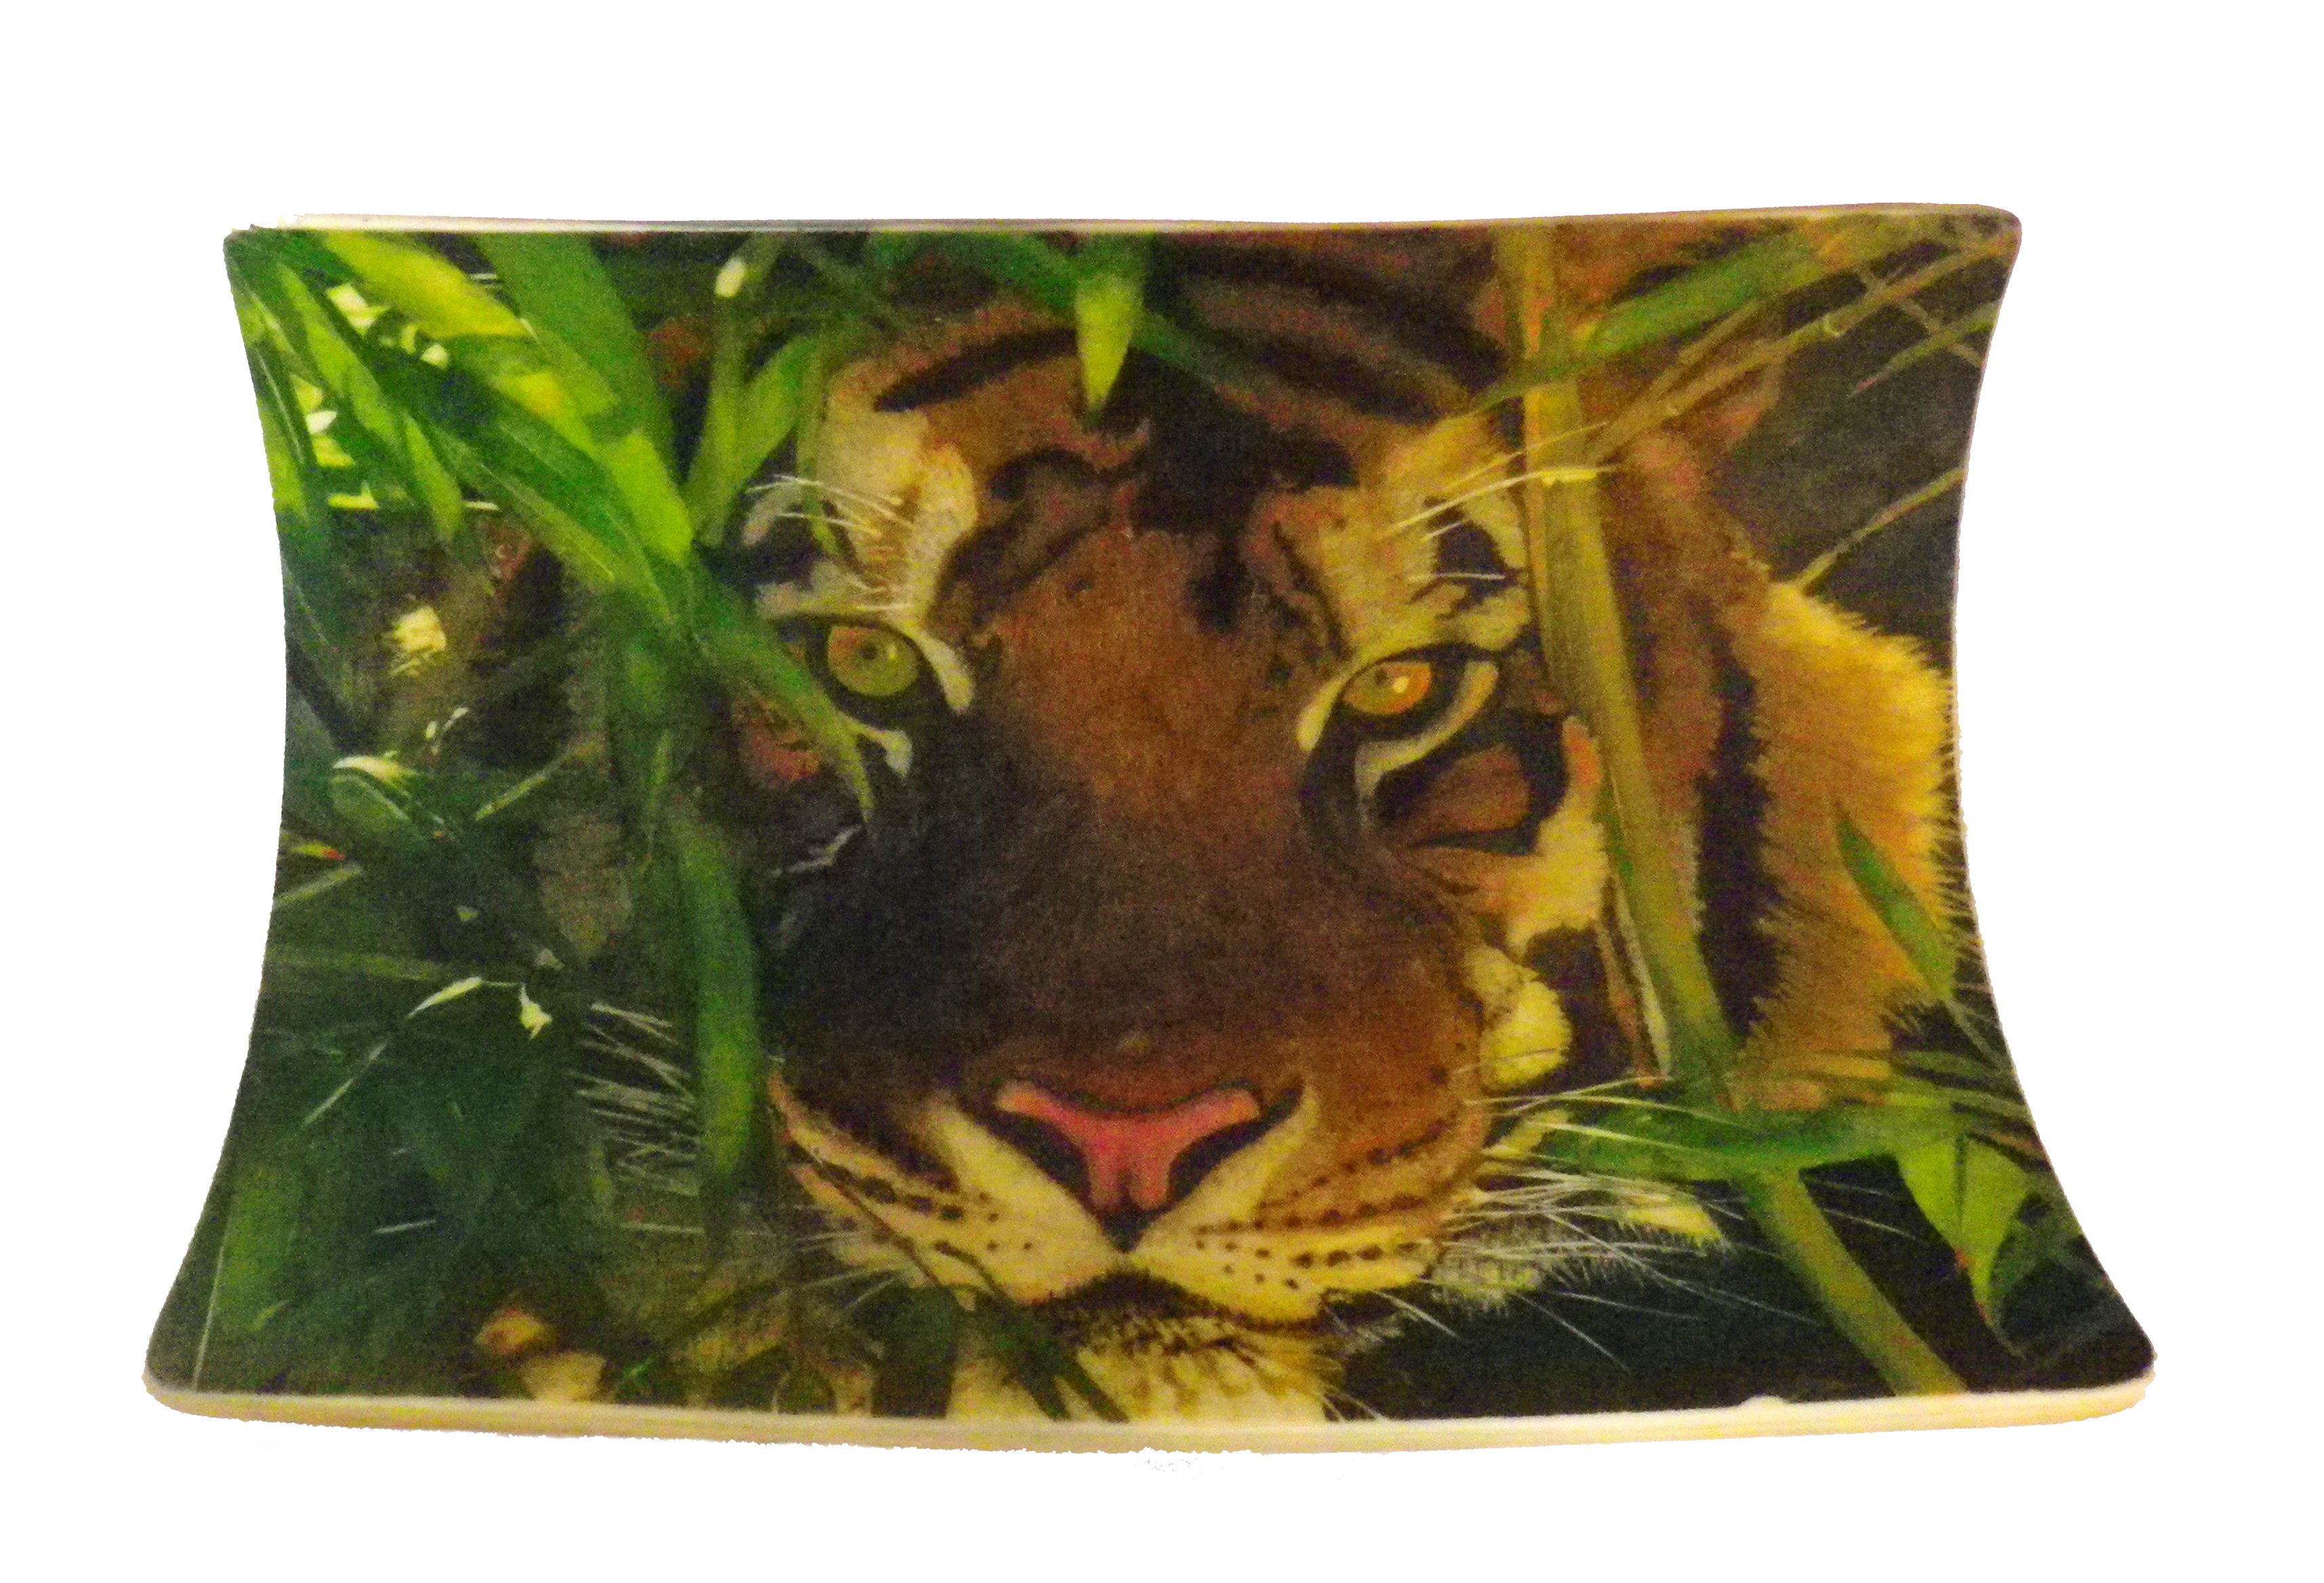
Bamboo Tiger Scrimshaw Finished
Base/ Stand
This is a rough sketch of the stand I’ve decided to make.
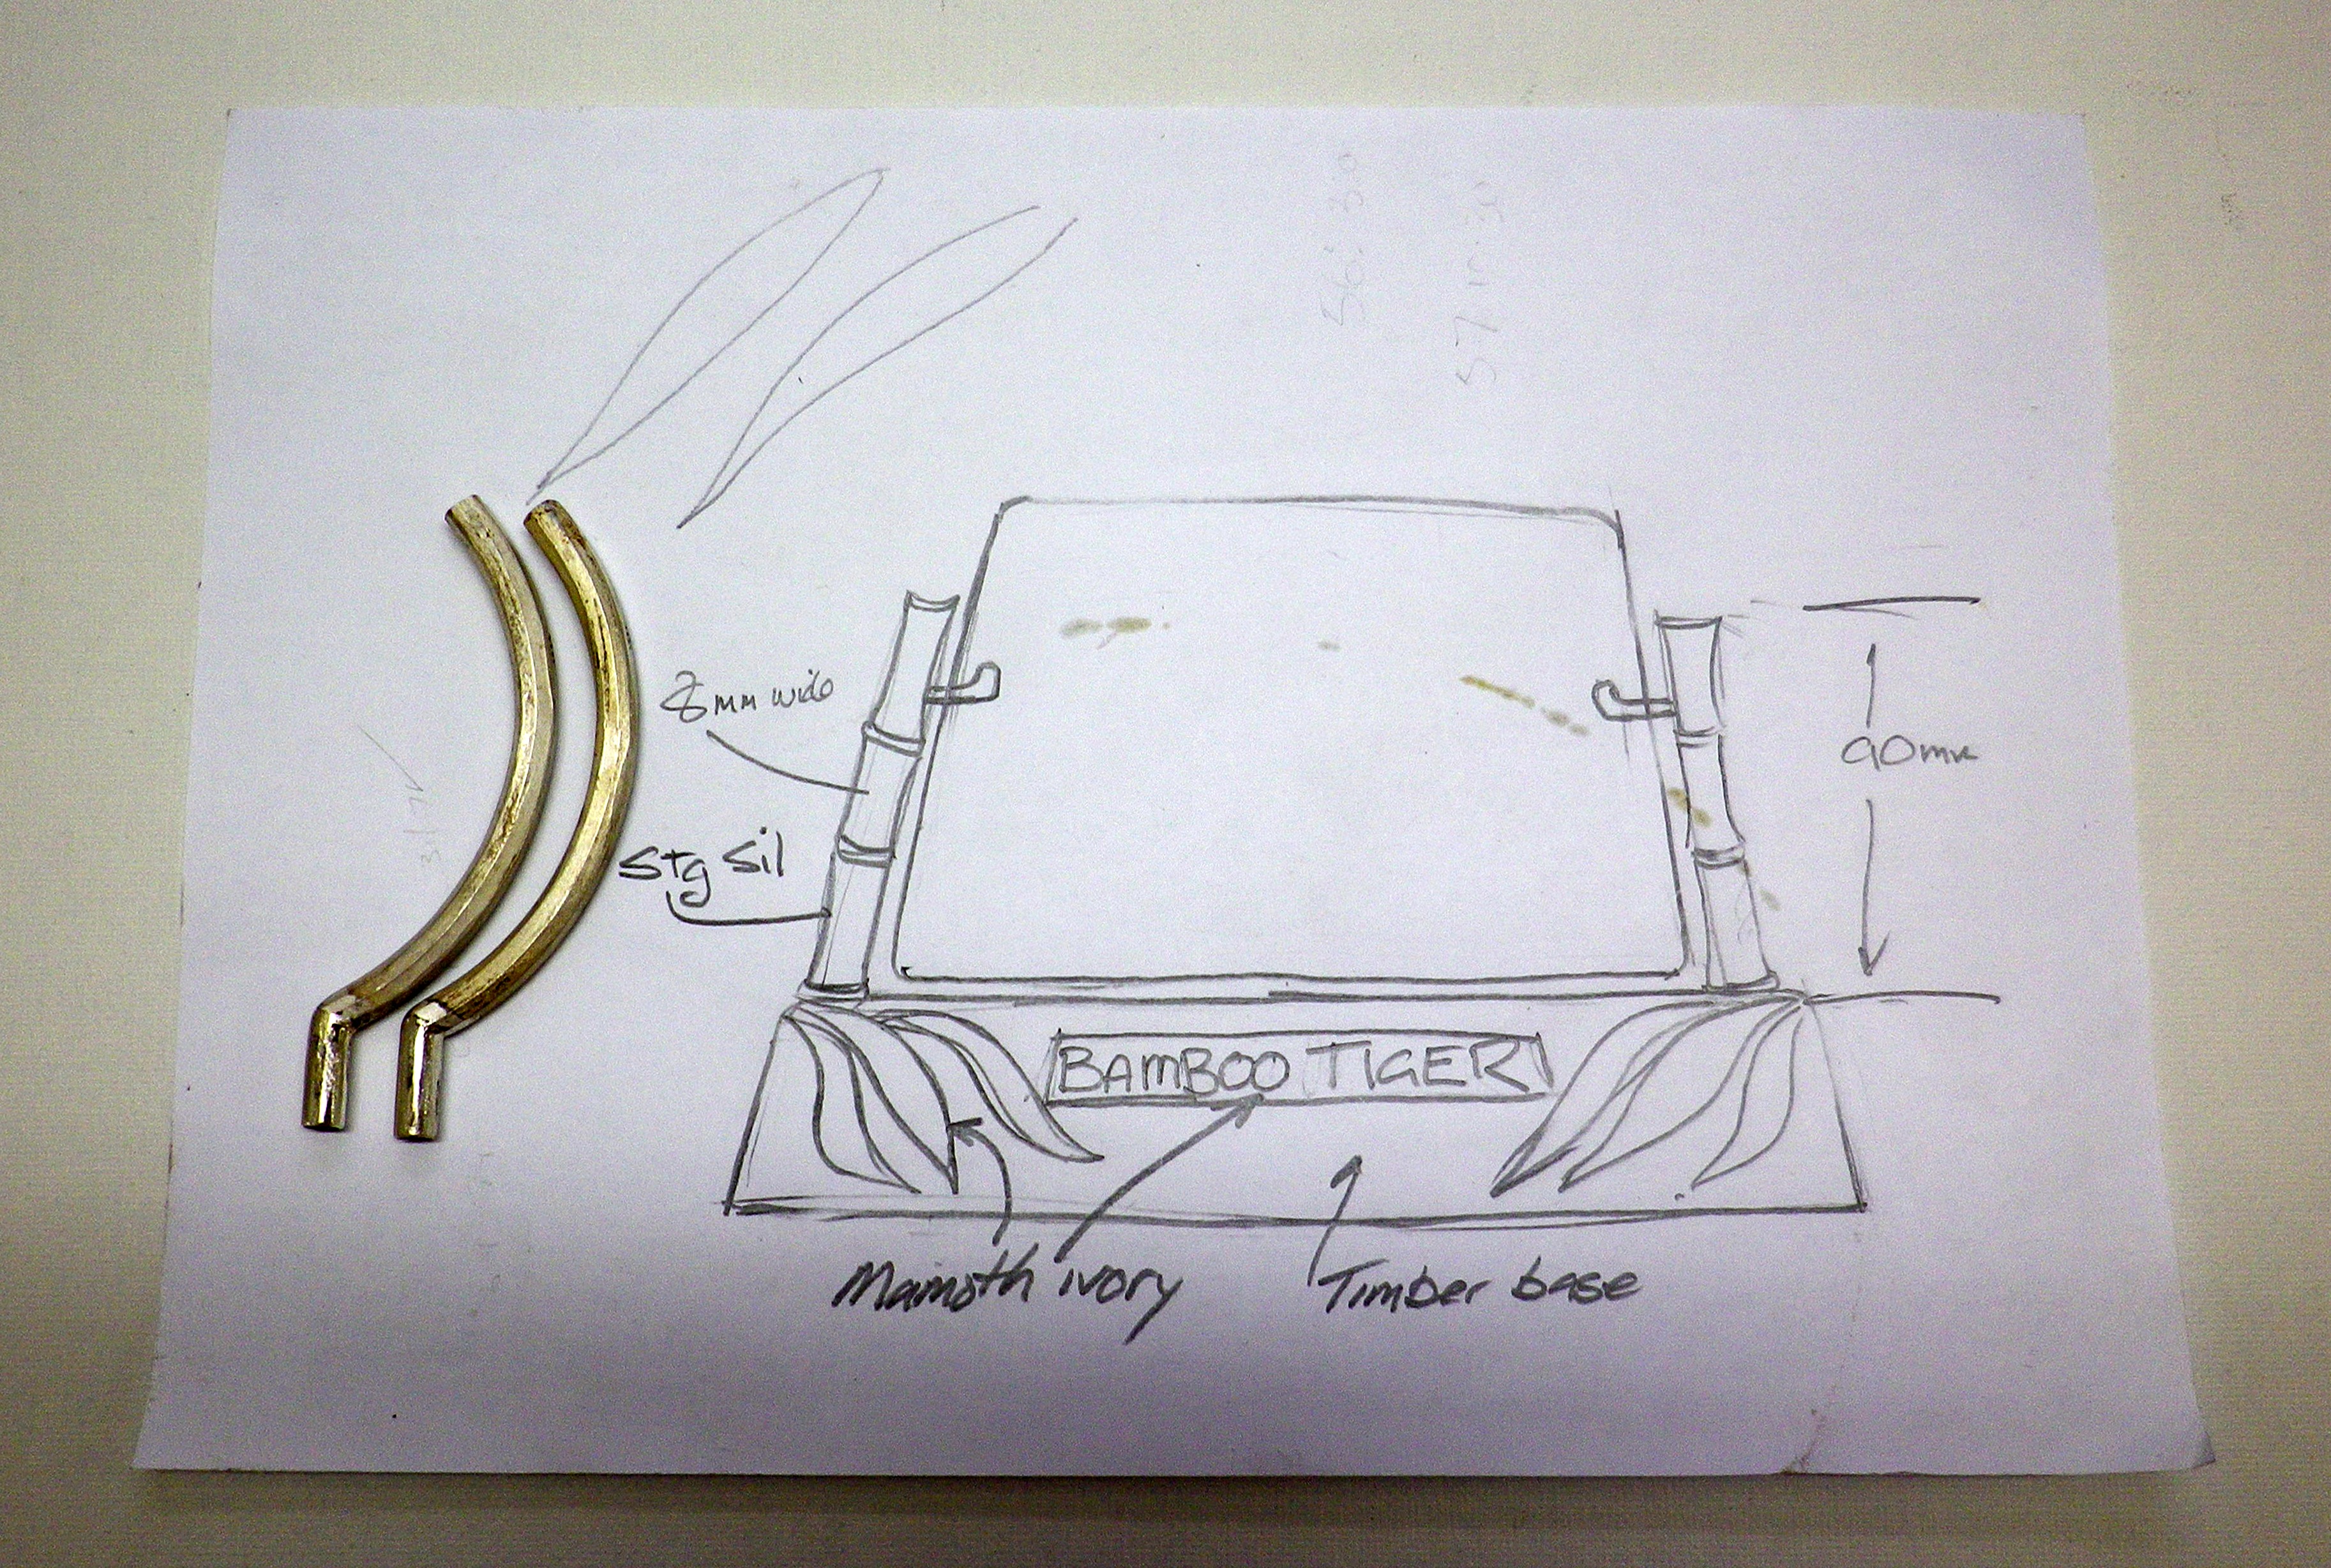
Bamboo Tiger Scrimshaw Stand Design
These are the different components: The Rosewood Base, the Sterling Silver Arms to hold the scrimshaw (weight 71 grams) and the Mammoth Ivory Name Plate.
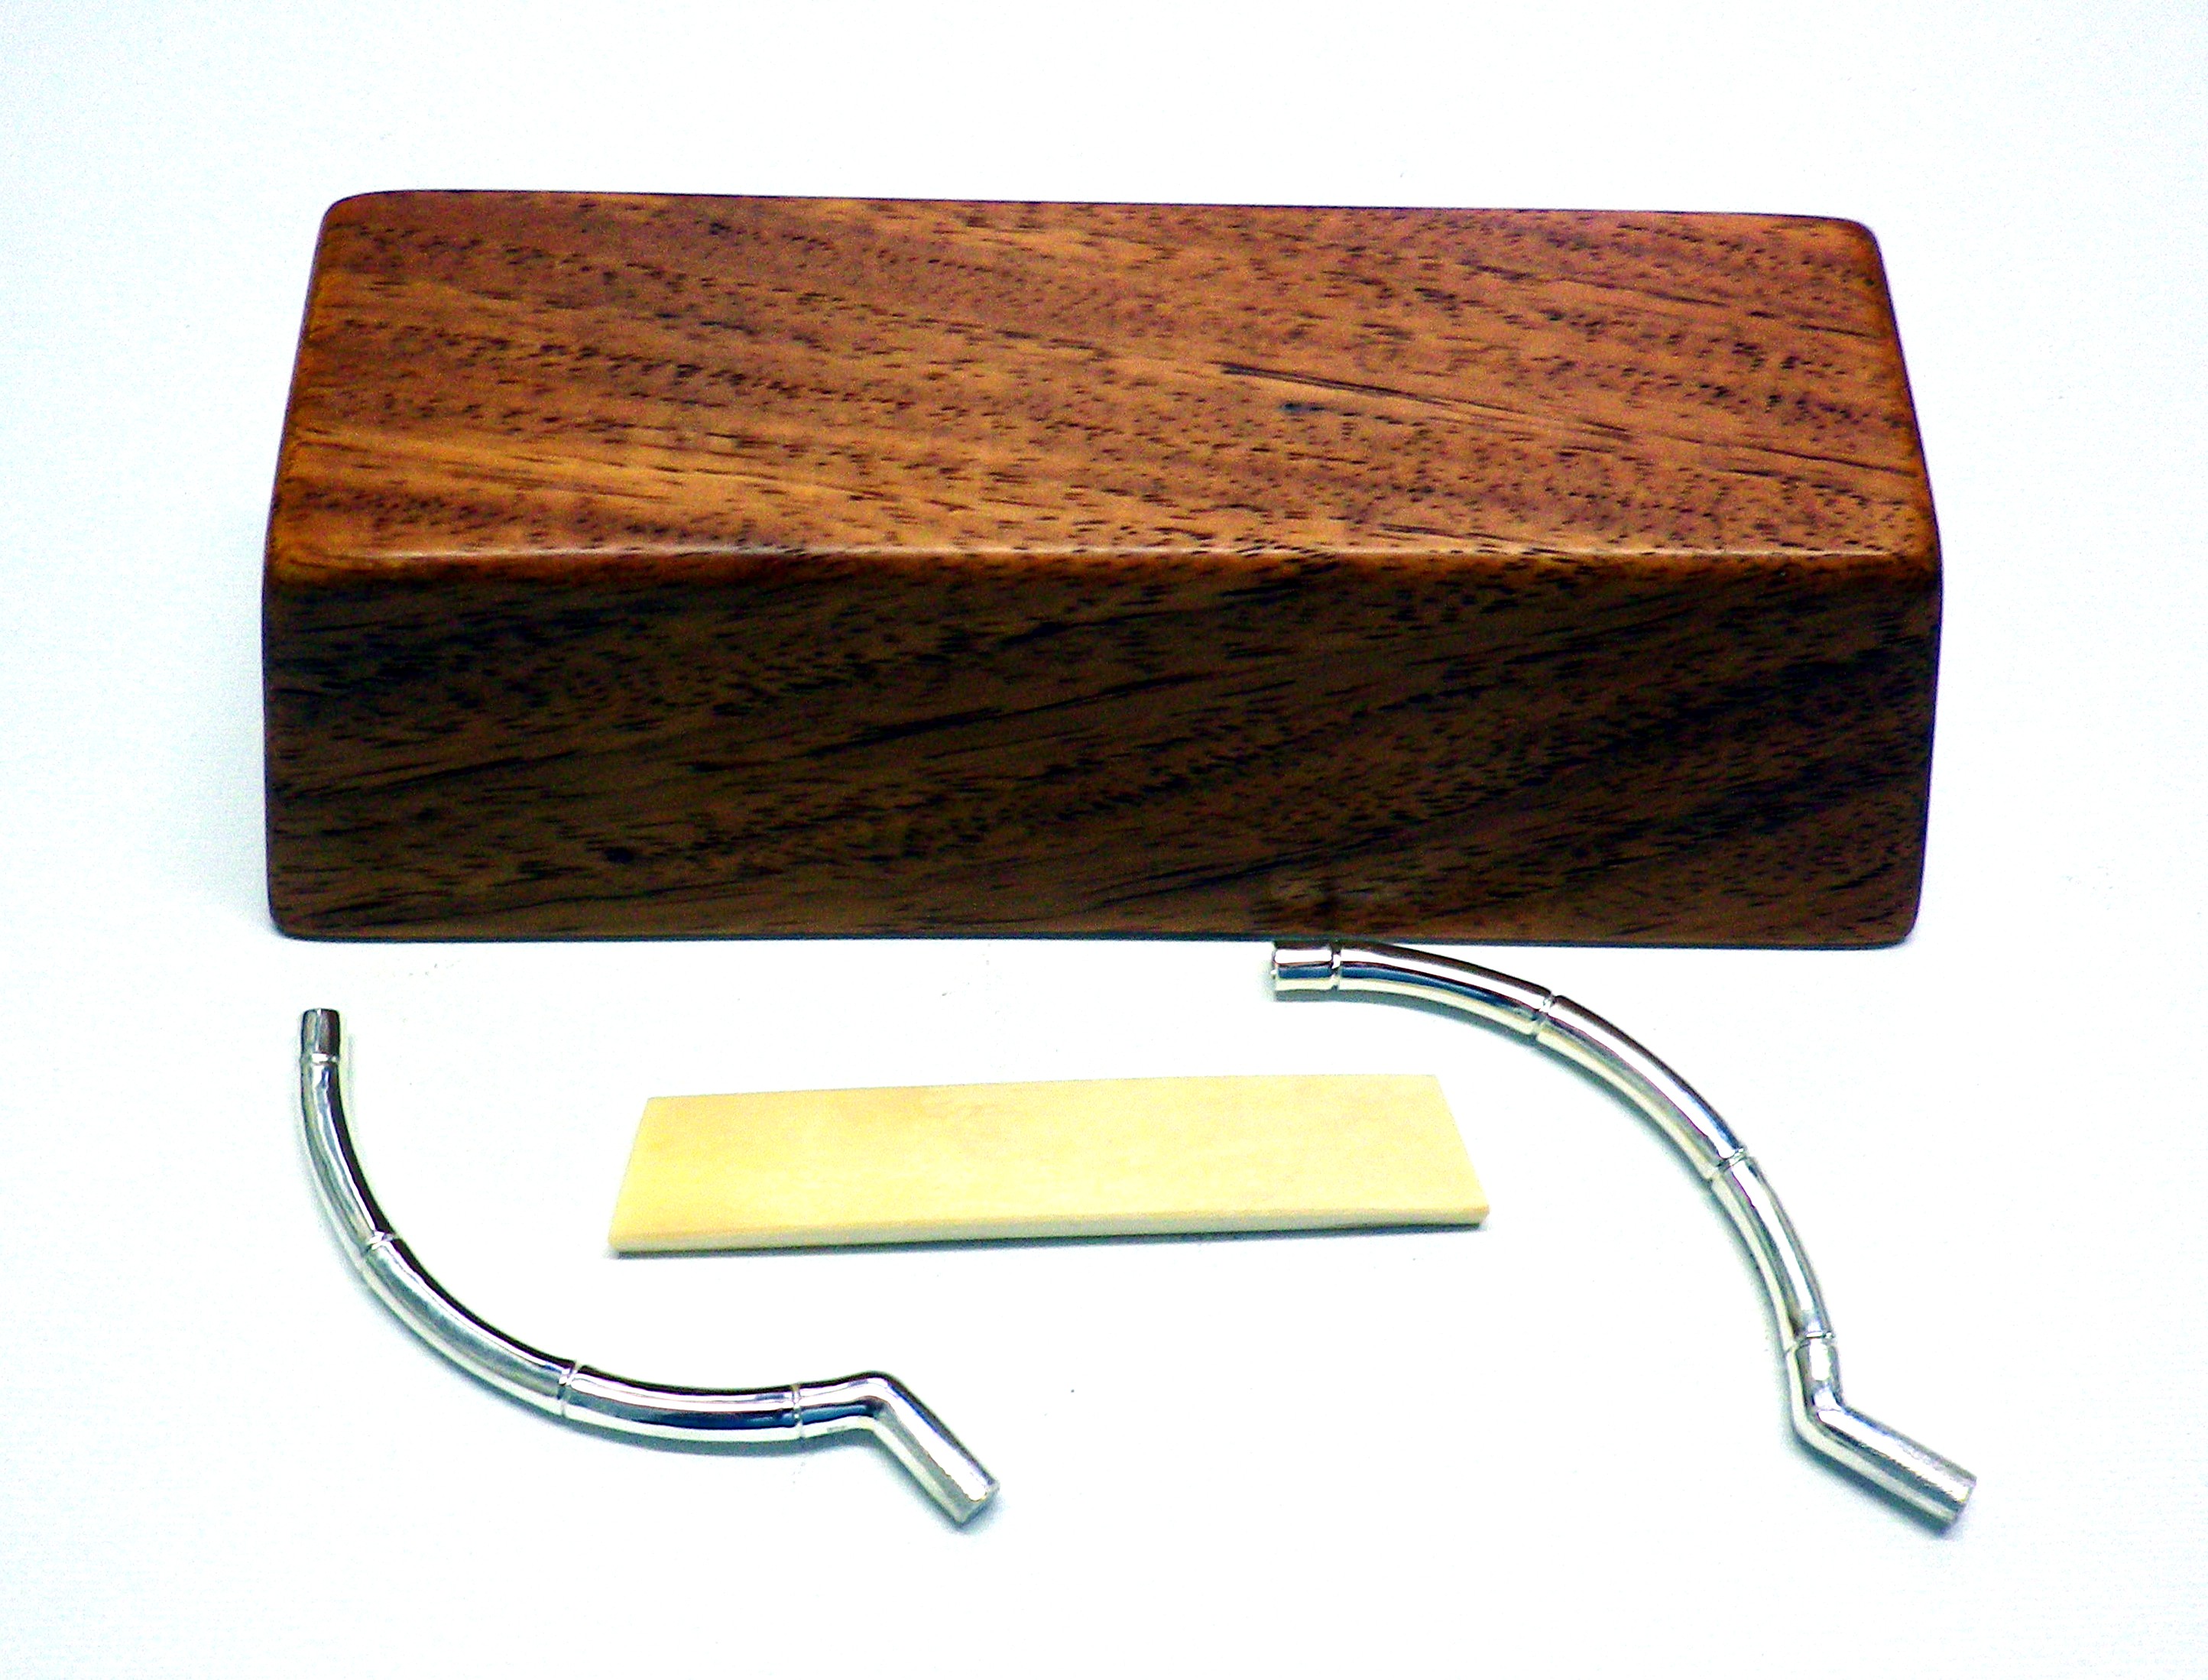
Bamboo Tiger Scrimshaw Stand Components
This is the fully assembled stand. I’ve named the scrimshaw “Bamboo Tiger”.
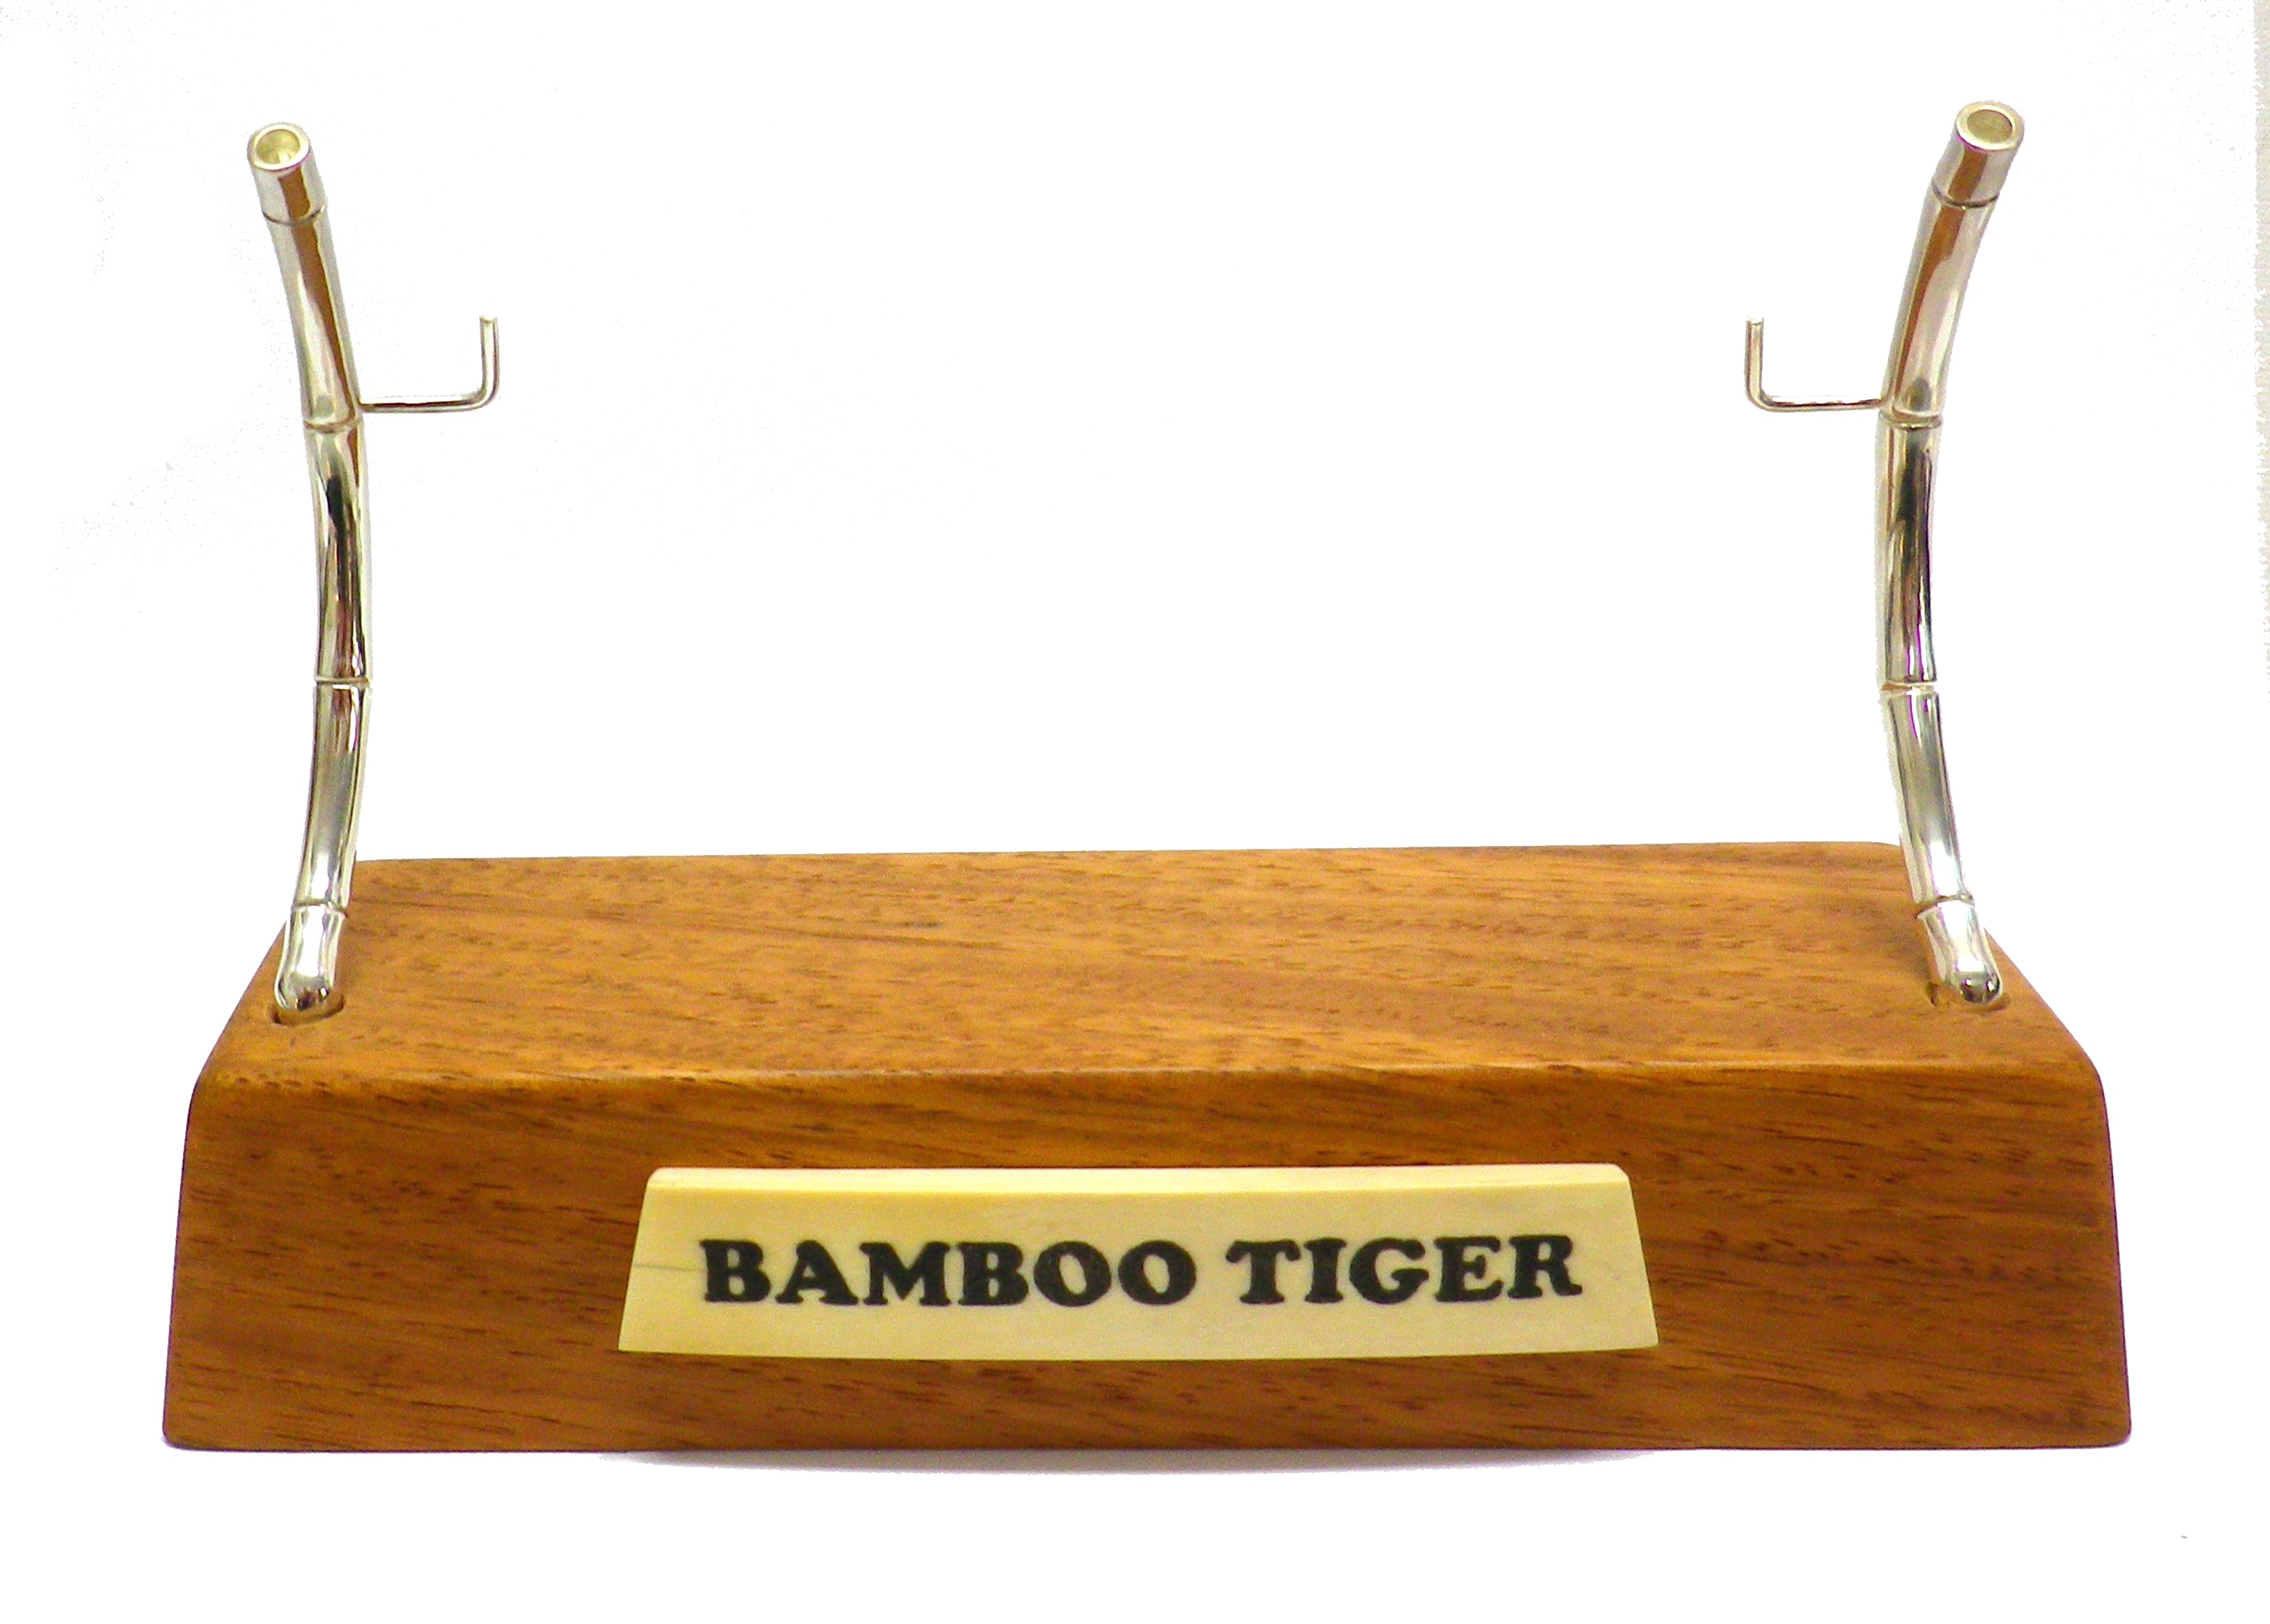
Bamboo Tiger Scrimshaw Stand Assembled
This is the back, showing how the scrimshaw is attached to the base.

Bamboo Tiger Scrimshaw Stand Back
Finally, here’s the finished Scrimshaw.
Bamboo Tiger Scrimshaw Fully Finished
The End.
Contact Rod: randclacey@bigpond.com

You must be logged in to post a comment.