Tiger Scrimshaw Step 1 – 14/6/15

Tiger Scrimshaw – “Back Off”
I chose to scrimshaw this because it’s unusual – just the tigers head and reflection are visible. I love the expression on its face and the wild whiskers.
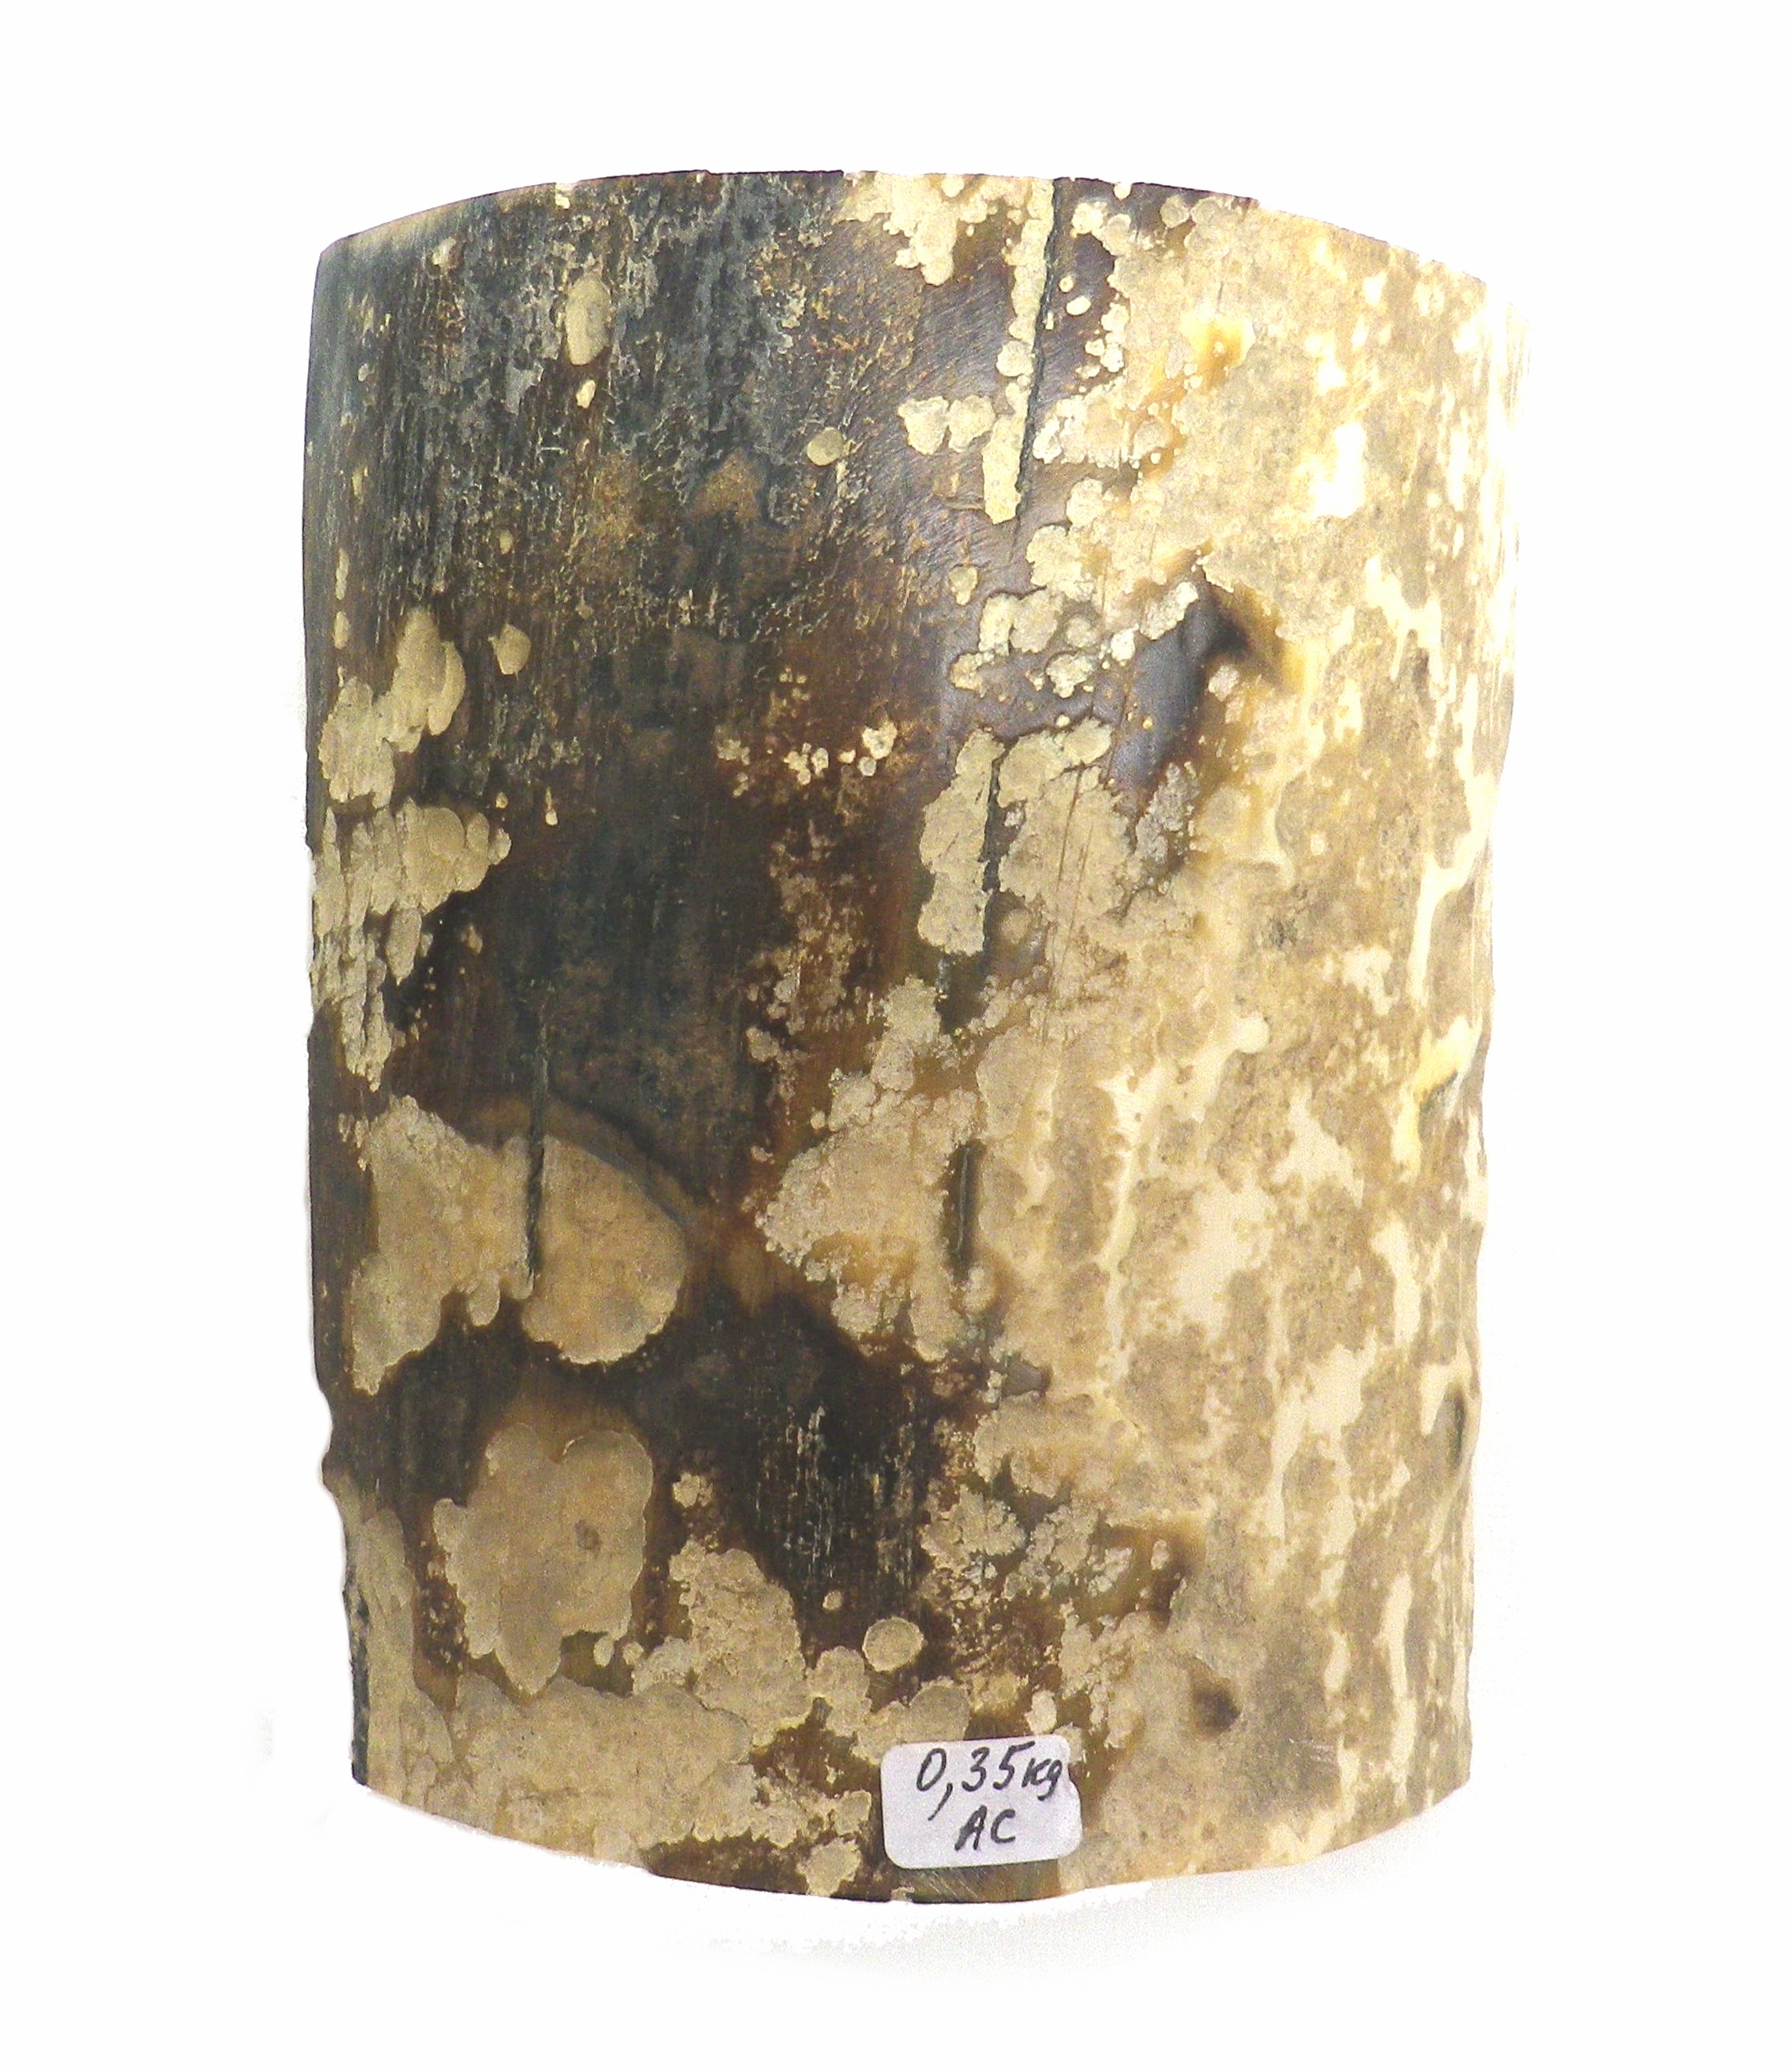
Un-sanded Mammoth Ivory
This is how the Mammoth ivory looked before the surface was sanded. It weighed 350 grams.
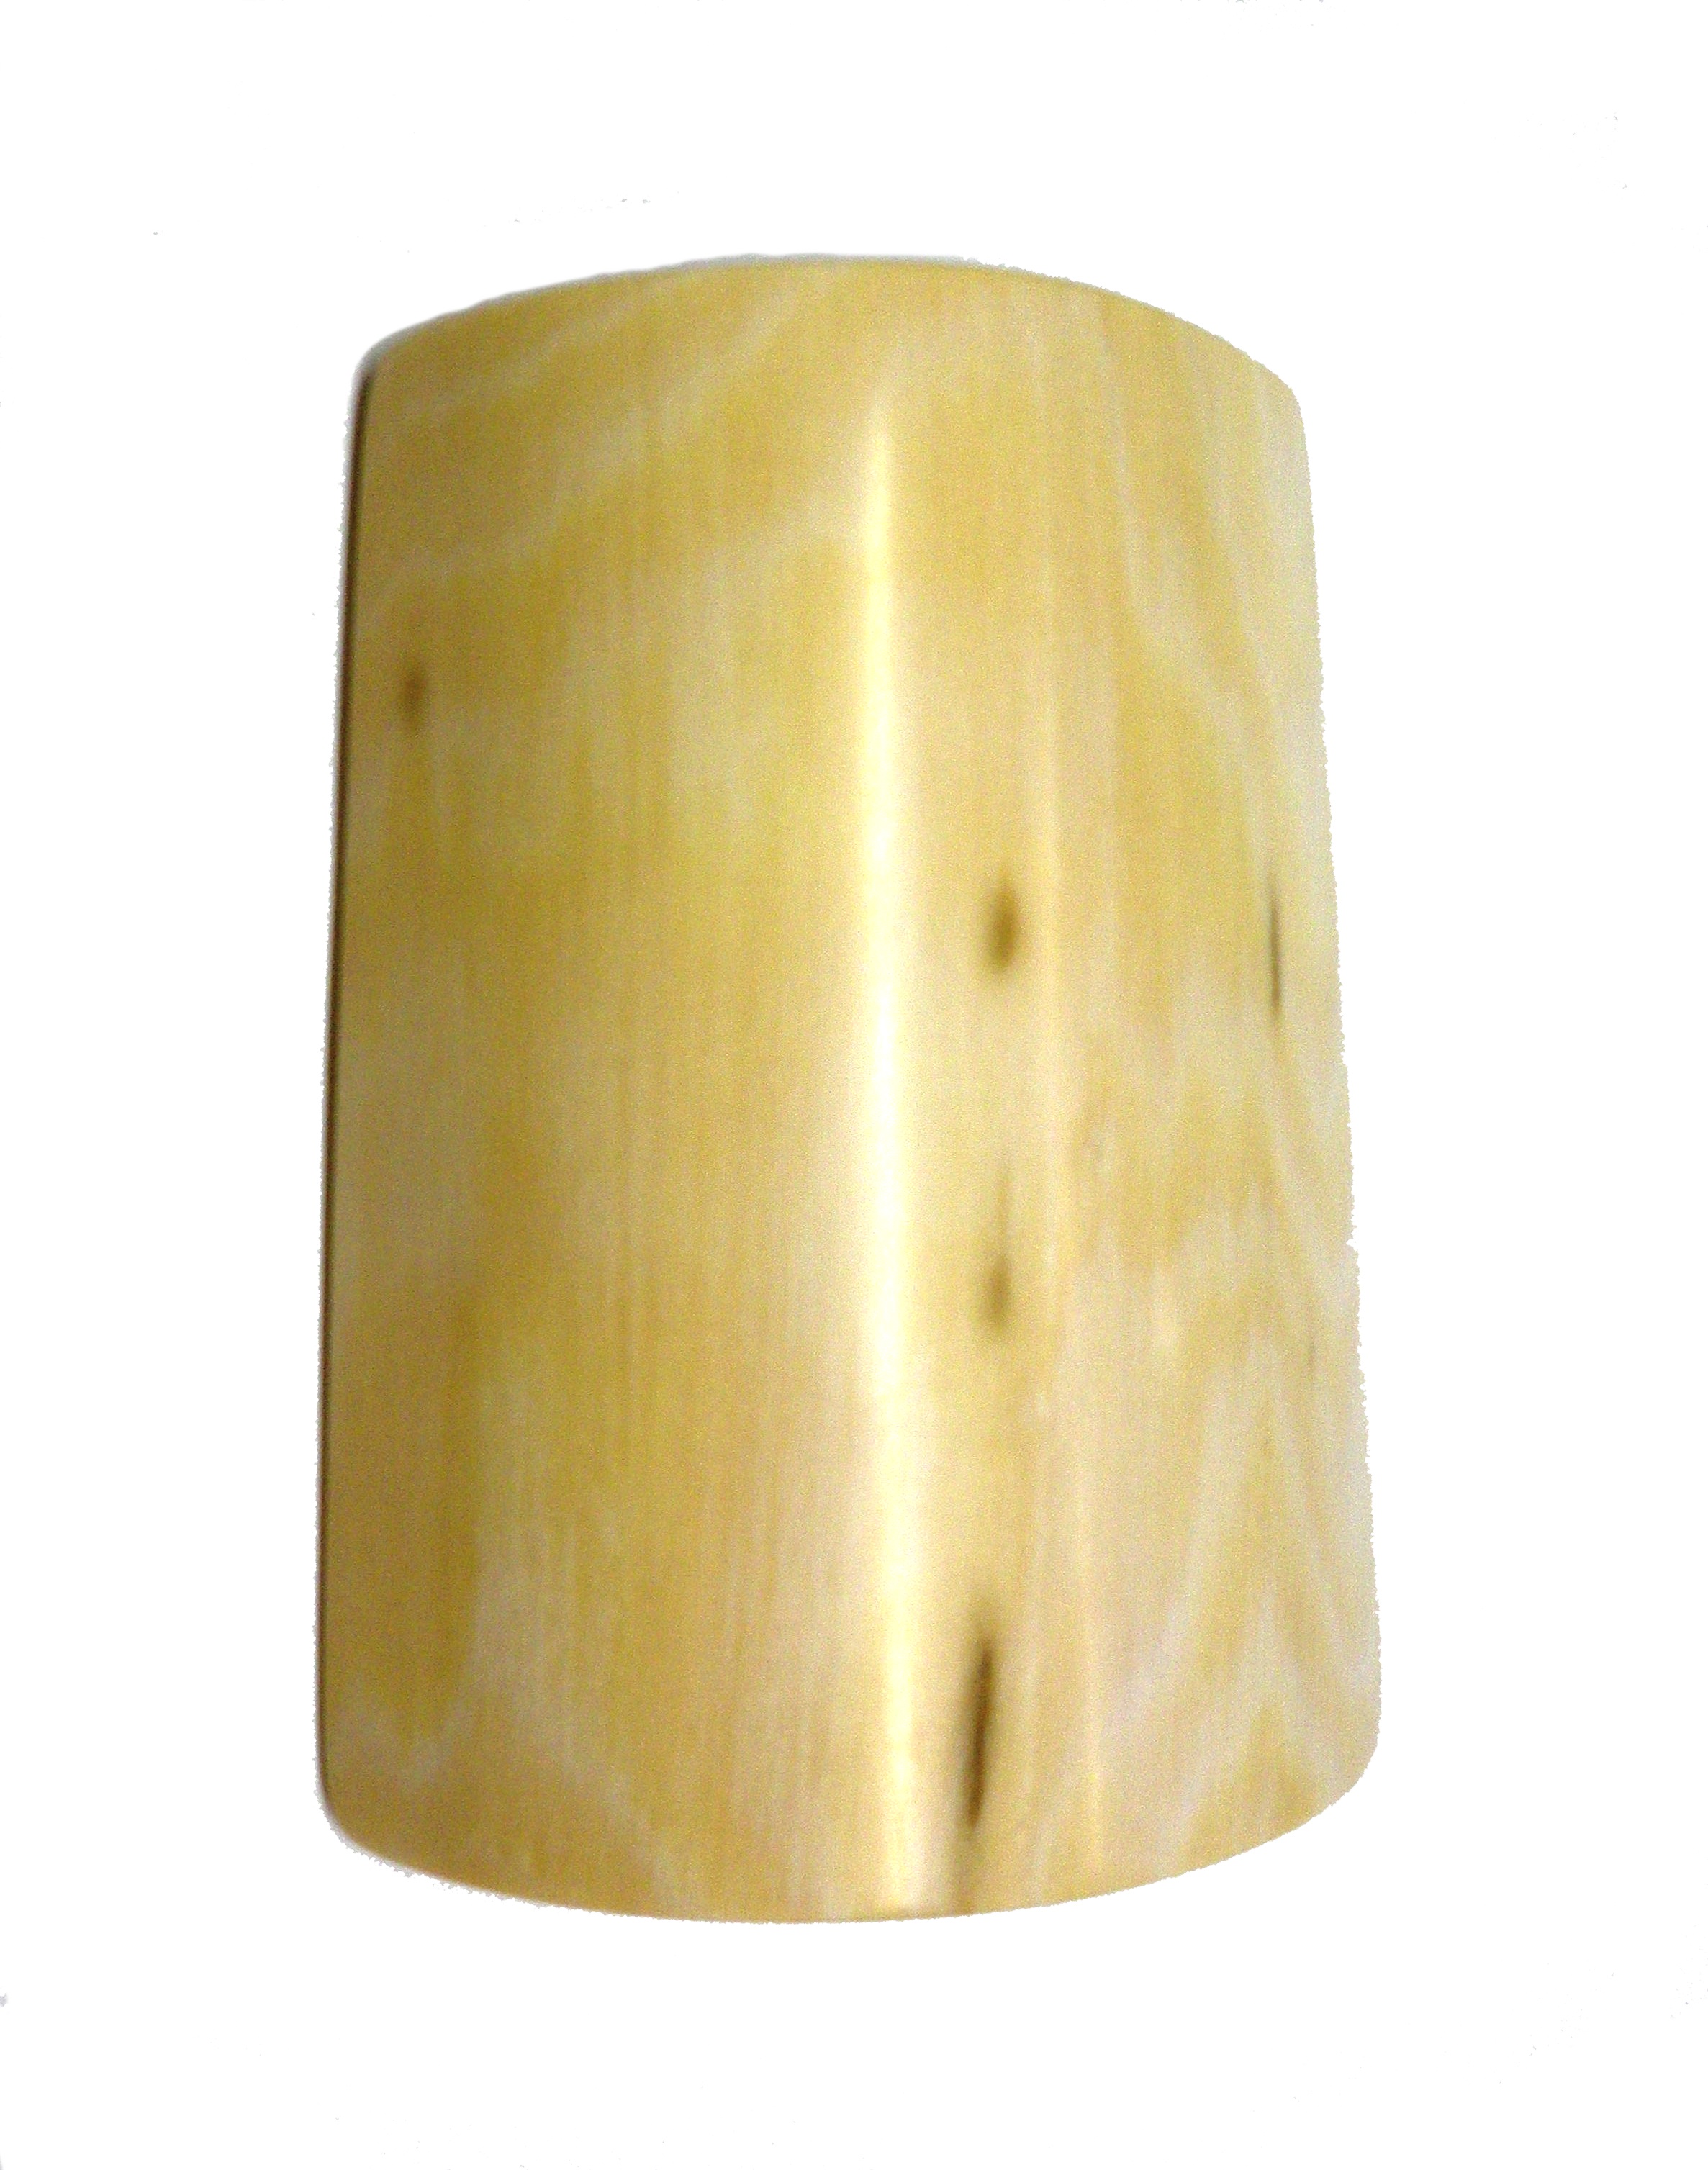
Sanded Mammoth Ivory in prep for scrimshaw
The dimensions are 13.5cm x 14cm and after sanding it now weighs 225 grams.

Mammoth Ivory With Picture Attached
This is the mammoth ivory with the picture stuck to the surface ready to be cut out.
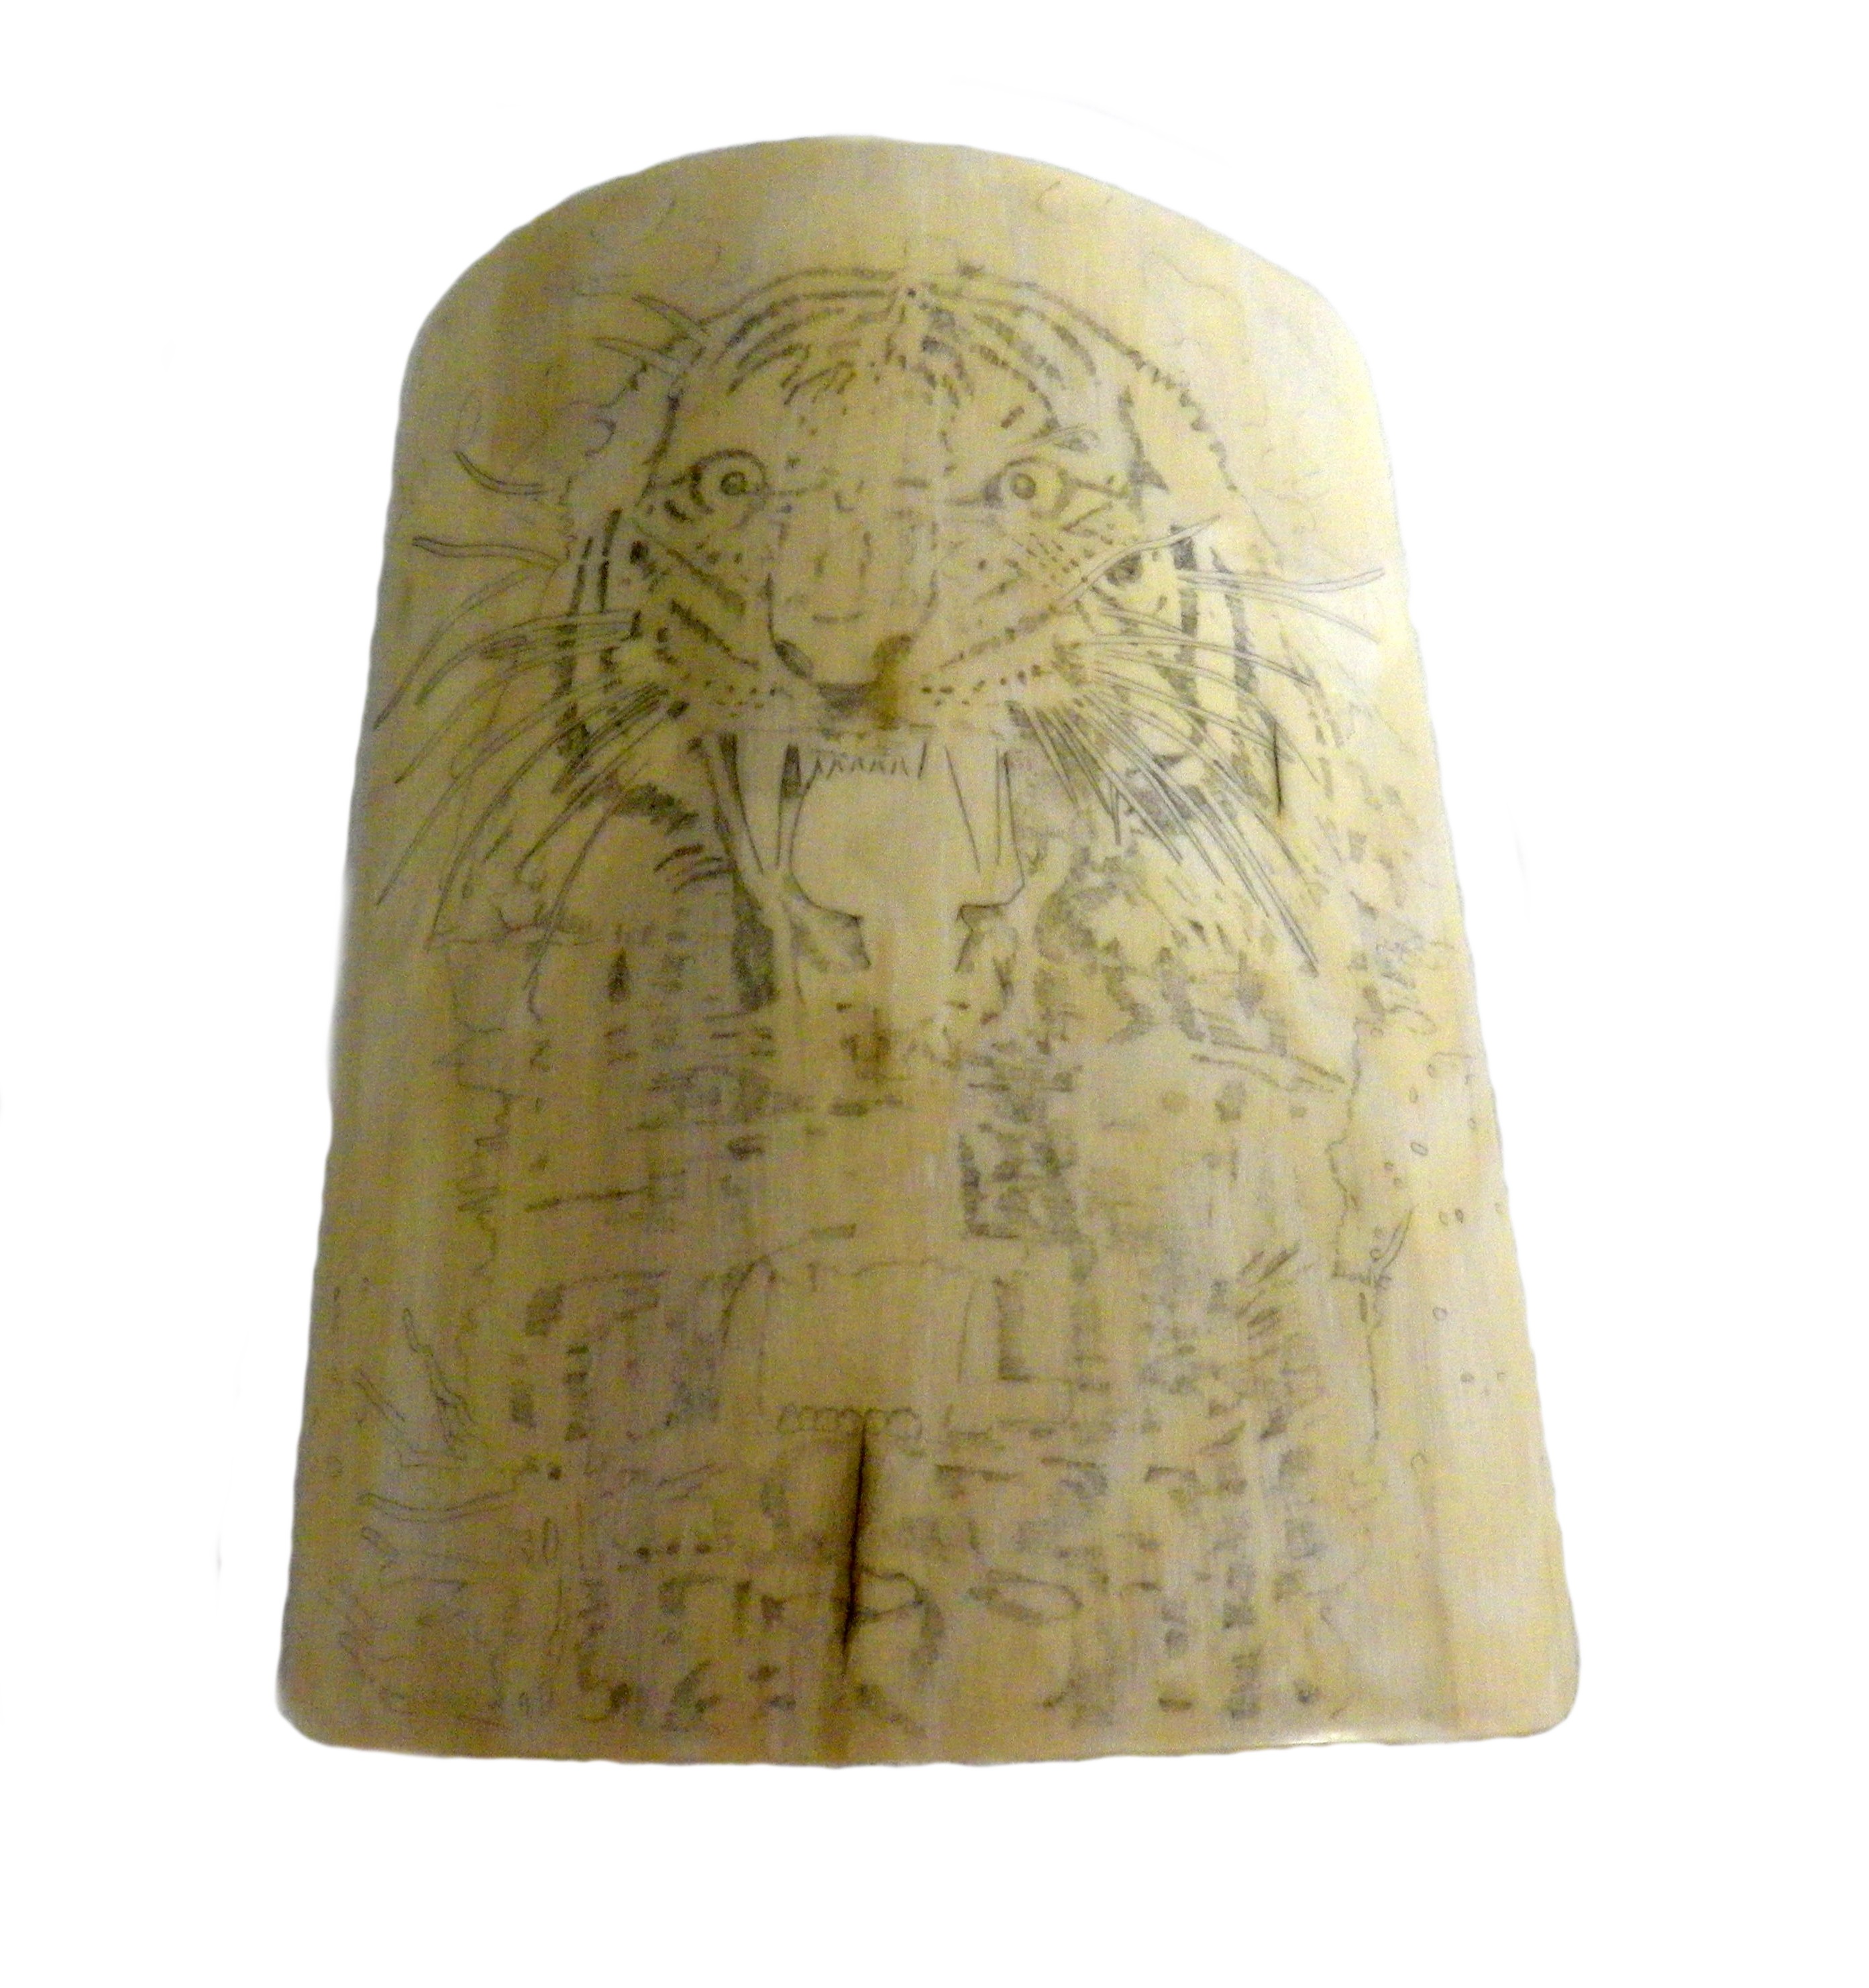
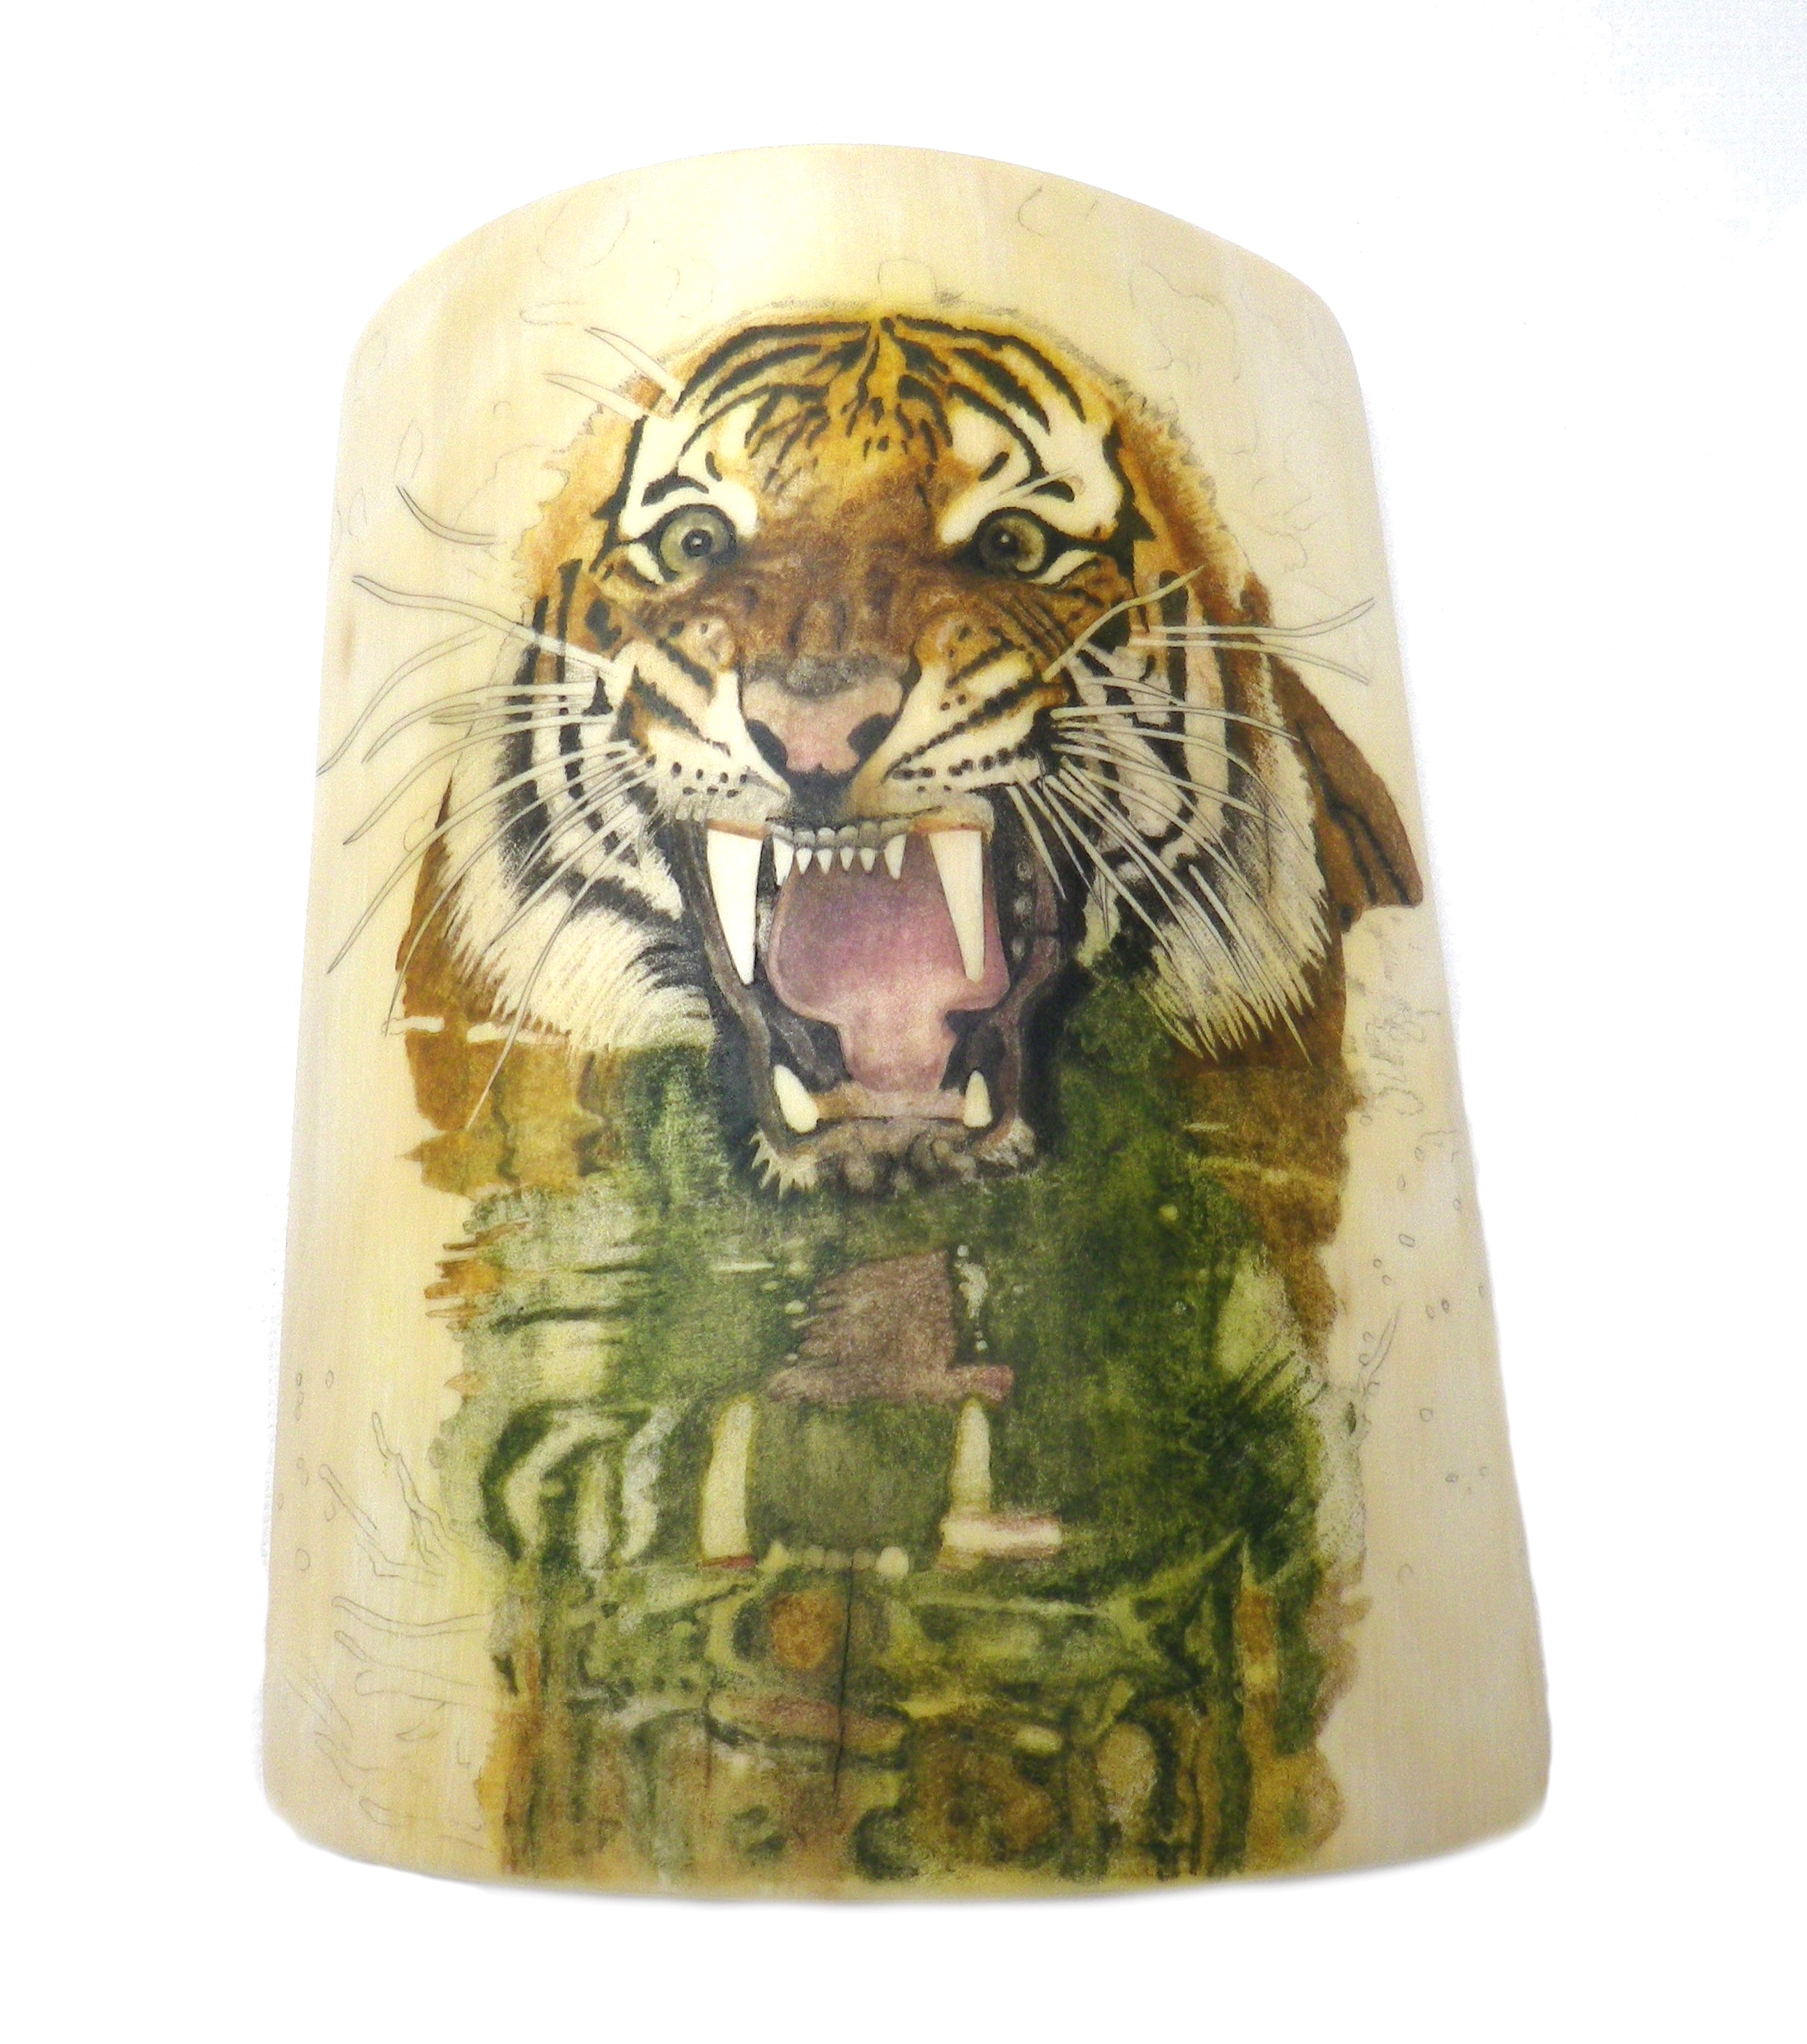
Mammoth Ivory With Tiger Outline Carved, the beginning of a scrimshaw
5 hours later the outline and some detail has been cut with a scalpel and stippling.
Tiger Scrimshaw Step 2 – 18/6/15

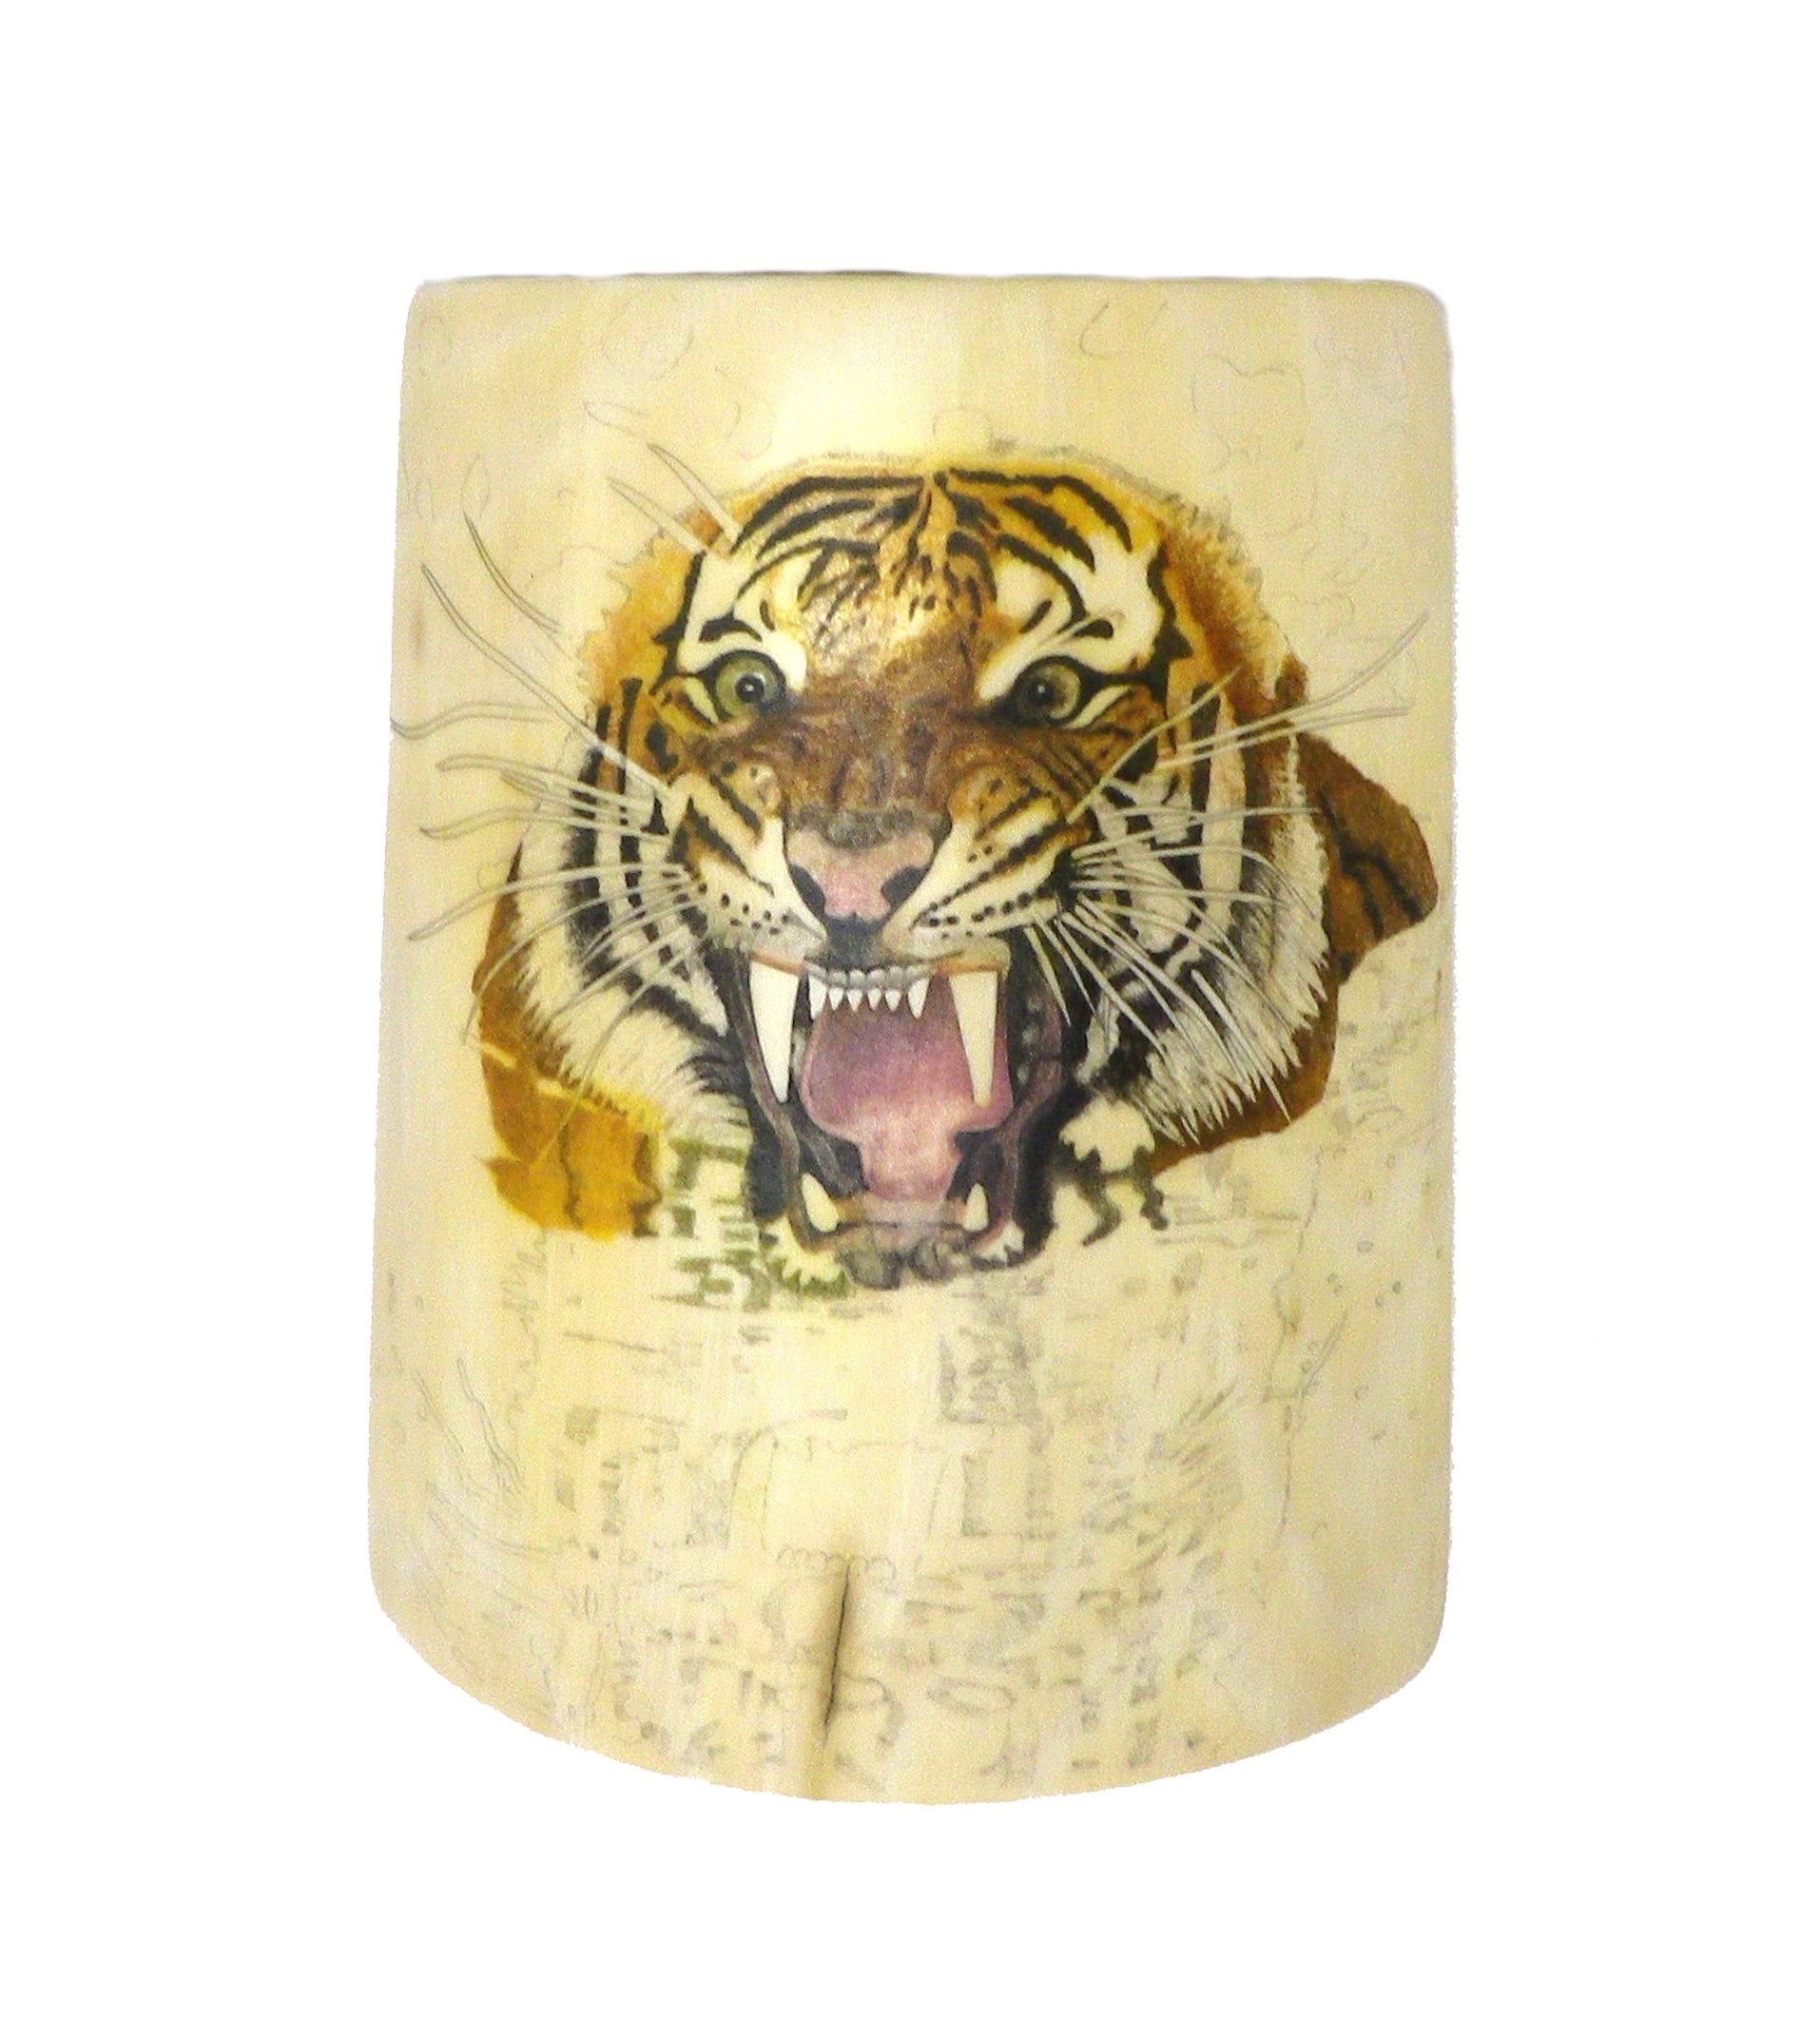
Tiger’s Head Scrimshaw Black Areas Filled
7 hours later and the black stripes are finished. You can already tell that this scrimshaw is going to be something special. Now its time to add in the coloured areas to make it jump out of the frame.
Tiger Scrimshaw Step 3 – 19/6/15
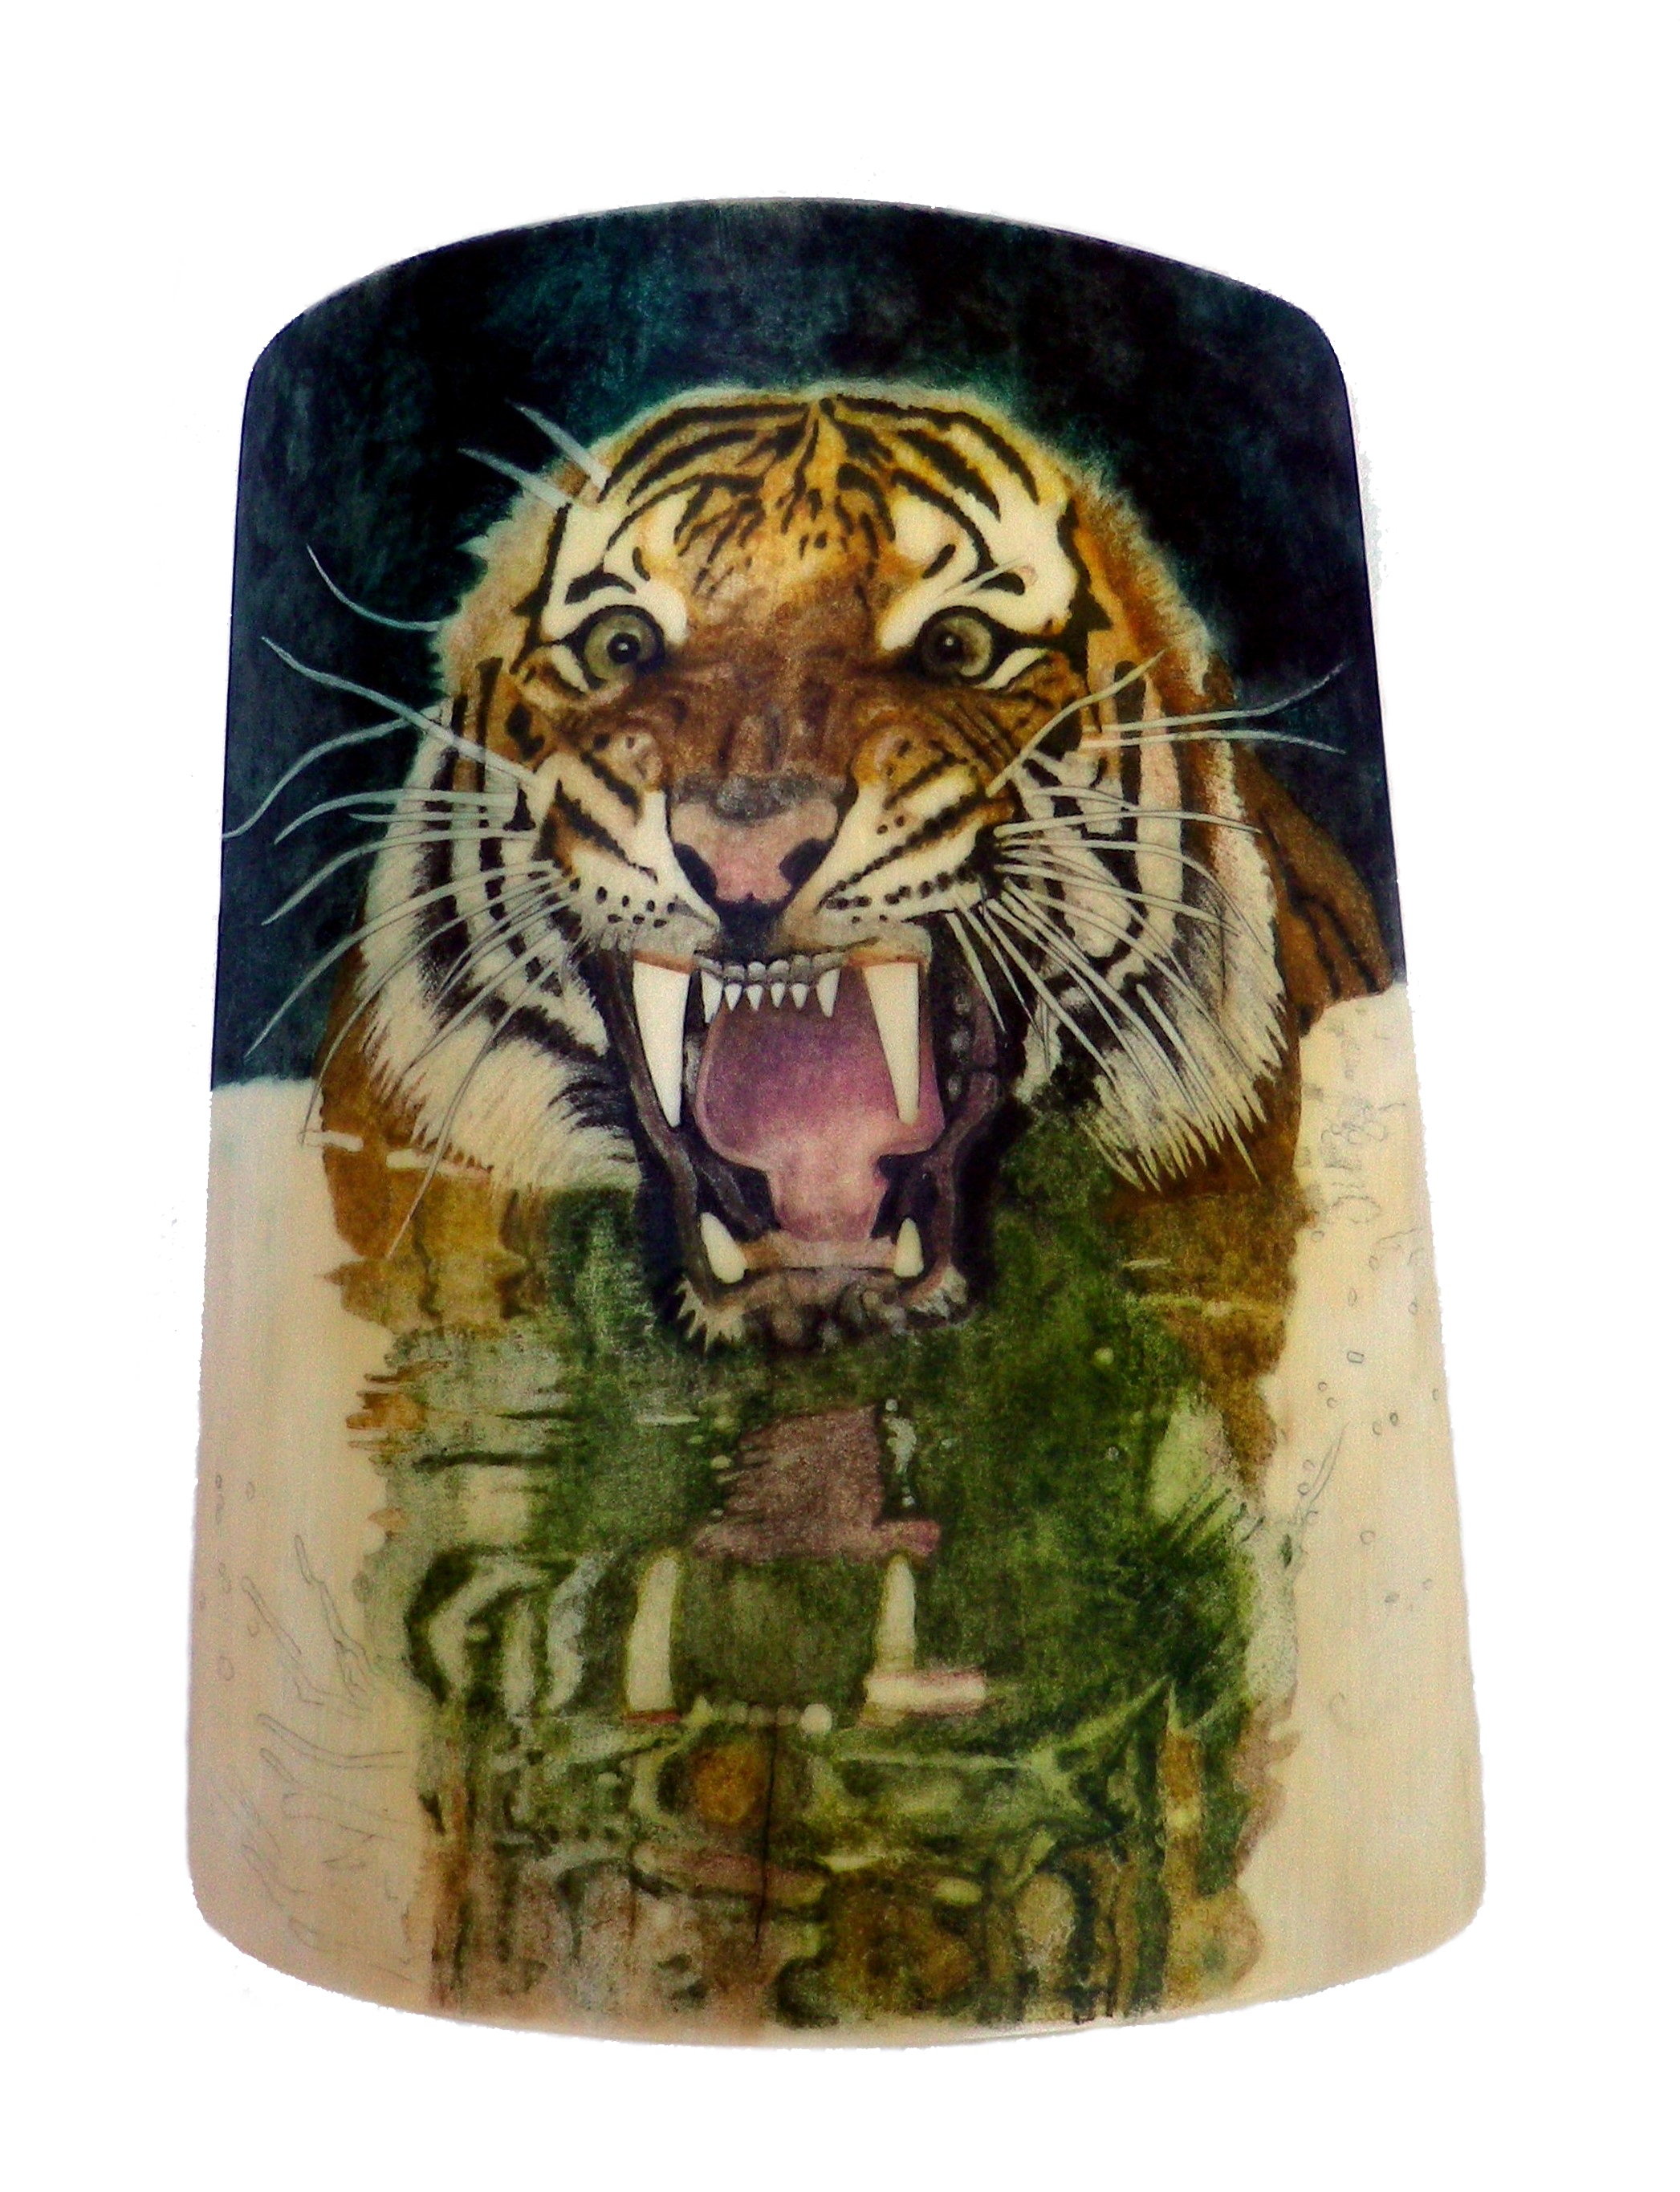
Tiger’s Head Scrimshaw Head Completed
9 hours later and the tigers head is scrimshawed; the piece is starting to take shape. The more detail you put in when cutting the basic outline, the easier it is when it comes to adding intricate details. Next to be done is the reflection.
Tiger Scrimshaw Step 4 – 21/6/15
Tiger’s Head Scrimshaw Head and Reflection Completed
11 hours later and the foreground reflection is done. Next to be scrimshawed is the background details above and to the sides of the tiger.
Tiger Scrimshaw Step 5 – 24/6/15
Tiger’s Head Scrimshaw Background Reflection Completed
6 hours later and the background areas above and to sides of the tiger are finished. Next the water reflection on either side of the tigers face. It’s almost finished. At this point, I usually begin to plan a design for the base.
Tiger Scrimshaw Step 6 – 29/6/15
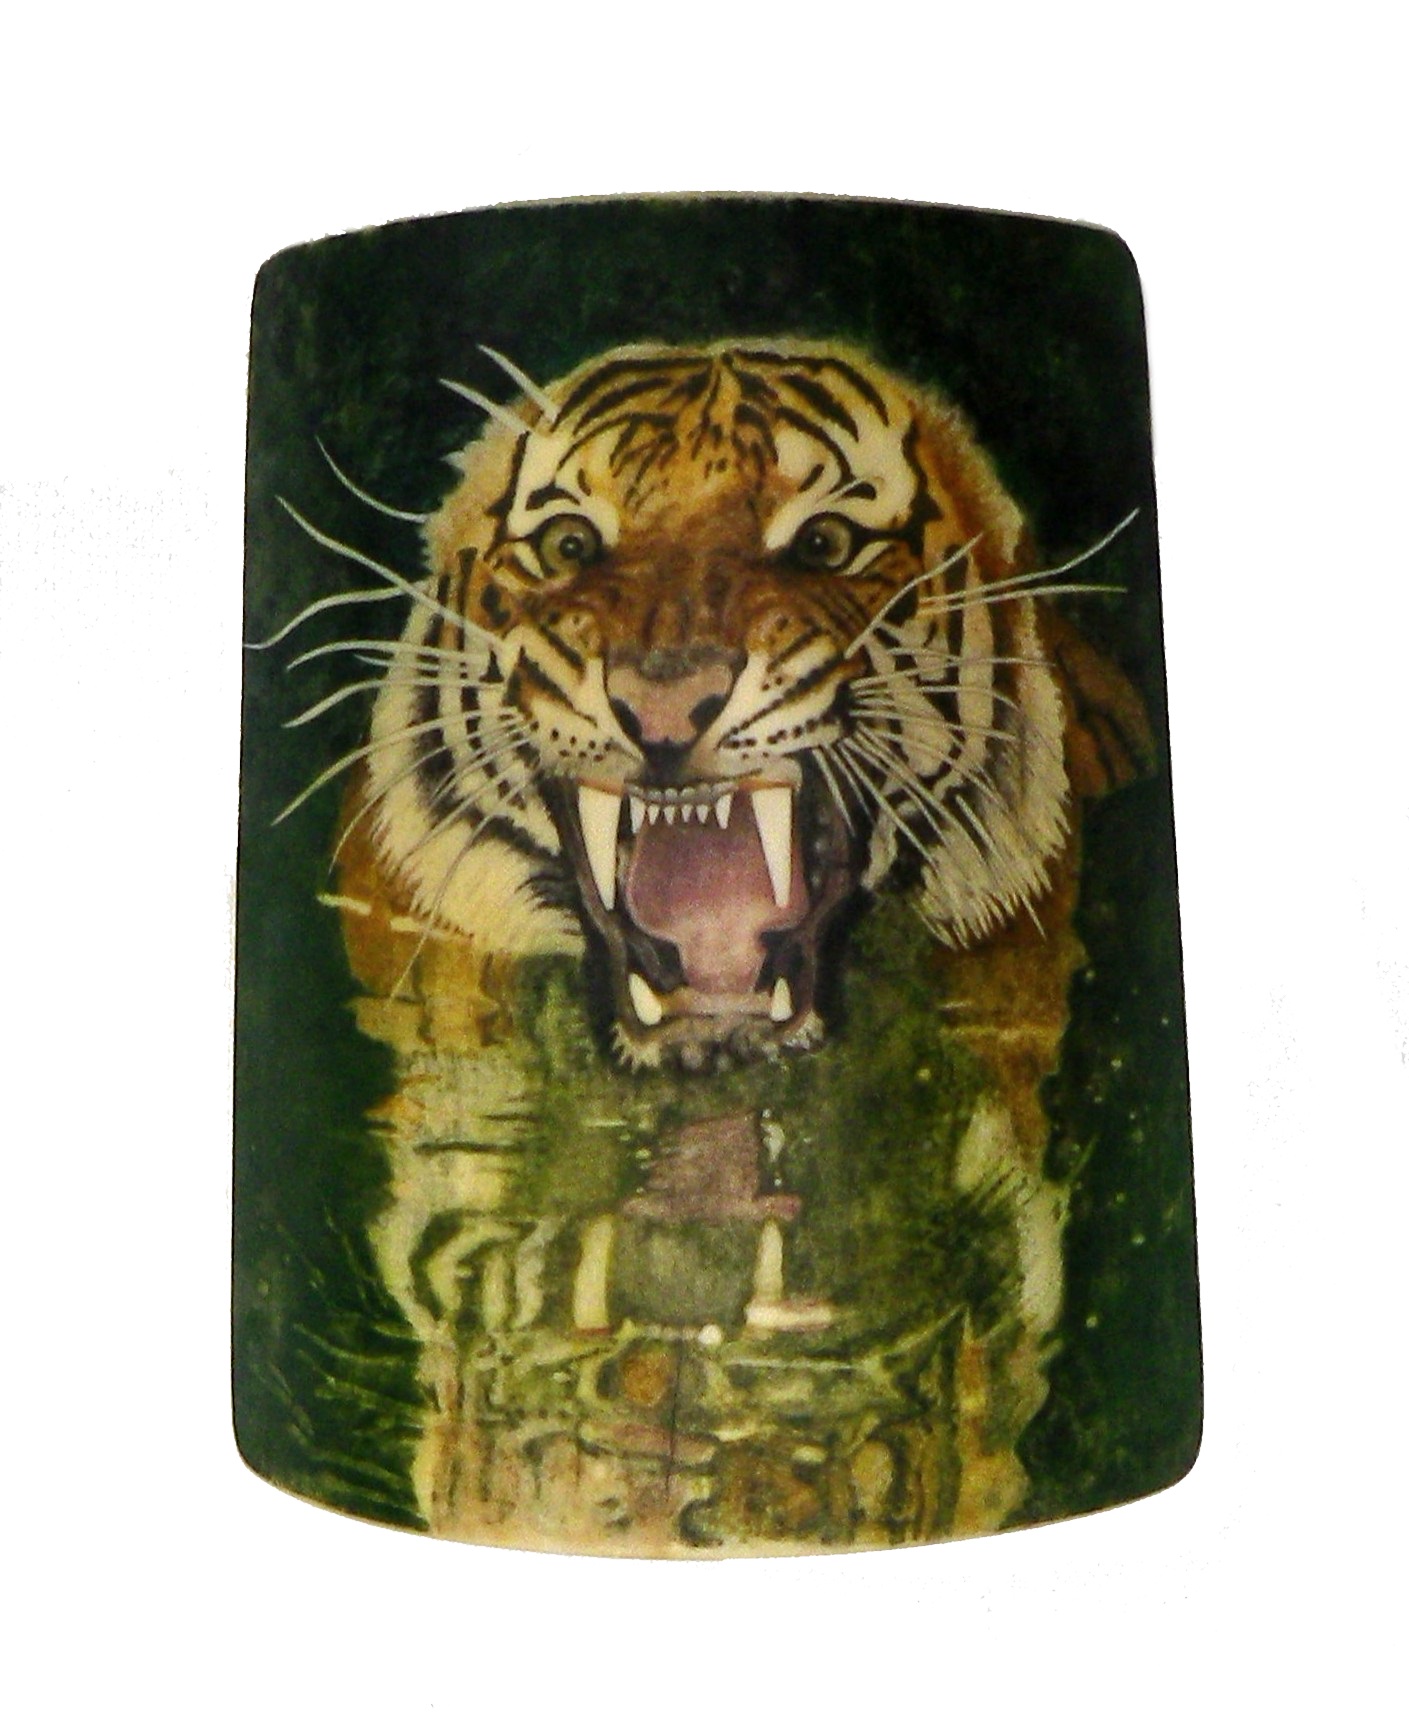
Tiger’s Head Scrimshaw Completed
9 hours later and It’s finished. That brings the total scrimshawing time to 47 hours. The foreground reflection was quite easy to do because it doesn’t have much detail. This is where Randy’s stippling machine really shines; filling in the background hour after hour. Next comes the base.
Base/ Stand
I’m not sure what this wood is but its very hard. It measures 200mm x 100mm x 55mm.
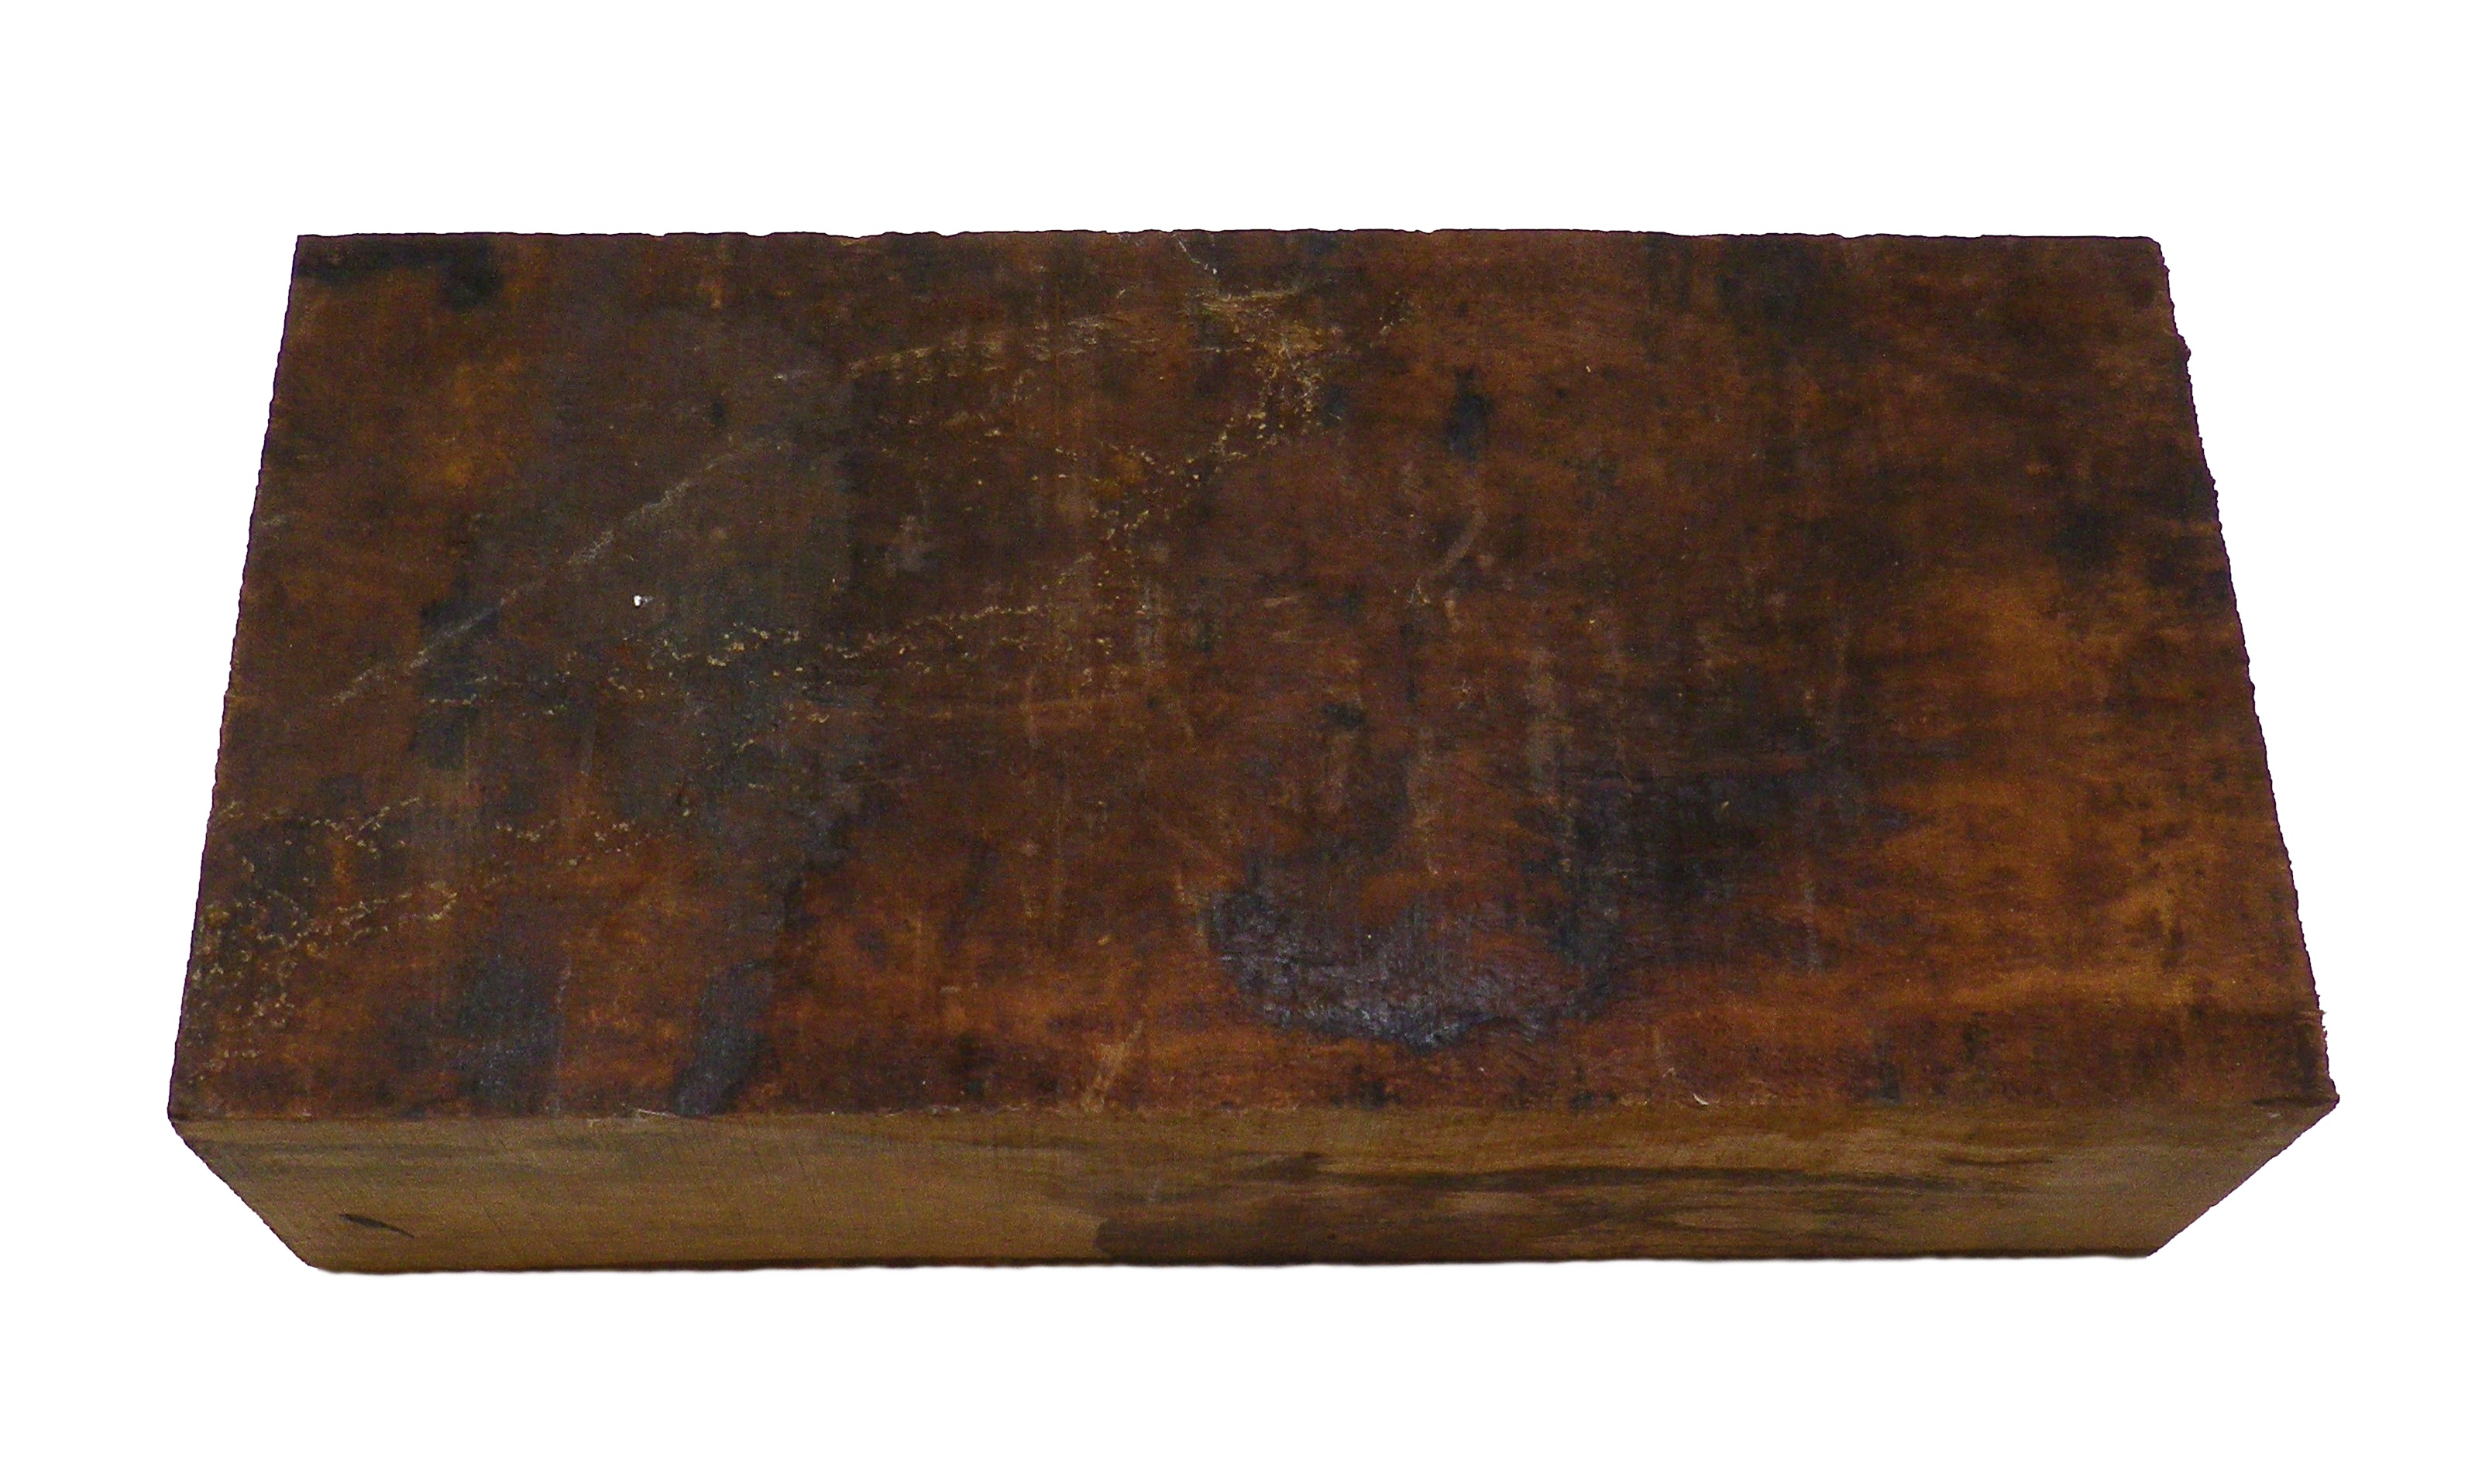
Wood For Tiger In Water Scrimshaw
I started off by marking the outline, then cutting it out with the bandsaw.
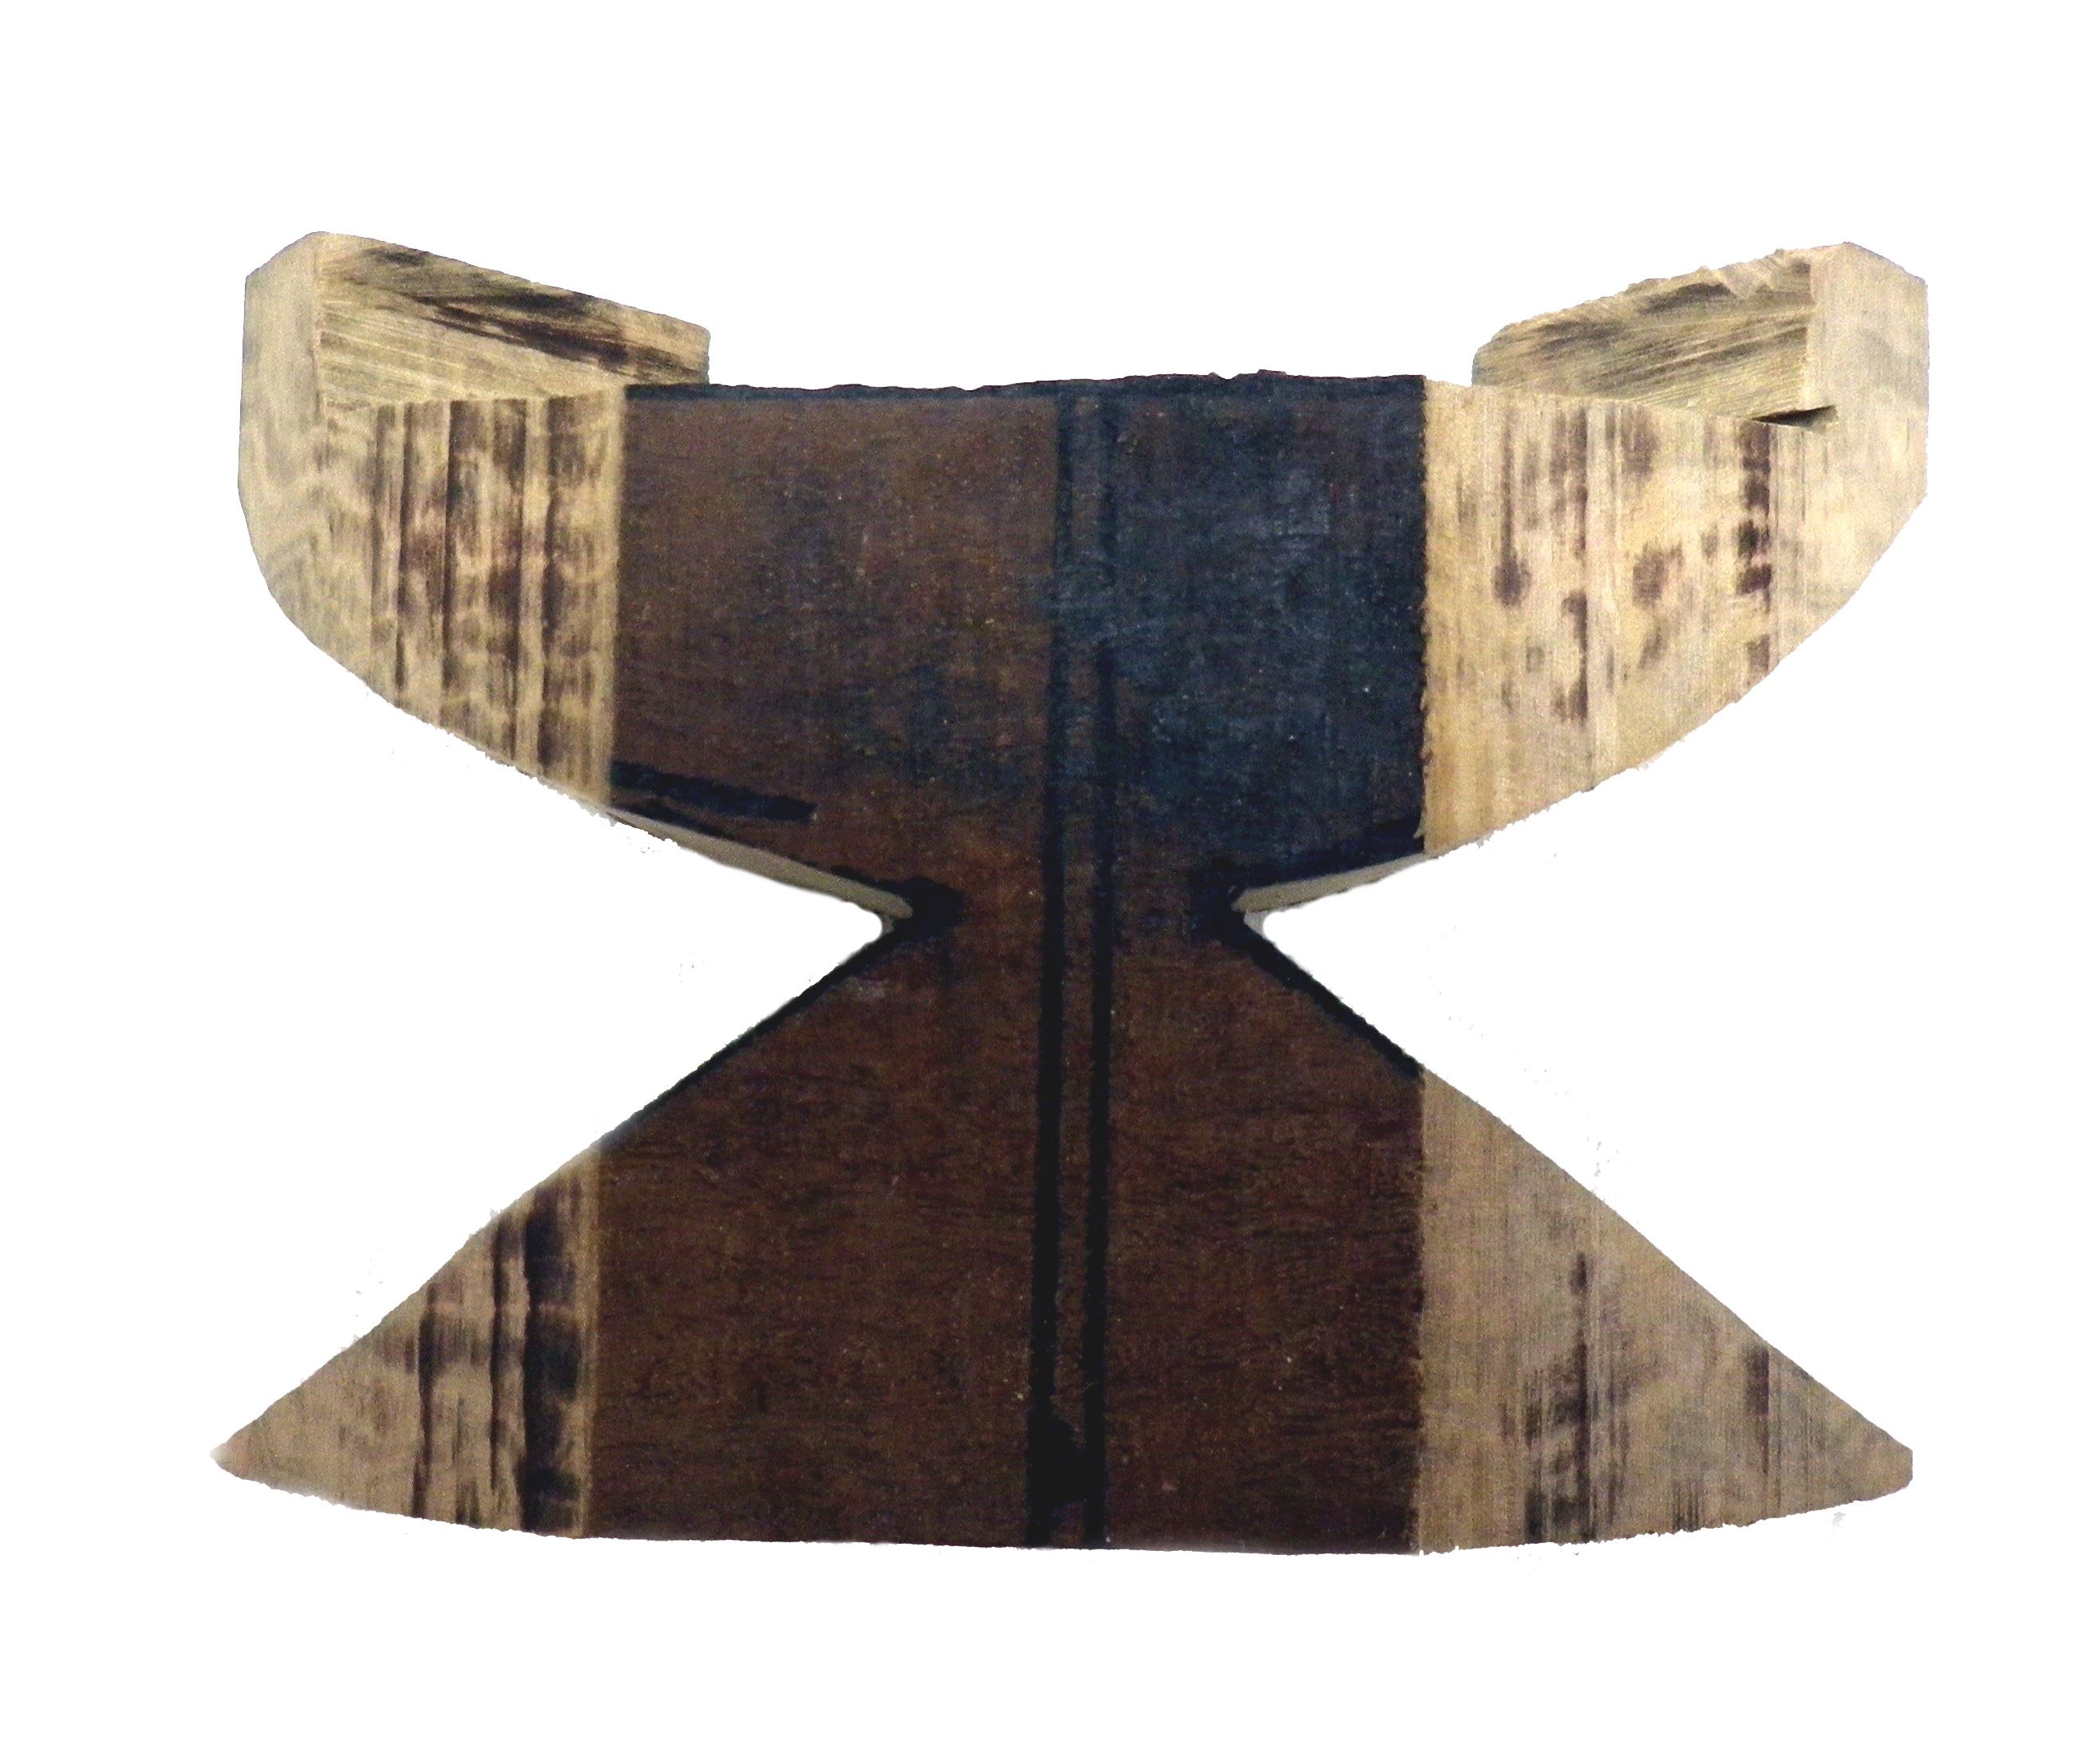
Roughly Shaped Wood For Tiger In Water Scrimshaw
Next, using the sanding disk on my bench grinder it was shaped to the final design using 40 grit sanding disks and then 600 grit. Then it was sanded with the orbital sander and hand polished.

Shaped and Sanded Wood For Tiger In Water Scrimshaw
This is the finished base with holes pre-drilled to attach the name plate. Once I finished this base and had a good look at it I realized it was unbalanced so I altered the shape a few times until I was satisfied. The two pins set in the back of the name plate fit into the holes in the base with a little wood glue.
The base took a total of 6 hours to make, and the shape was altered a few times until I was satisfied with it.
Tiger Scrimshaw – “Back Off”
The End.
Contact Rod: randclacey@bigpond.com

You must be logged in to post a comment.