Tiger Scrimshaw Step 1 – 2/5/15
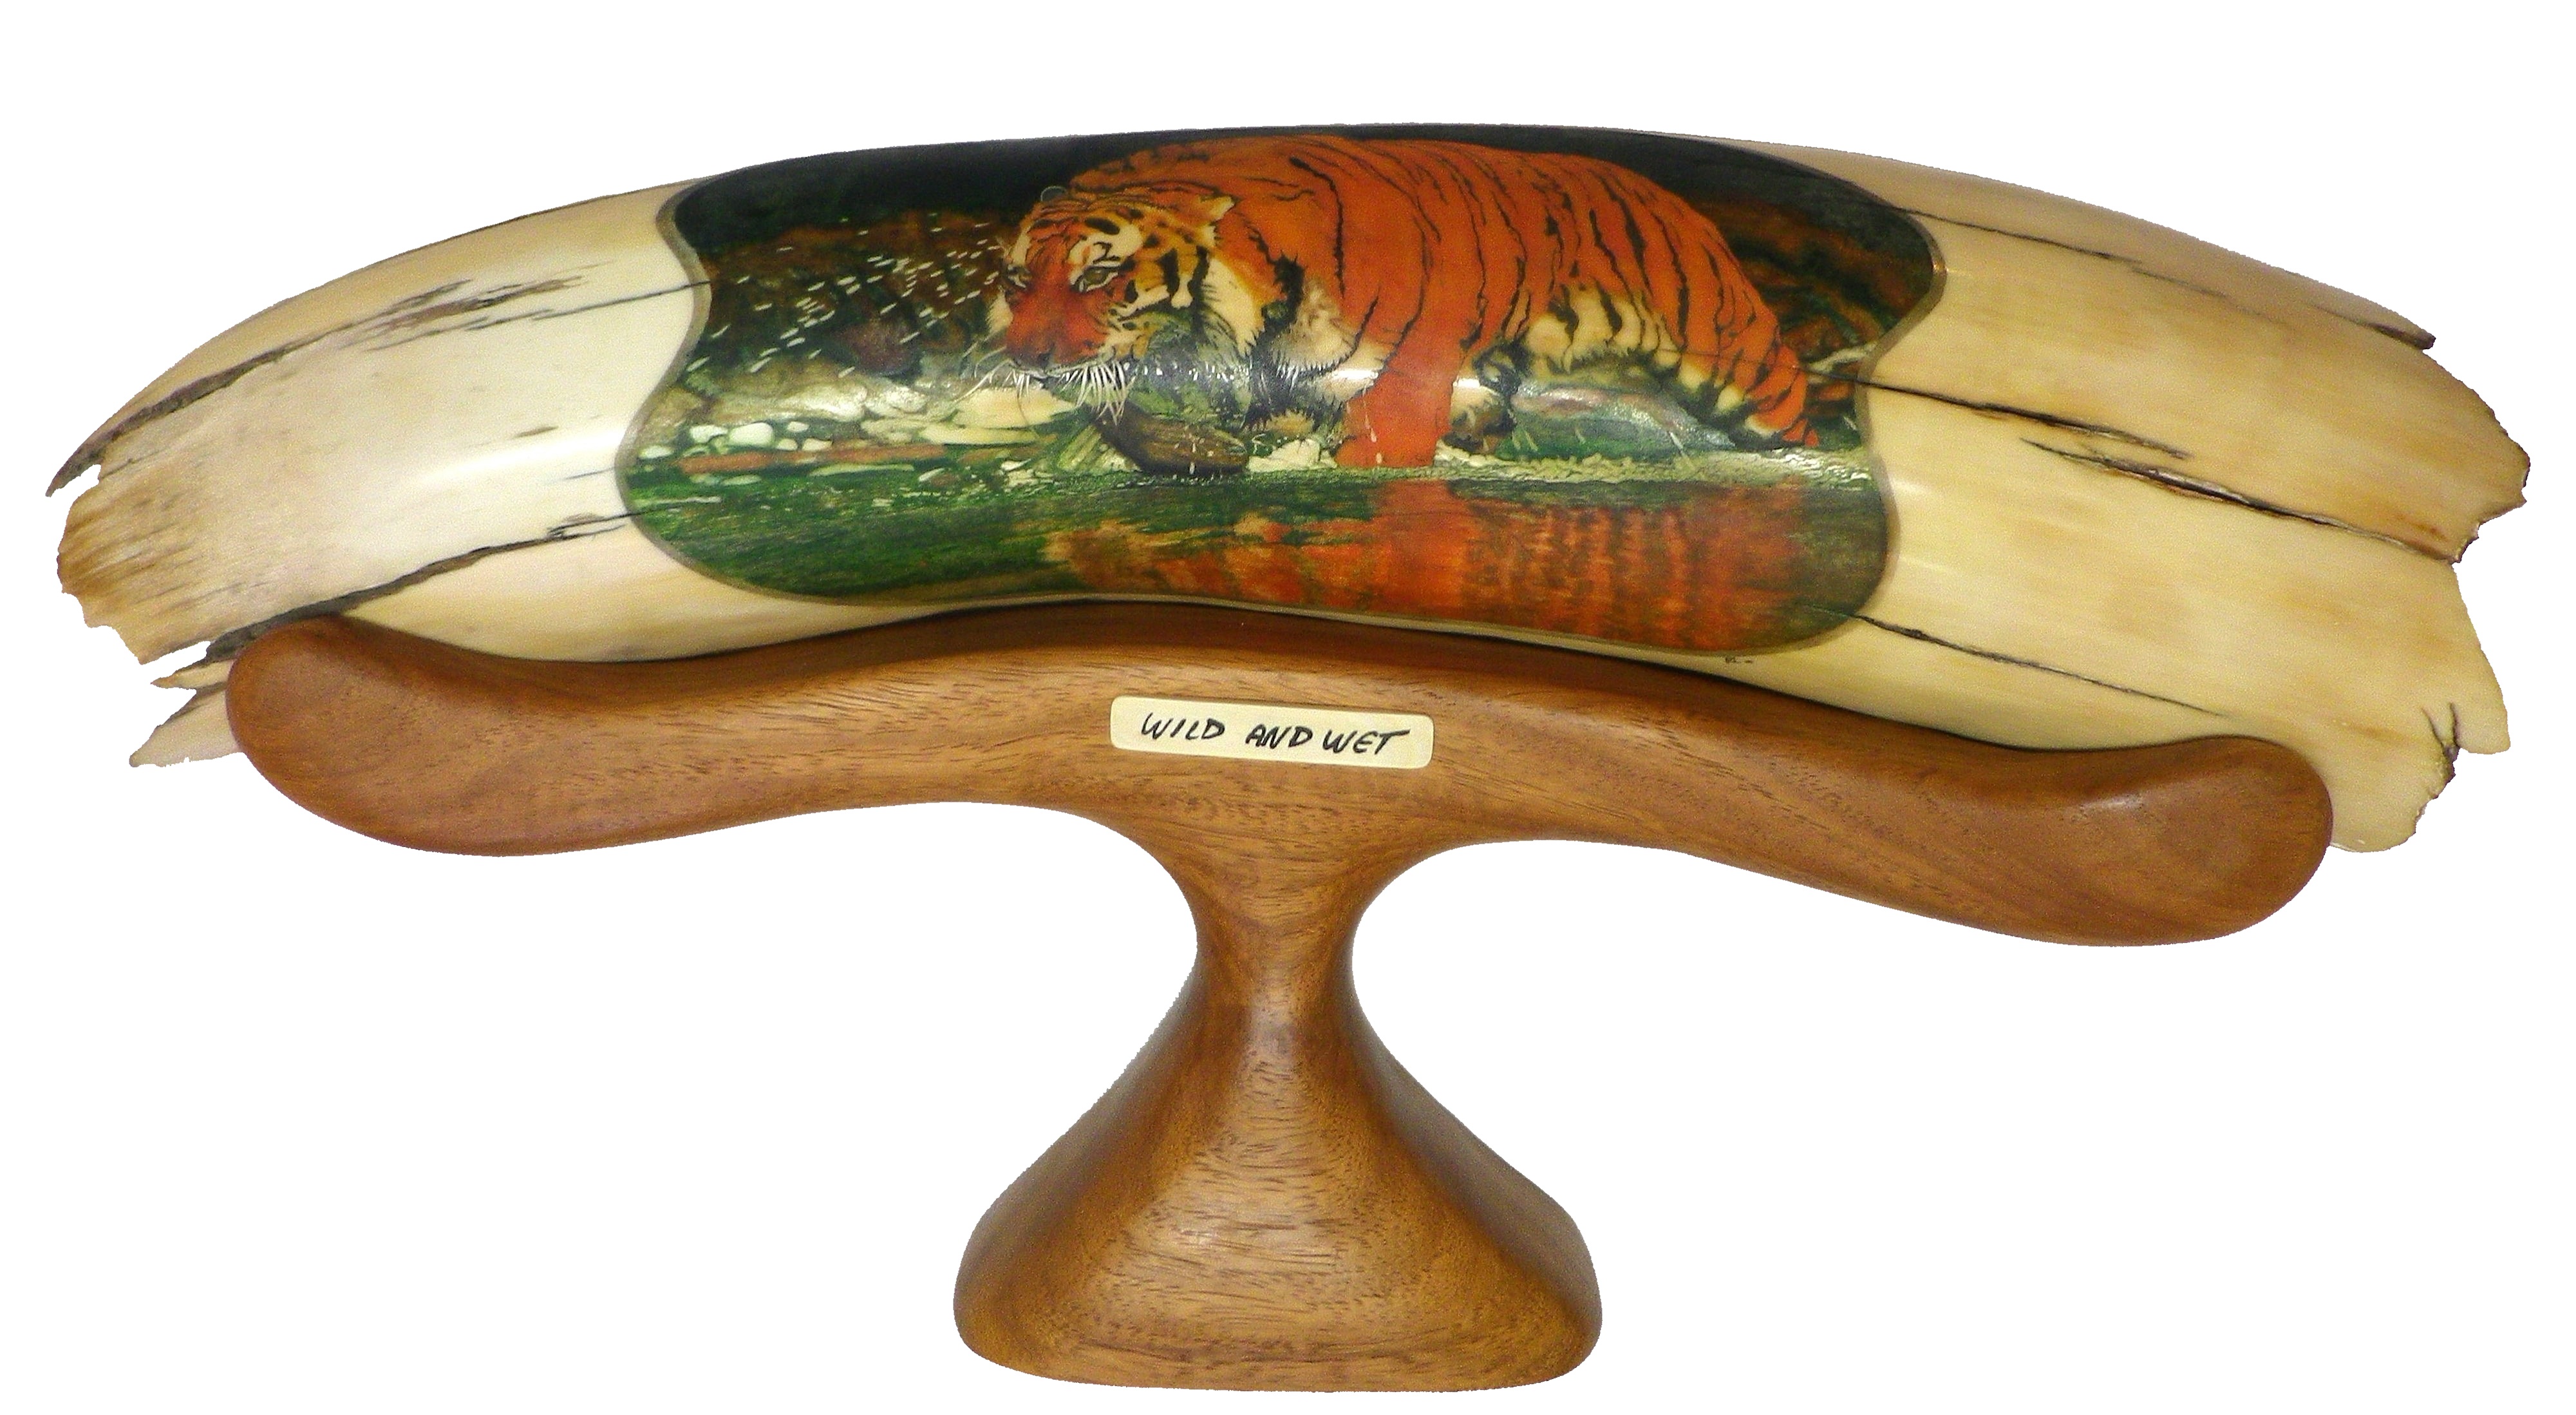
Tiger Scrimshaw – “Wild and Wet”
This is a Scrimshaw I recently completed– a tiger running through water on mammoth ivory.
The dimensions are 49cm long x 15cm high around the curve and it weighs 1.7kg.
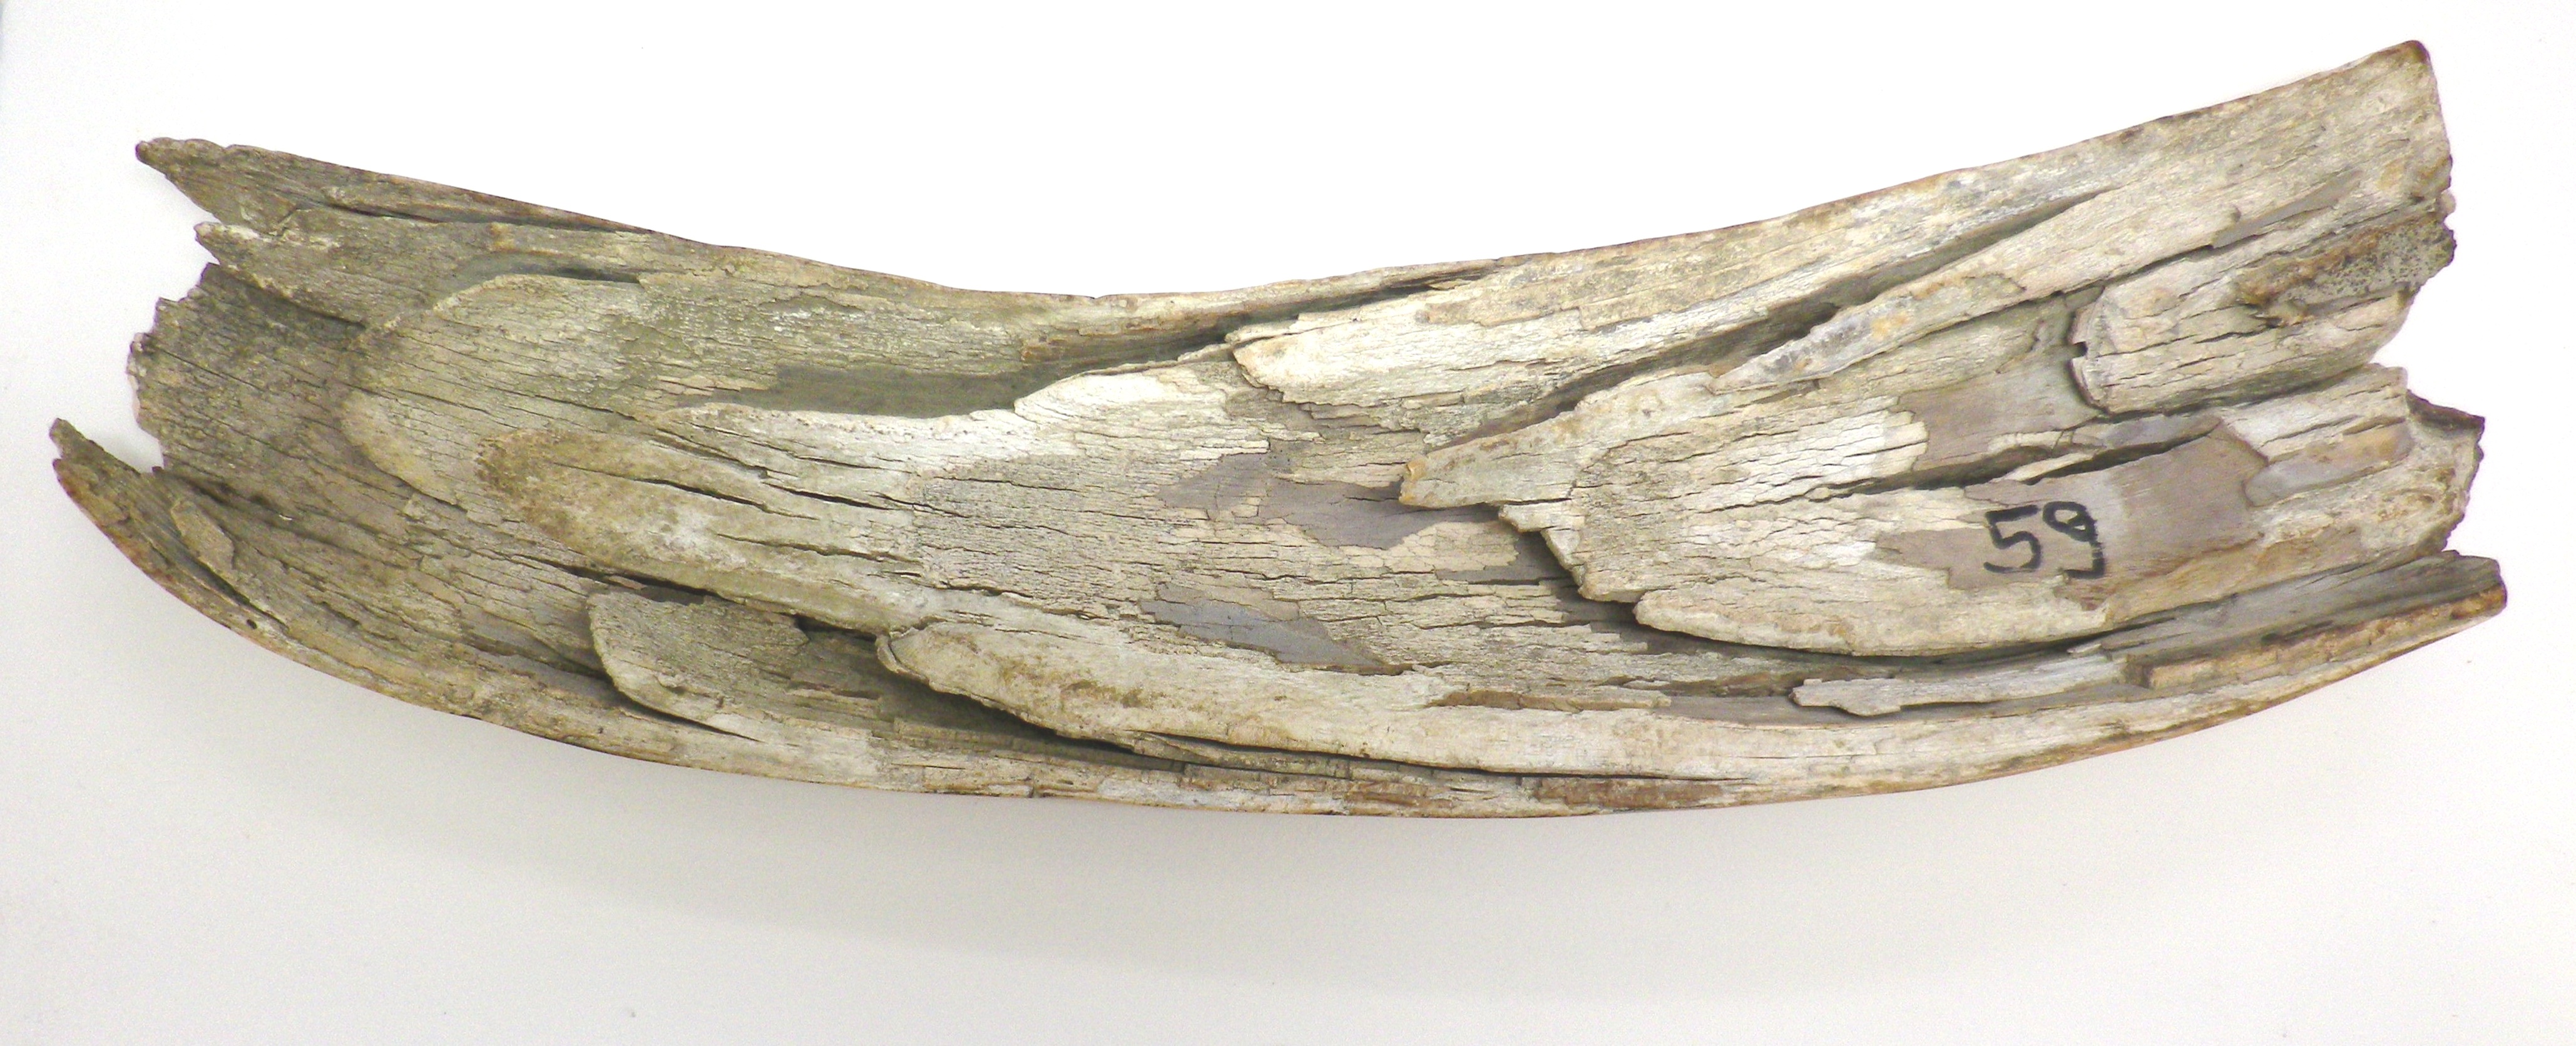
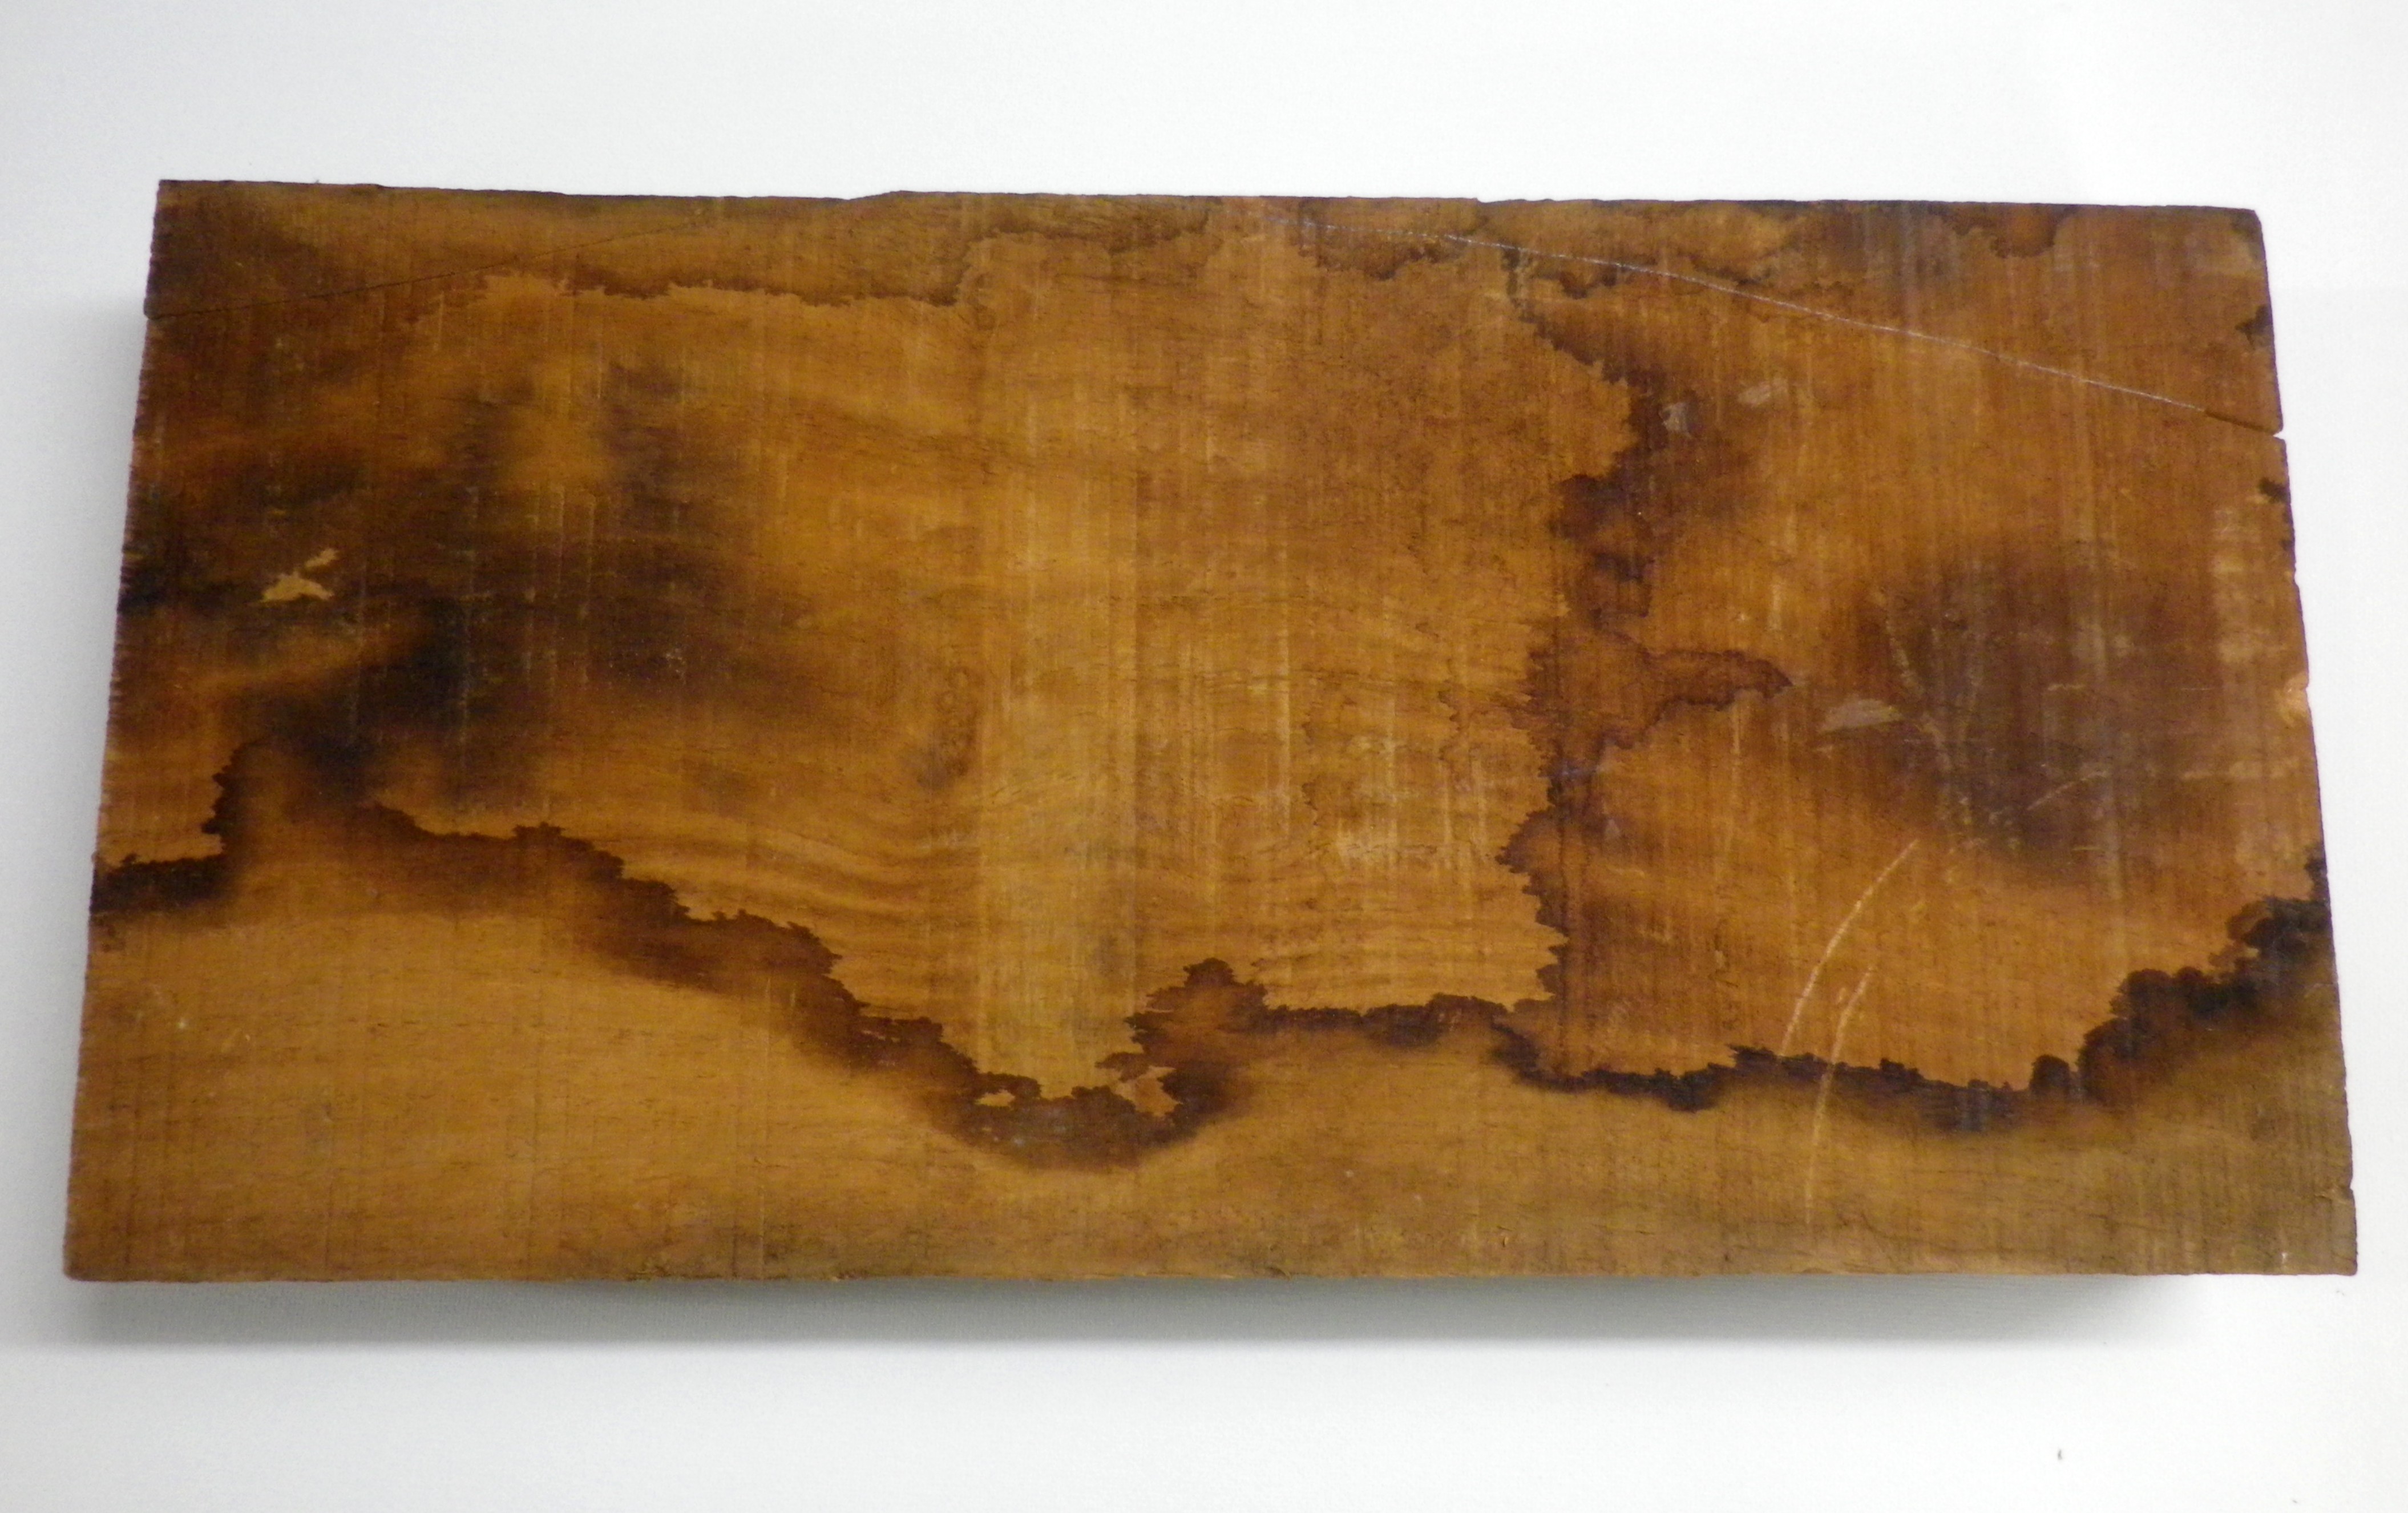
Back Of Mammoth Ivory
Although the back is very rough looking, the front sanded down very nicely. Unfortunately, a large hole appeared while sanding but because large pieces like this are hard to get I wasn’t going to reject it. I patched the hole by carving a similar piece of ivory and fitted it into the hole with high strength epoxy resin. I think it’ll Scrimshaw nicely but only time will tell.
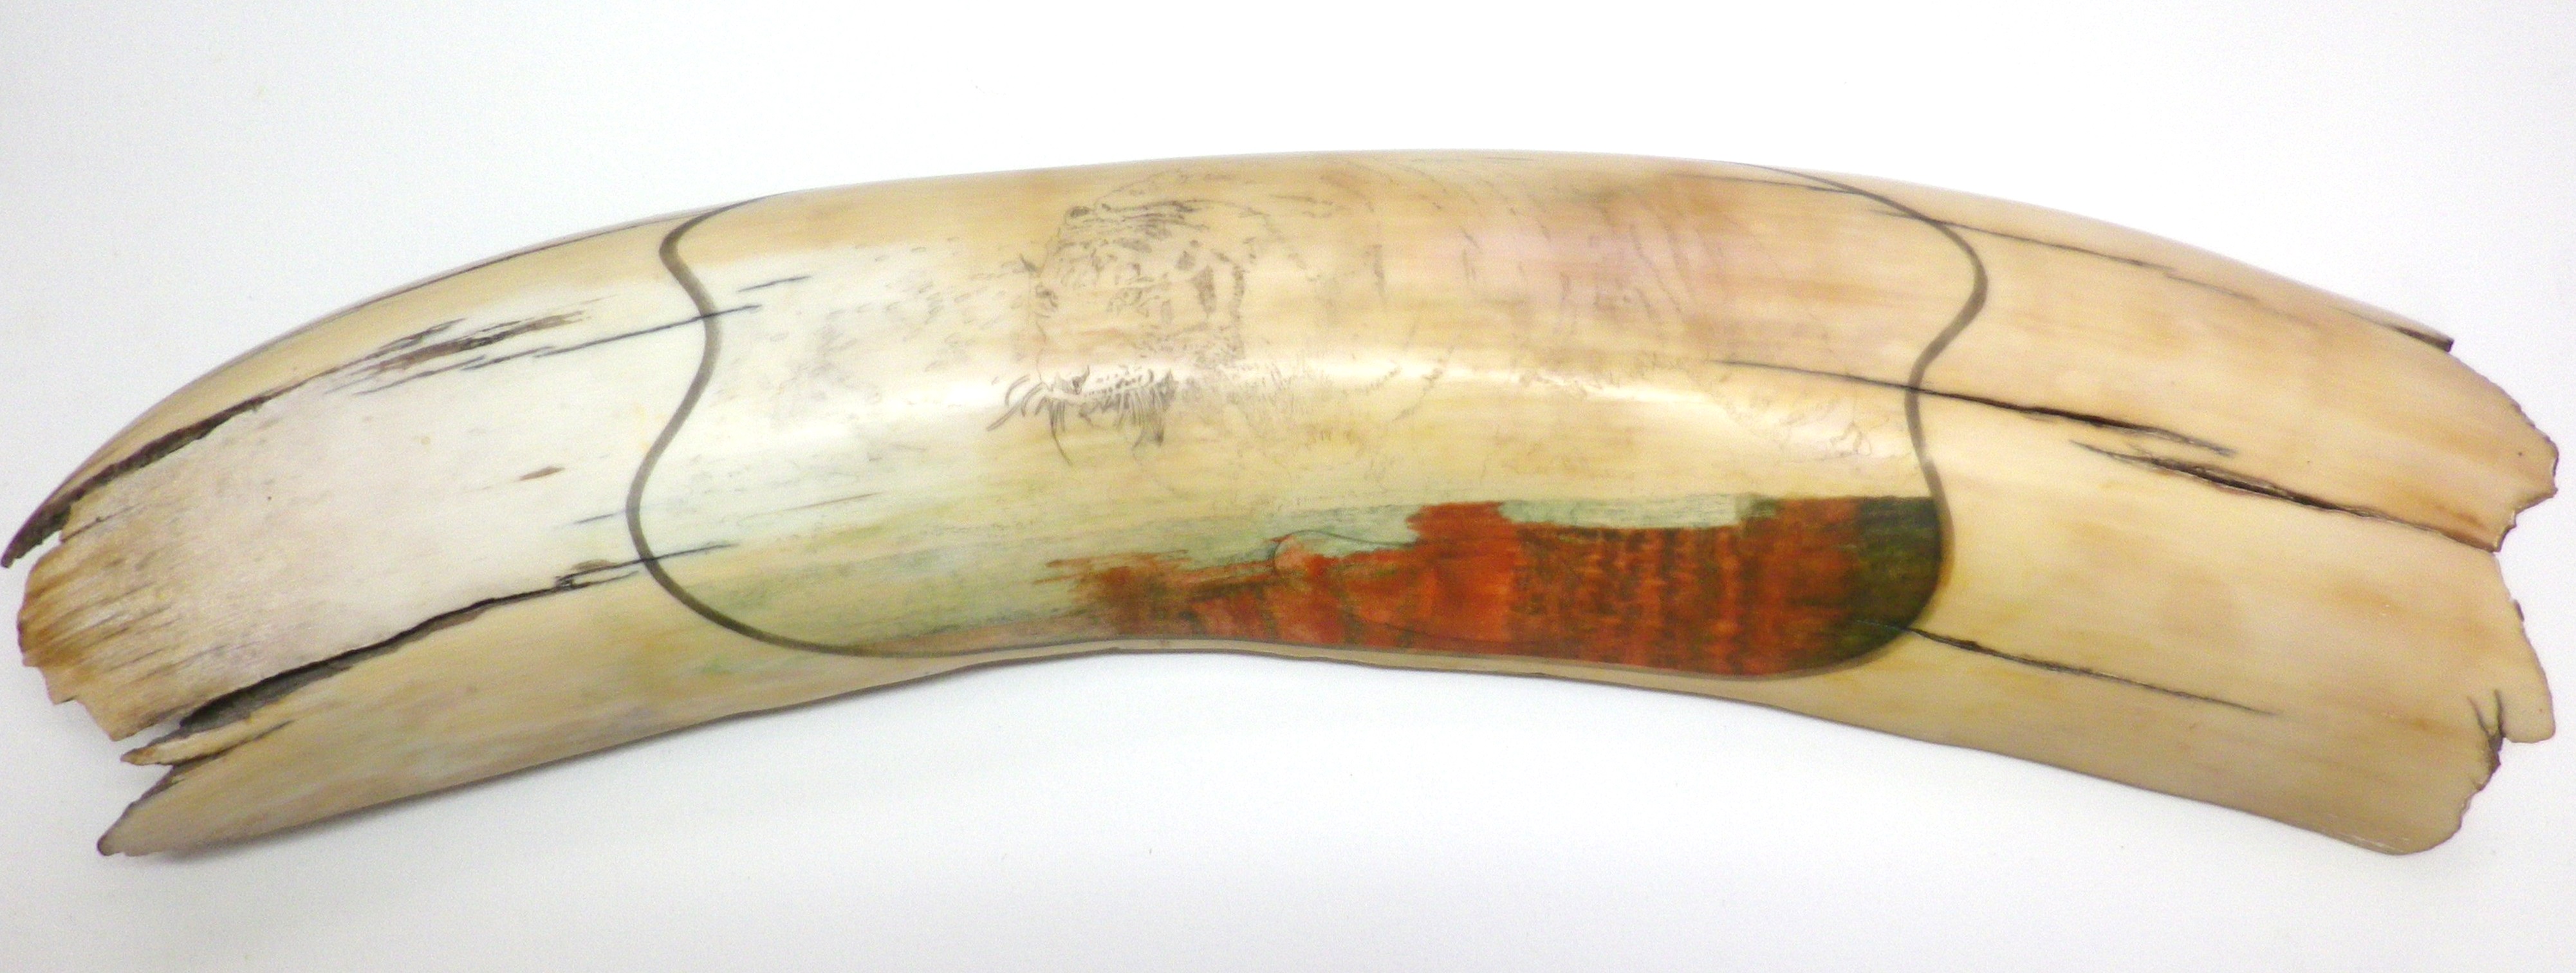
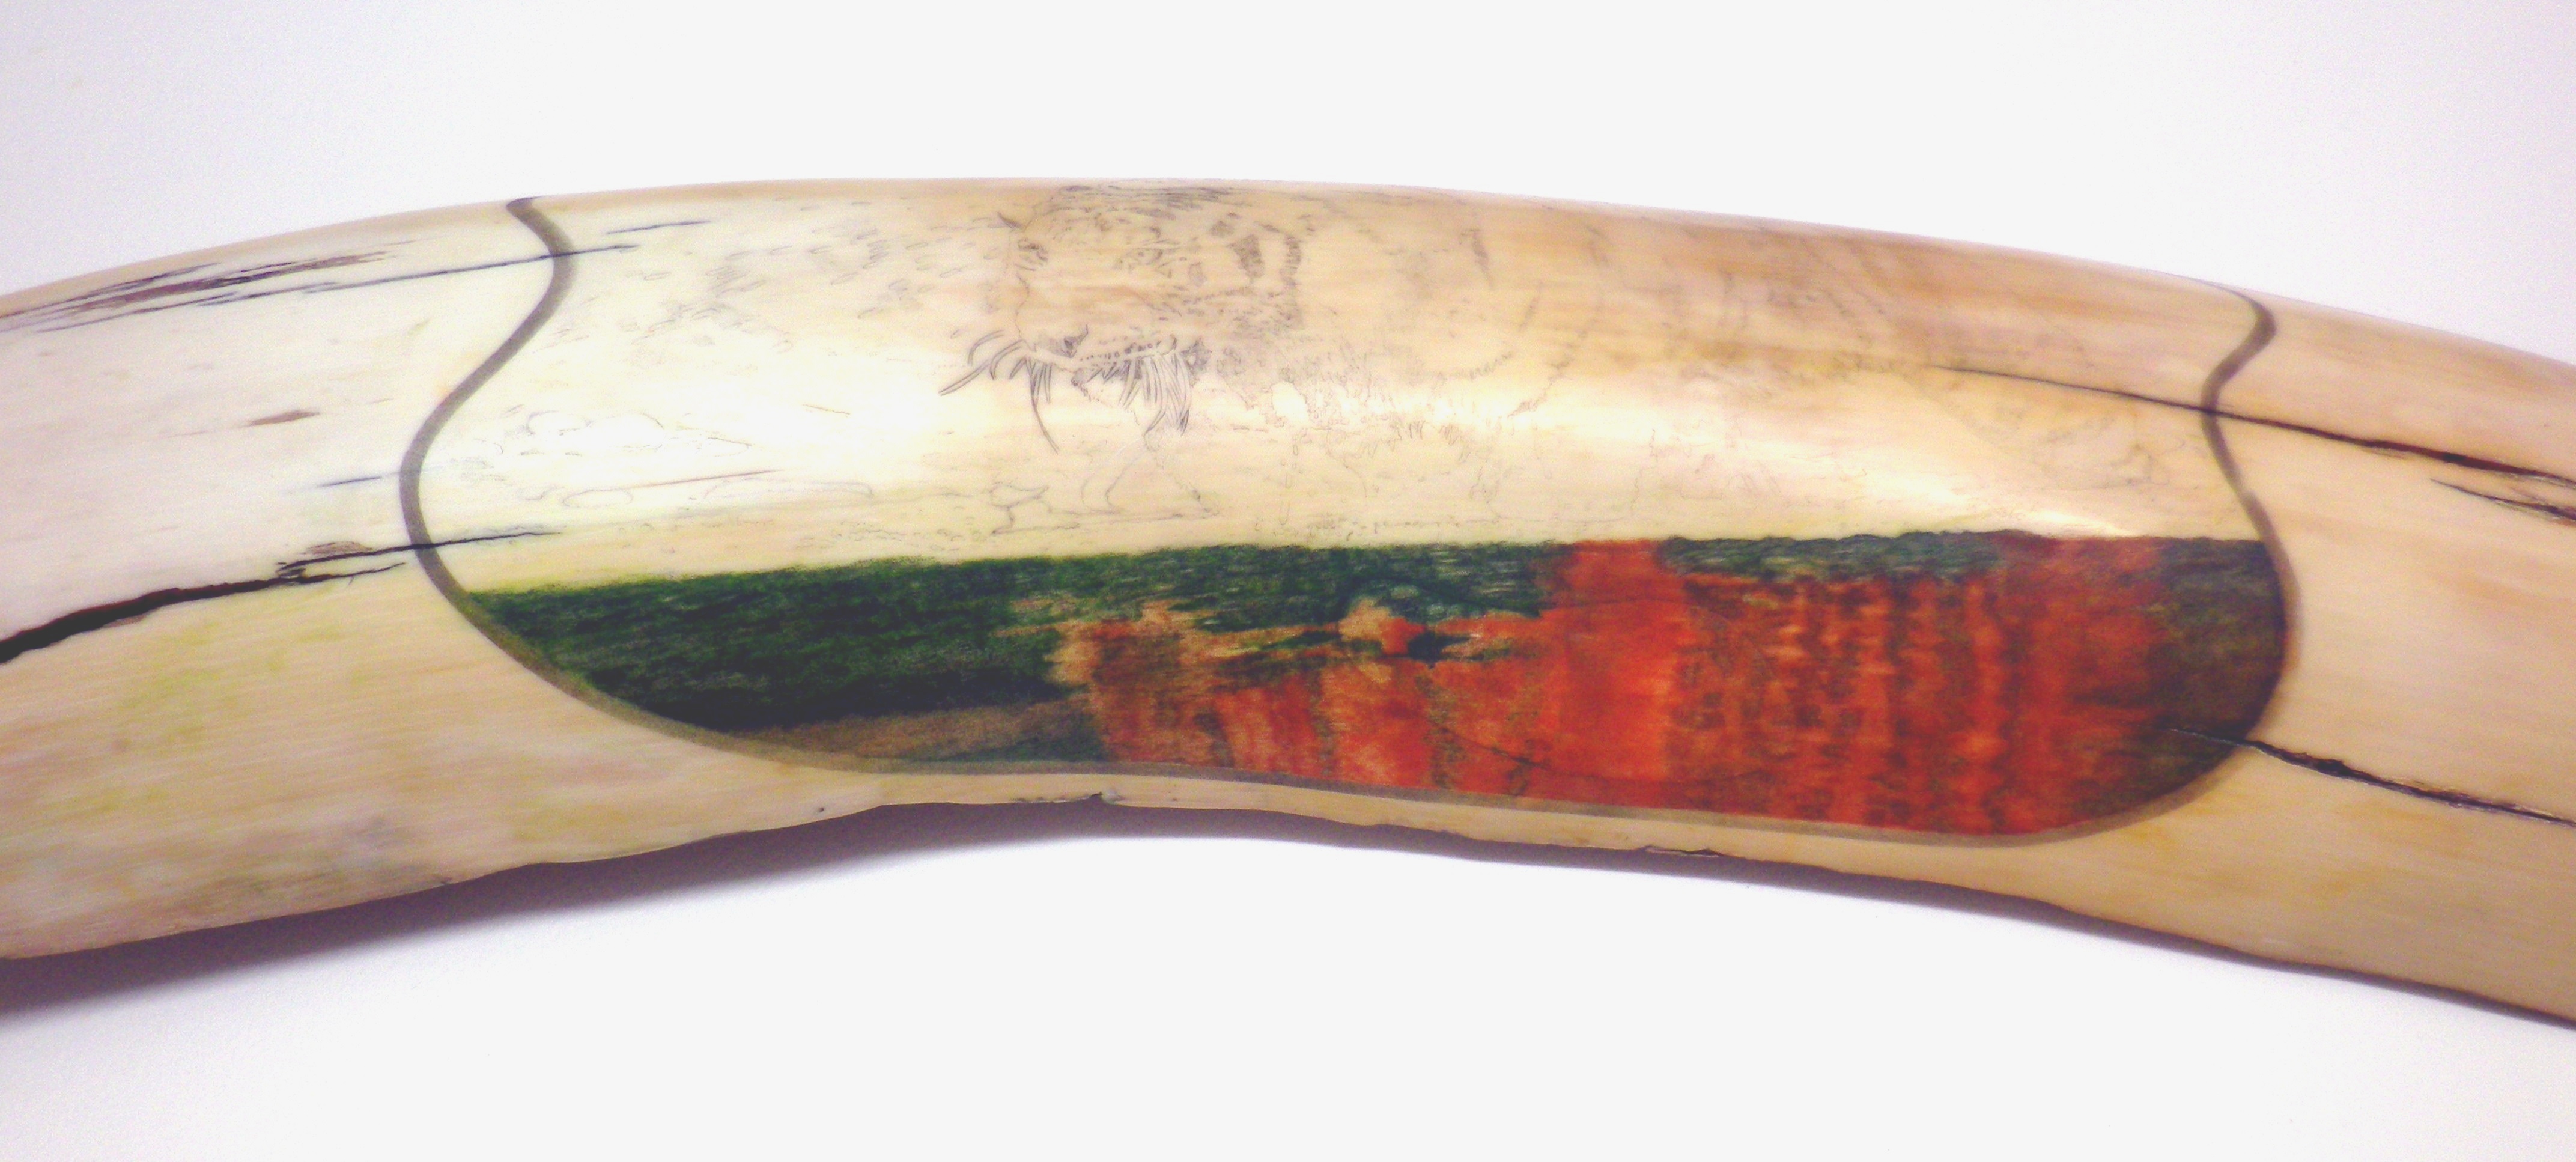
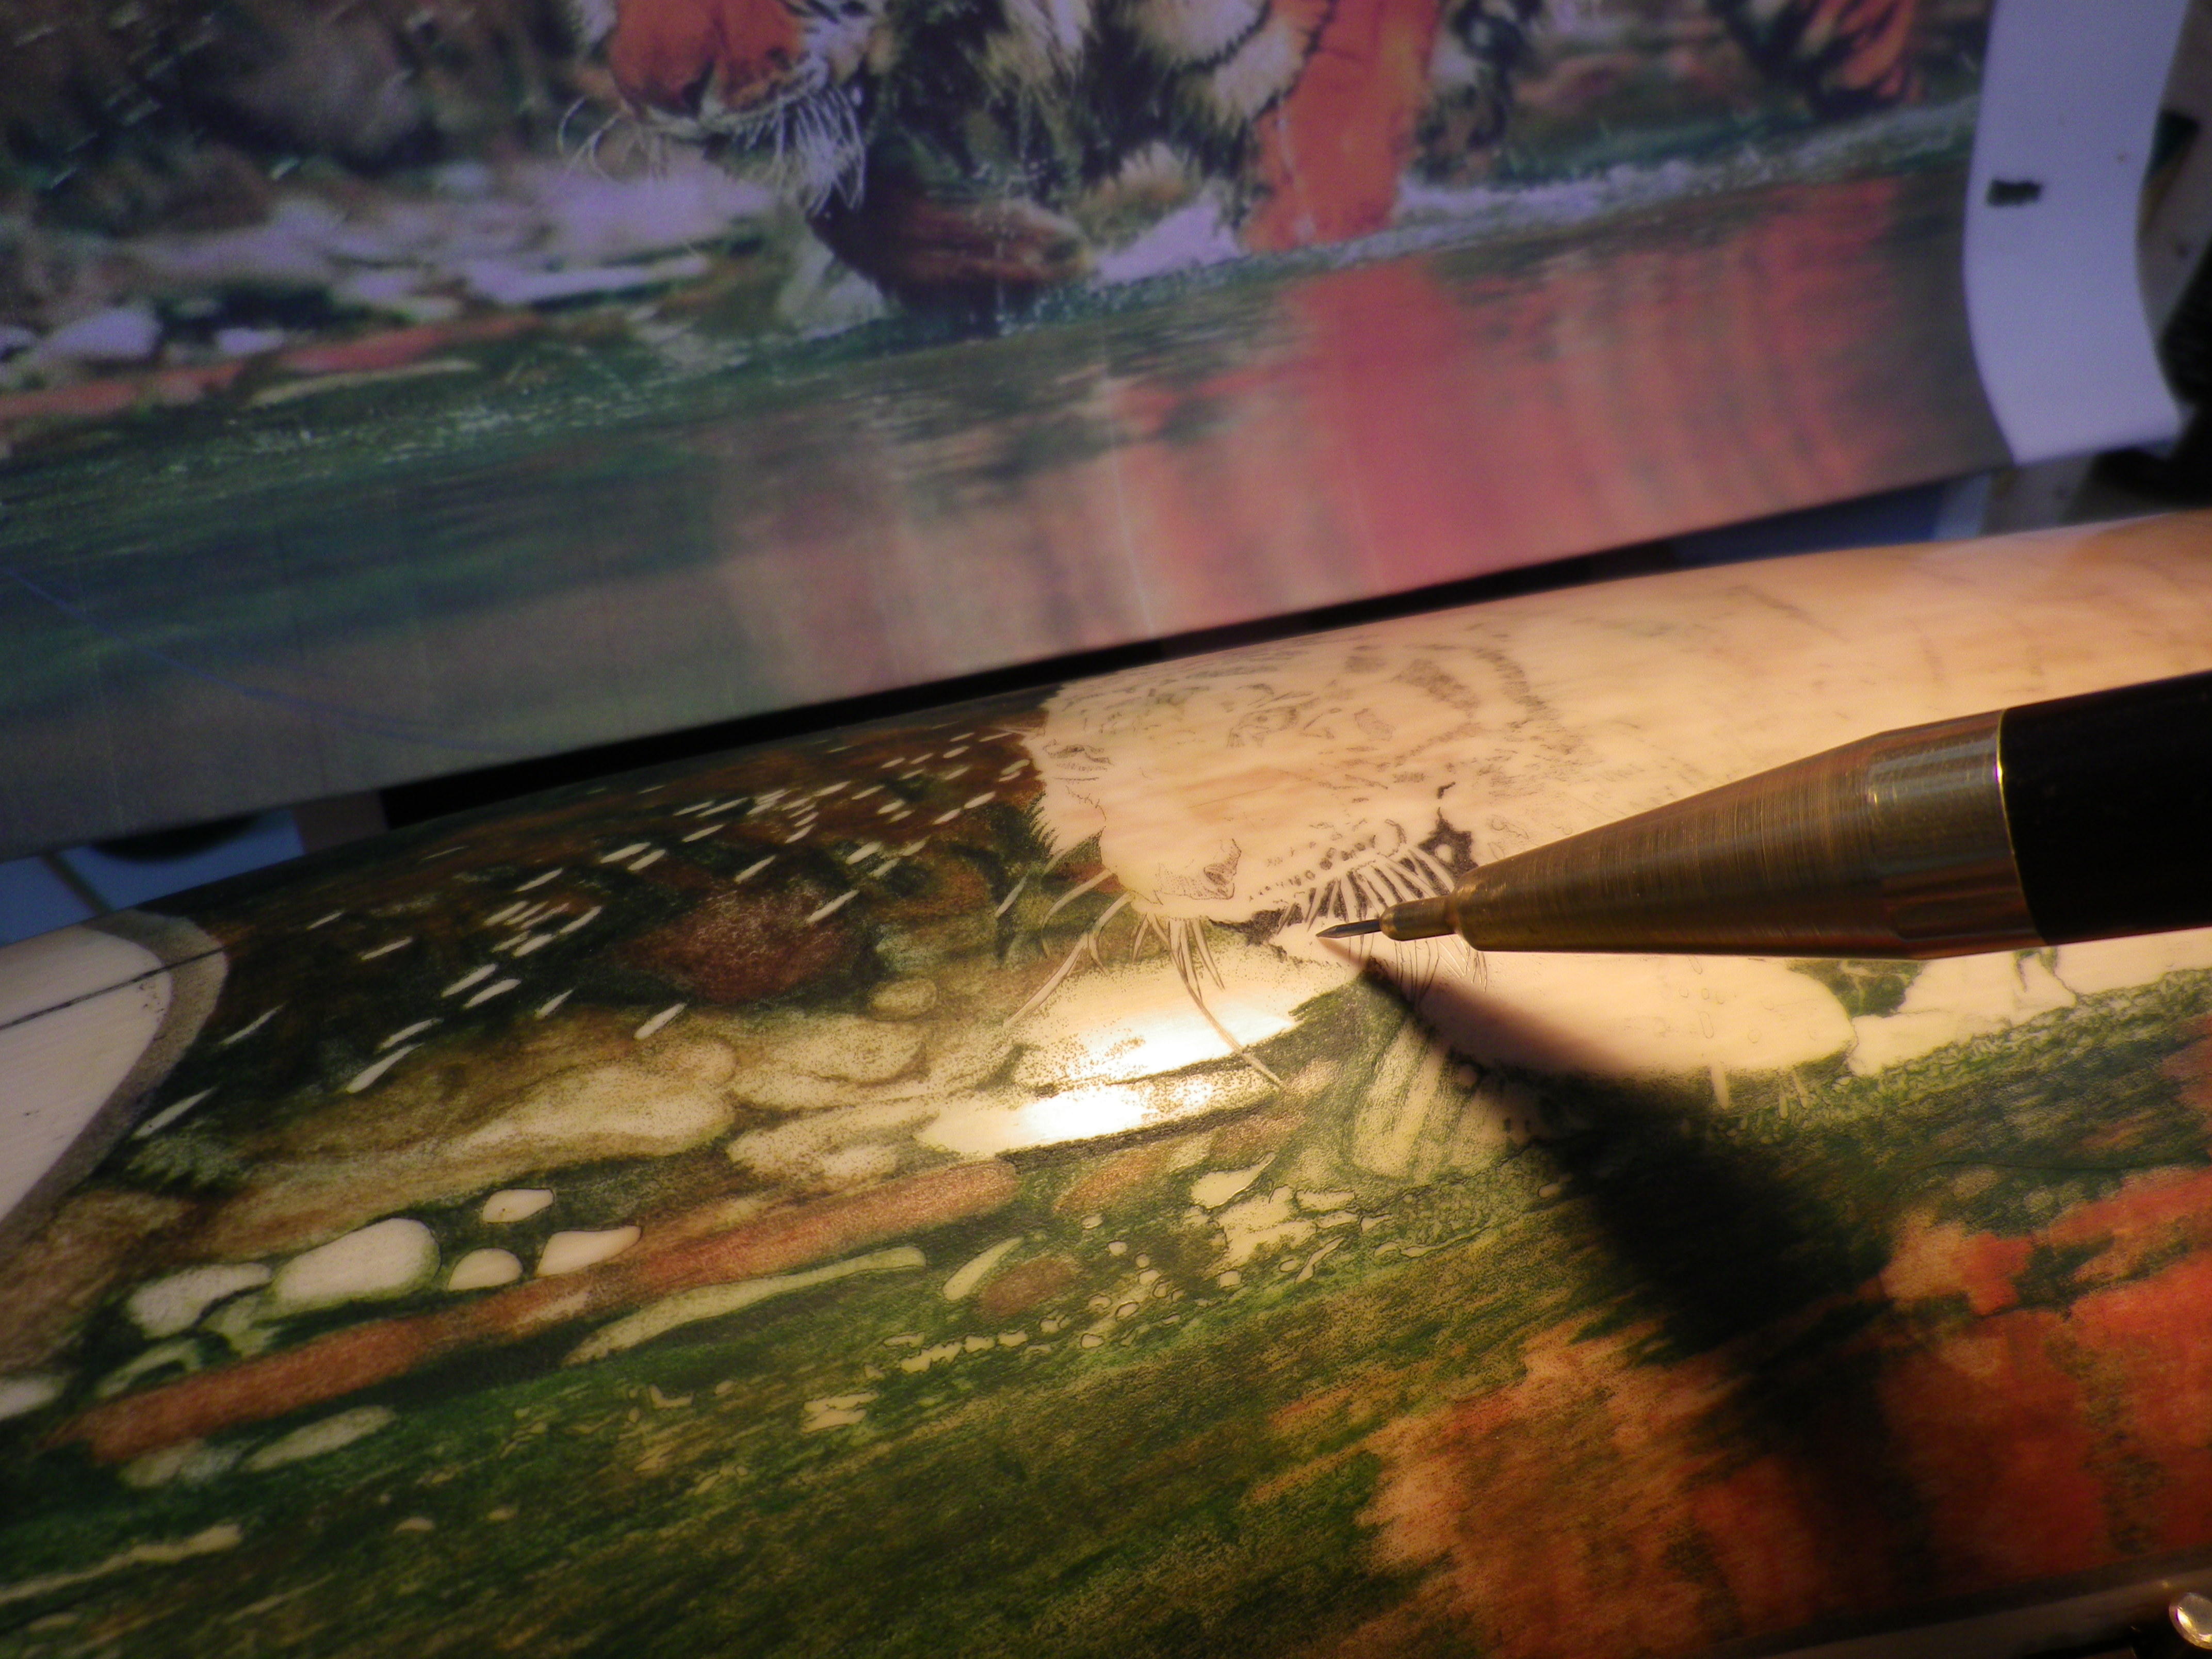
Step 1: Tiger In Water Scrimshaw After 30 Hours
At this point it’s taken about 30 hours because the foreground has been very time consuming. This shows the natural untouched shape of the mammoth ivory.
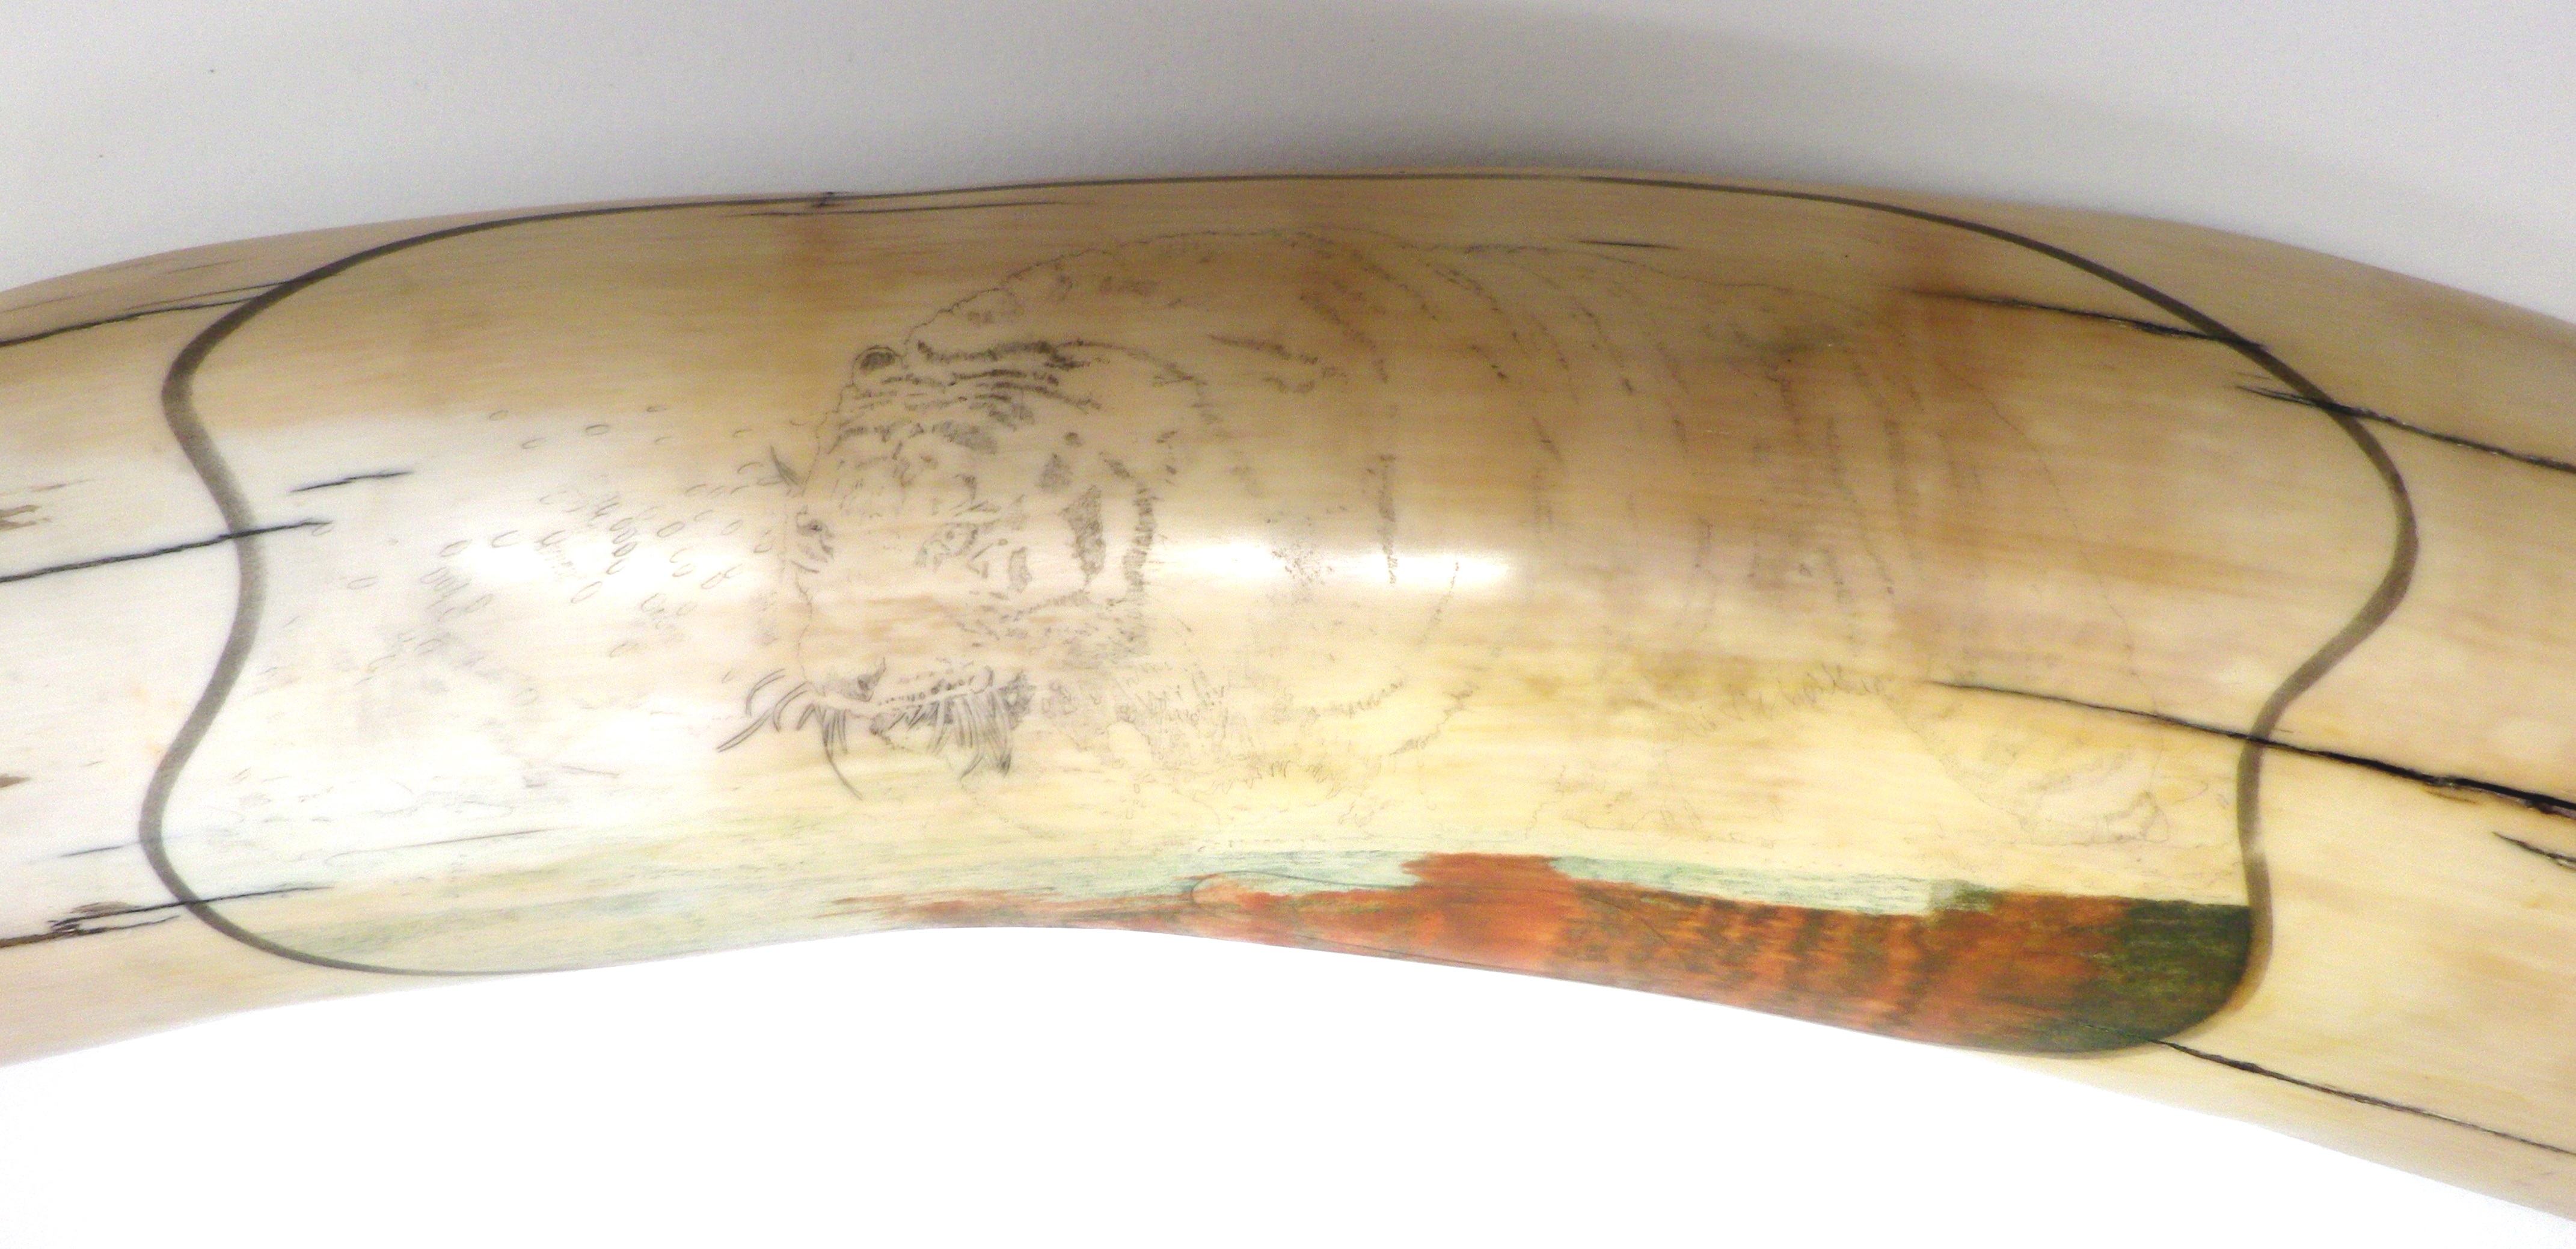
Tiger In Water Scrimshaw After 30 Hours Close Up

Patched Area Of Tiger In Water Scrimshaw
If you look closely at the centre bottom of the Scrimshaw you can see where it’s been patched. When it’s finished it should hopefully be covered over.
The curved boarder running around the picture was created with the sandblasting method. I anticipate this Scrimshaw taking many weeks to finish.
Tiger Scrimshaw Step 2 – 5/5/15
Step 2: Tiger In Water Scrimshaw After 36 Hours
6 hours later the water reflection is finished and the patch is covered so it’s not as noticeable. Next is the background which is very tedious work and should take a while to finish.
Tiger Scrimshaw Step 3 – 7/5/15
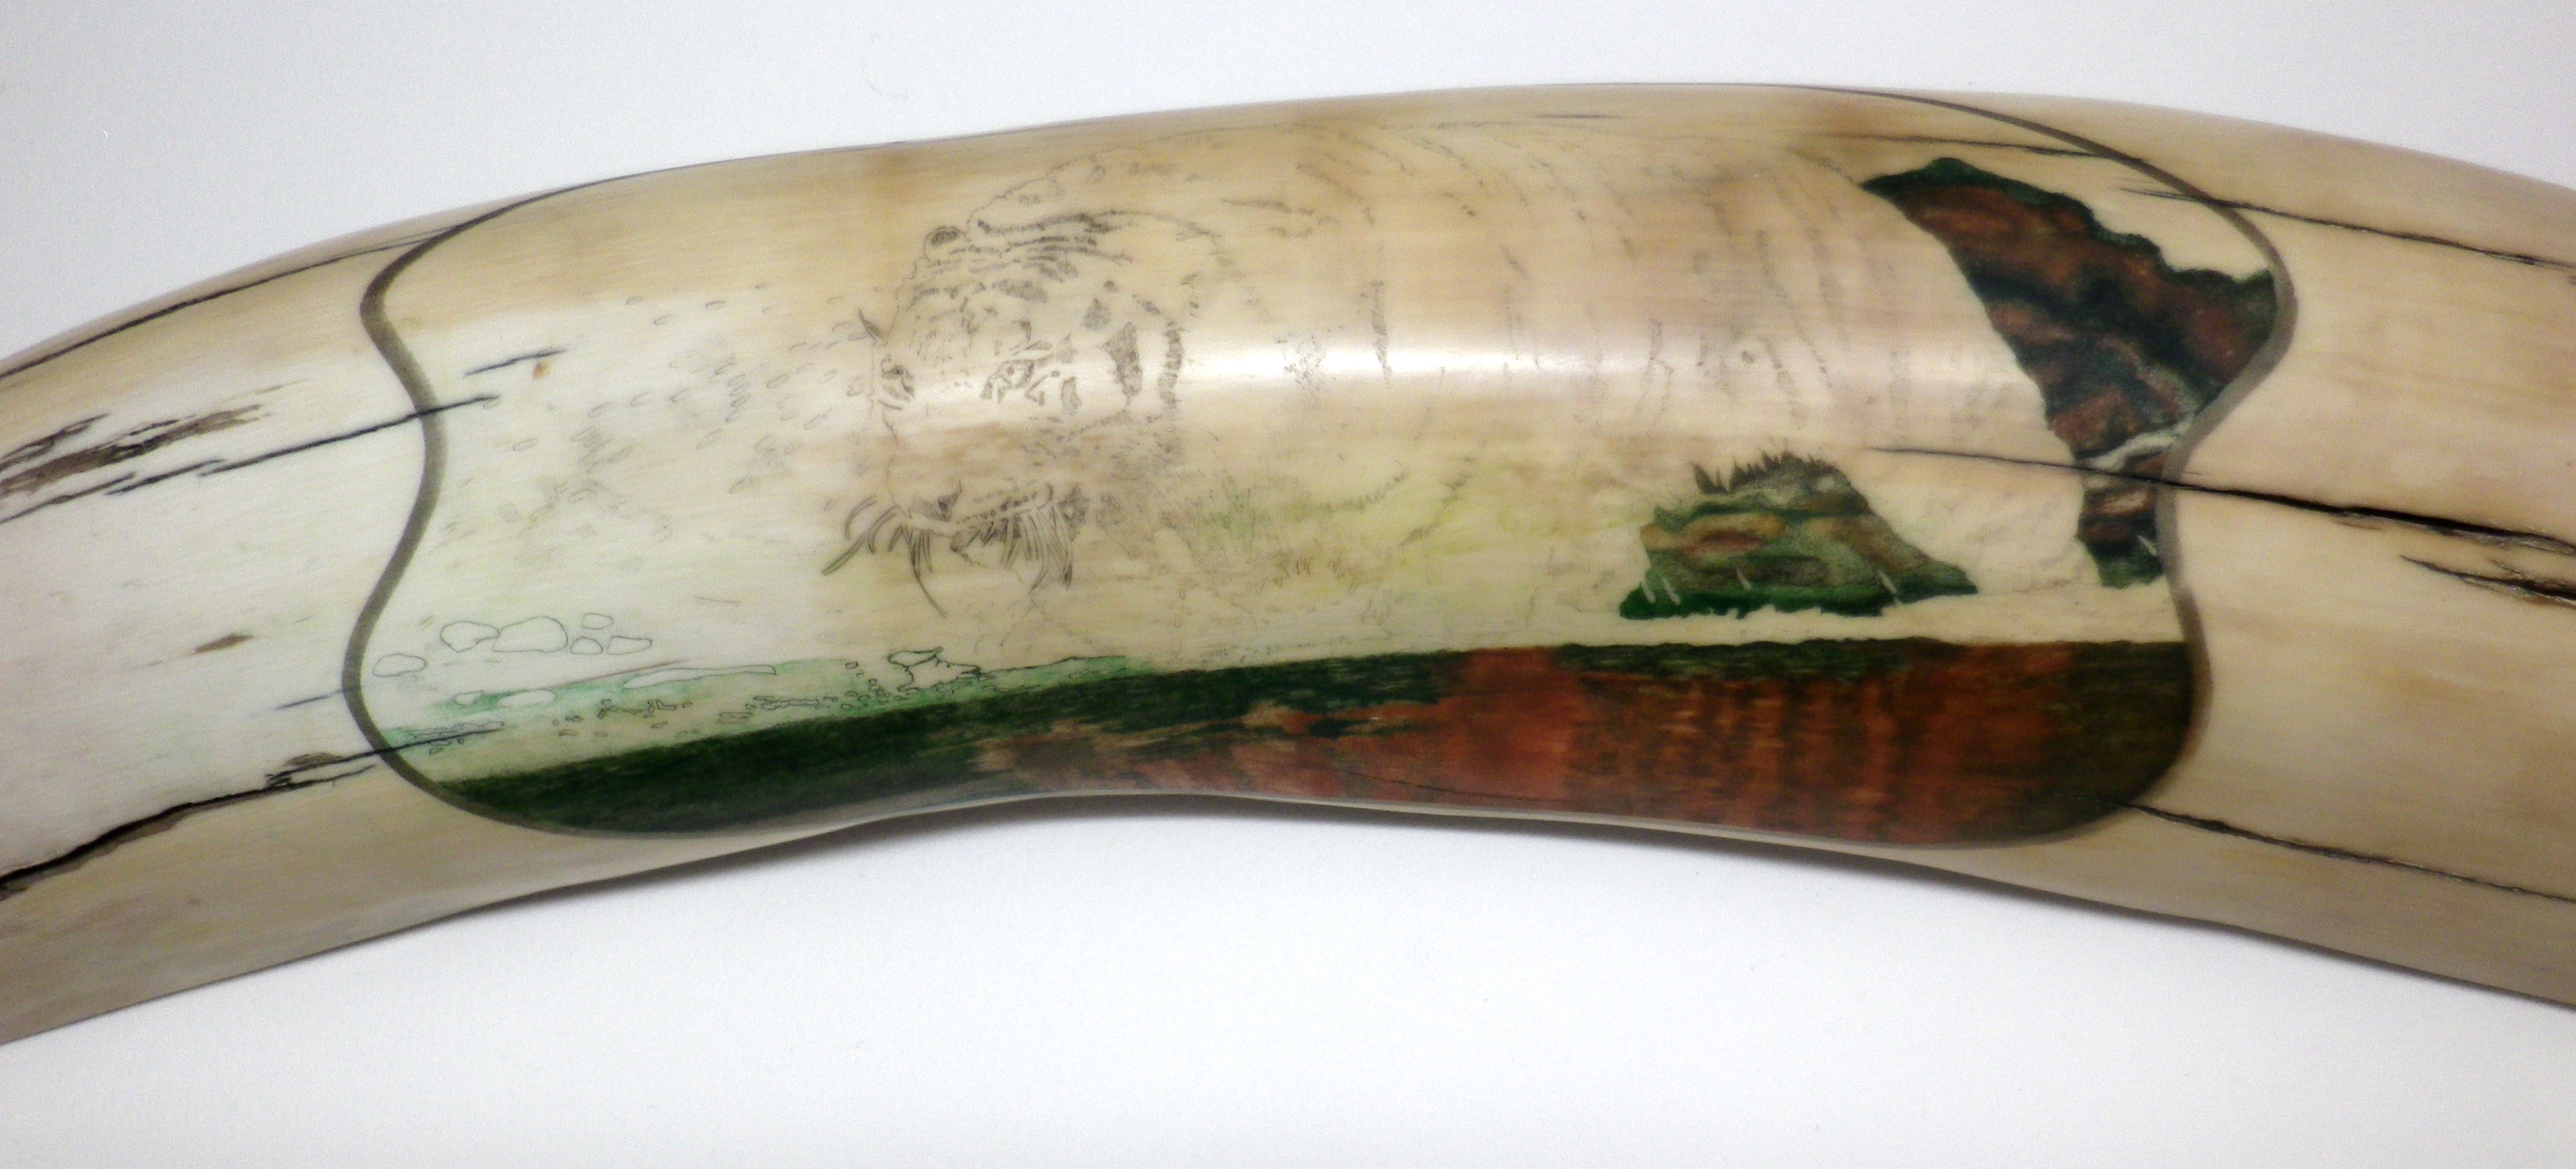
Step 3: Tiger In Water Scrimshaw After 45 Hours
9 hours later the section in front and behind the back leg is finished. A lot of small details went into this part like the creek bank, rocks, and pieces of wood and debris.
Tiger Scrimshaw Step 4 – 8/5/15
7 hours later the foreground in front of the tiger and between it’s front legs is finished. This area is very delicate and it always seems like more detail could be added. Next comes the brown grass to left of the tigers head.

Step 4: Tiger In Water Scrimshaw After 52 Hours
Tiger Scrimshaw Step 5 – 11/5/15
8 hours later the background to the left of the tiger’s head and the foaming water at the tiger’s feet is done. This foam is quite difficult as you can’t do it bubble for bubble as that would involve too much detail.

Step 5: Tiger In Water Scrimshaw After 60 Hours
Tiger Scrimshaw Step 6 – 12/5/15
The background above the tiger needs to be a very dark blue green colour as it recedes into the jungle. To speed up the process I’ve masked off the area and sandblasted it as described in the section – “Shortcuts: Sand Blasting”.
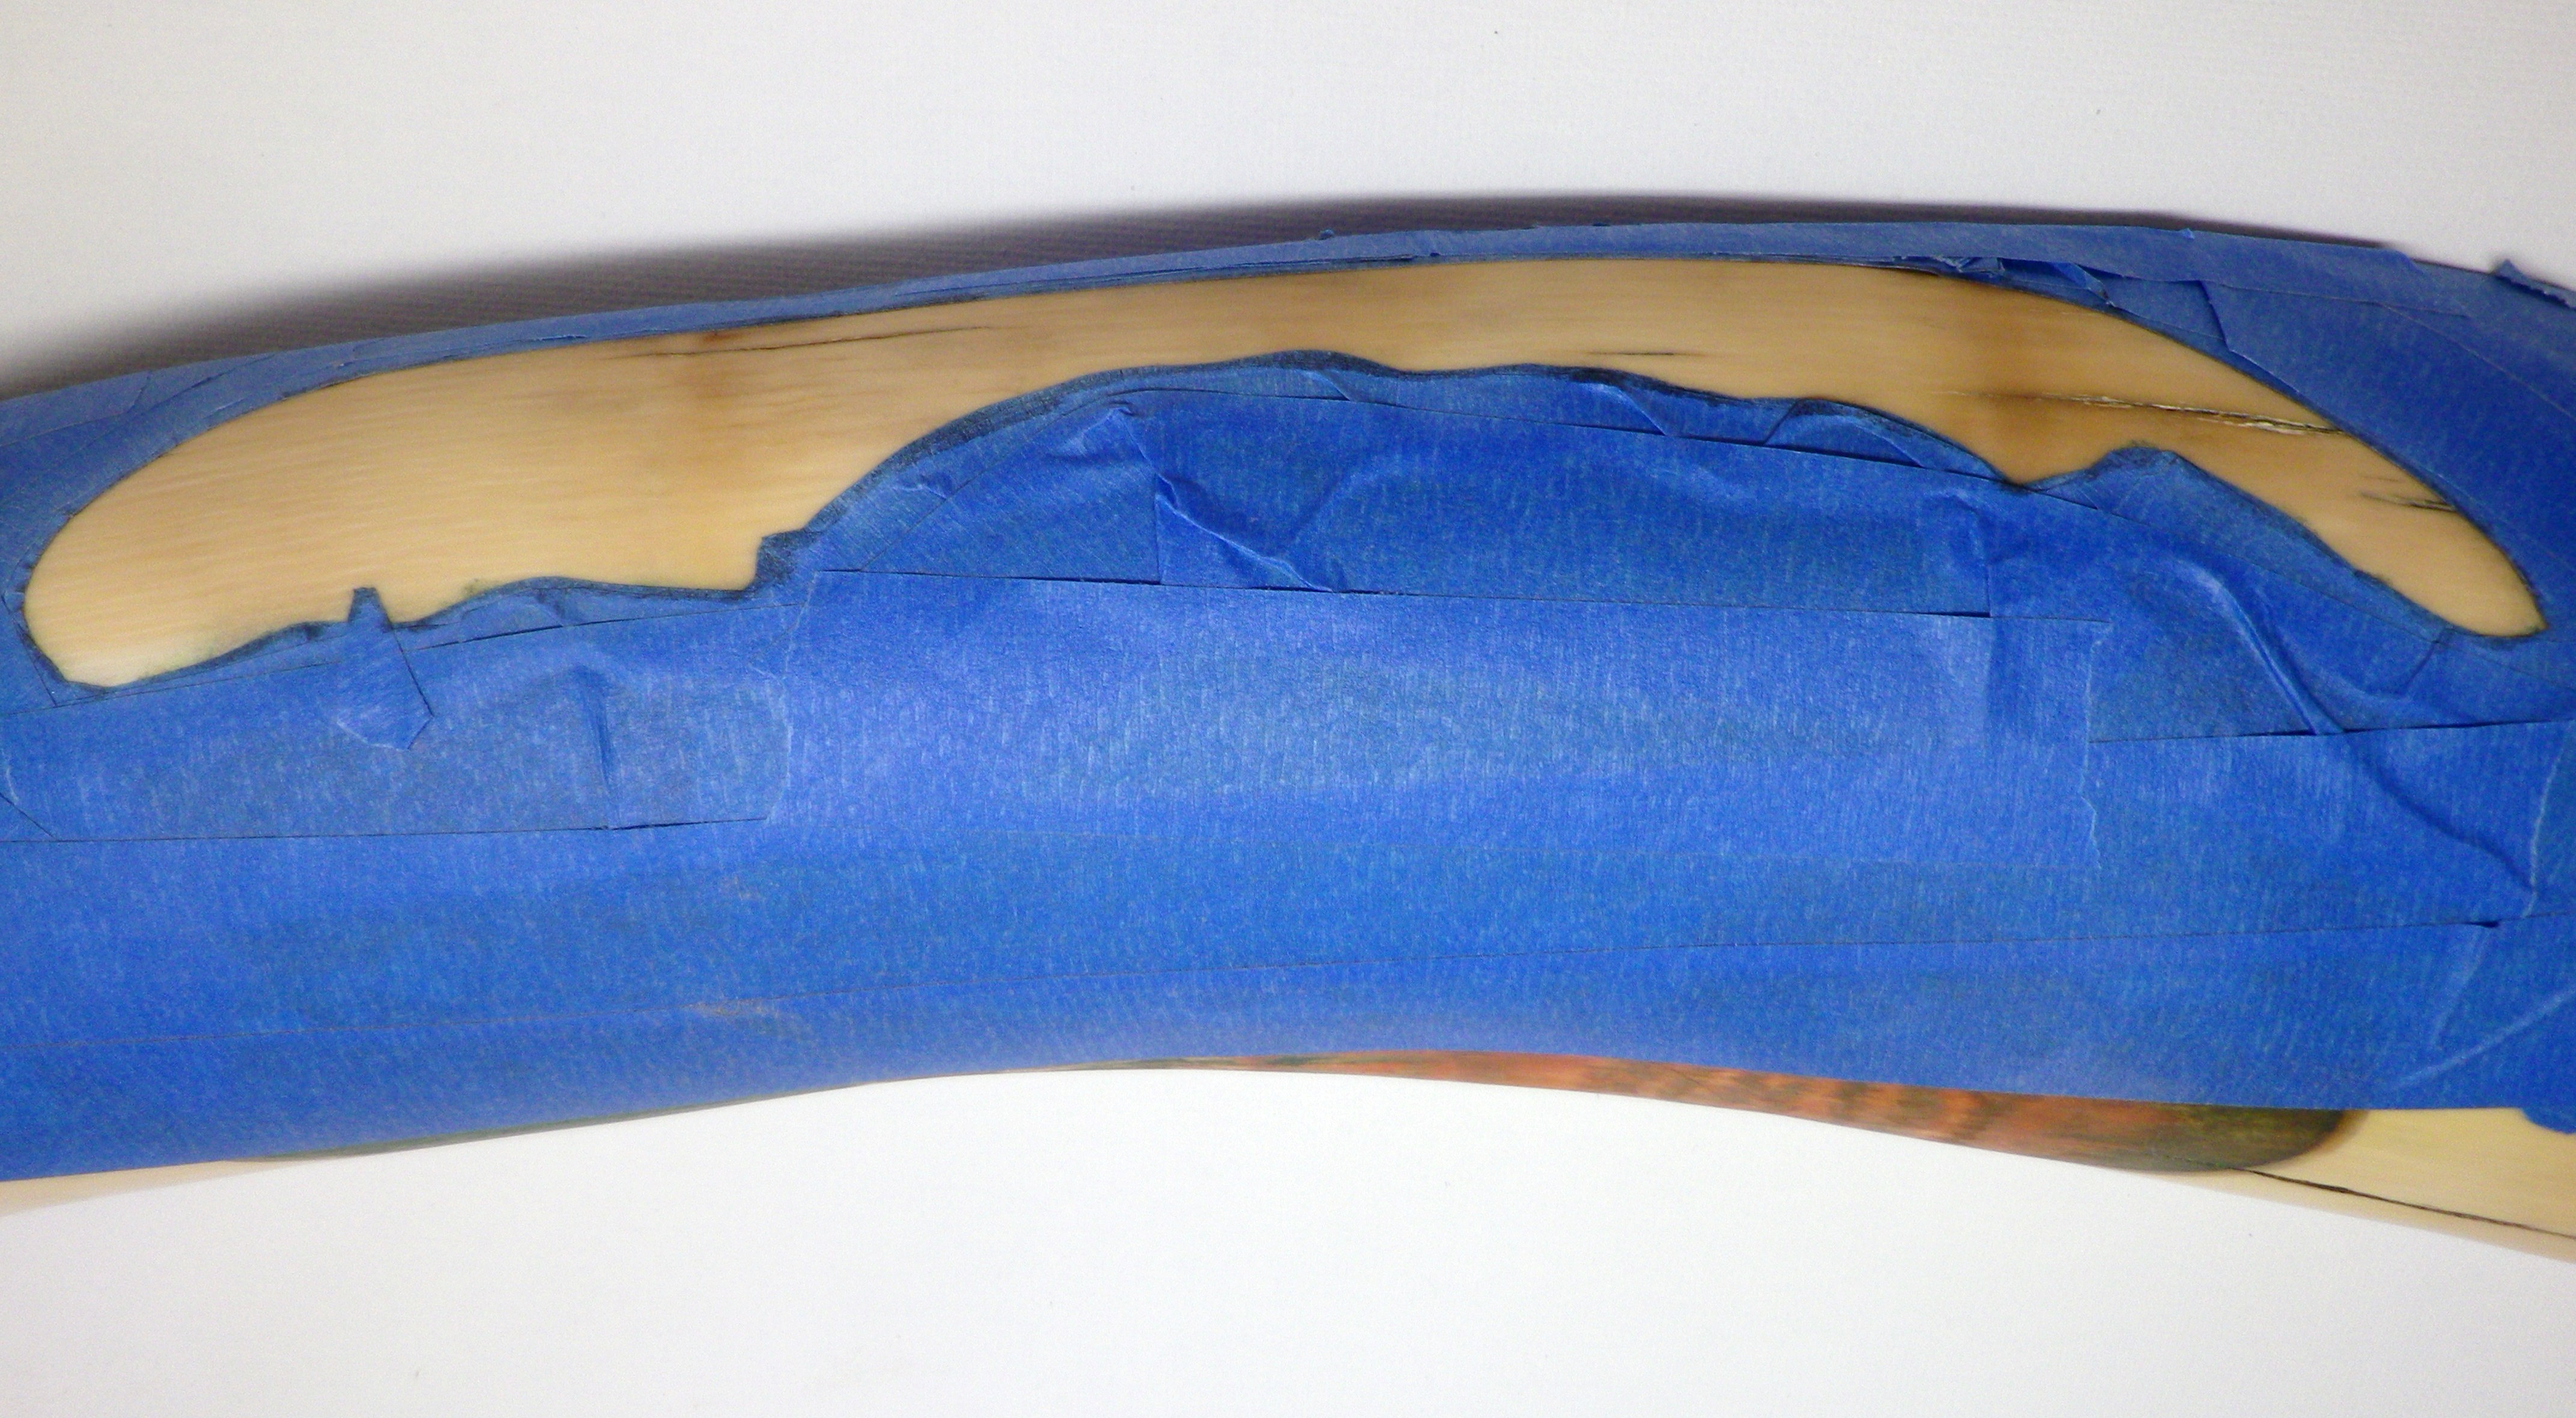
Step 6: Tiger In Water Scrimshaw Masked Off
I chose a dark purple to get good coverage but it’s still not dark enough and needs more detail.
Step 6: Tiger In Water Scrimshaw After 60 Hours
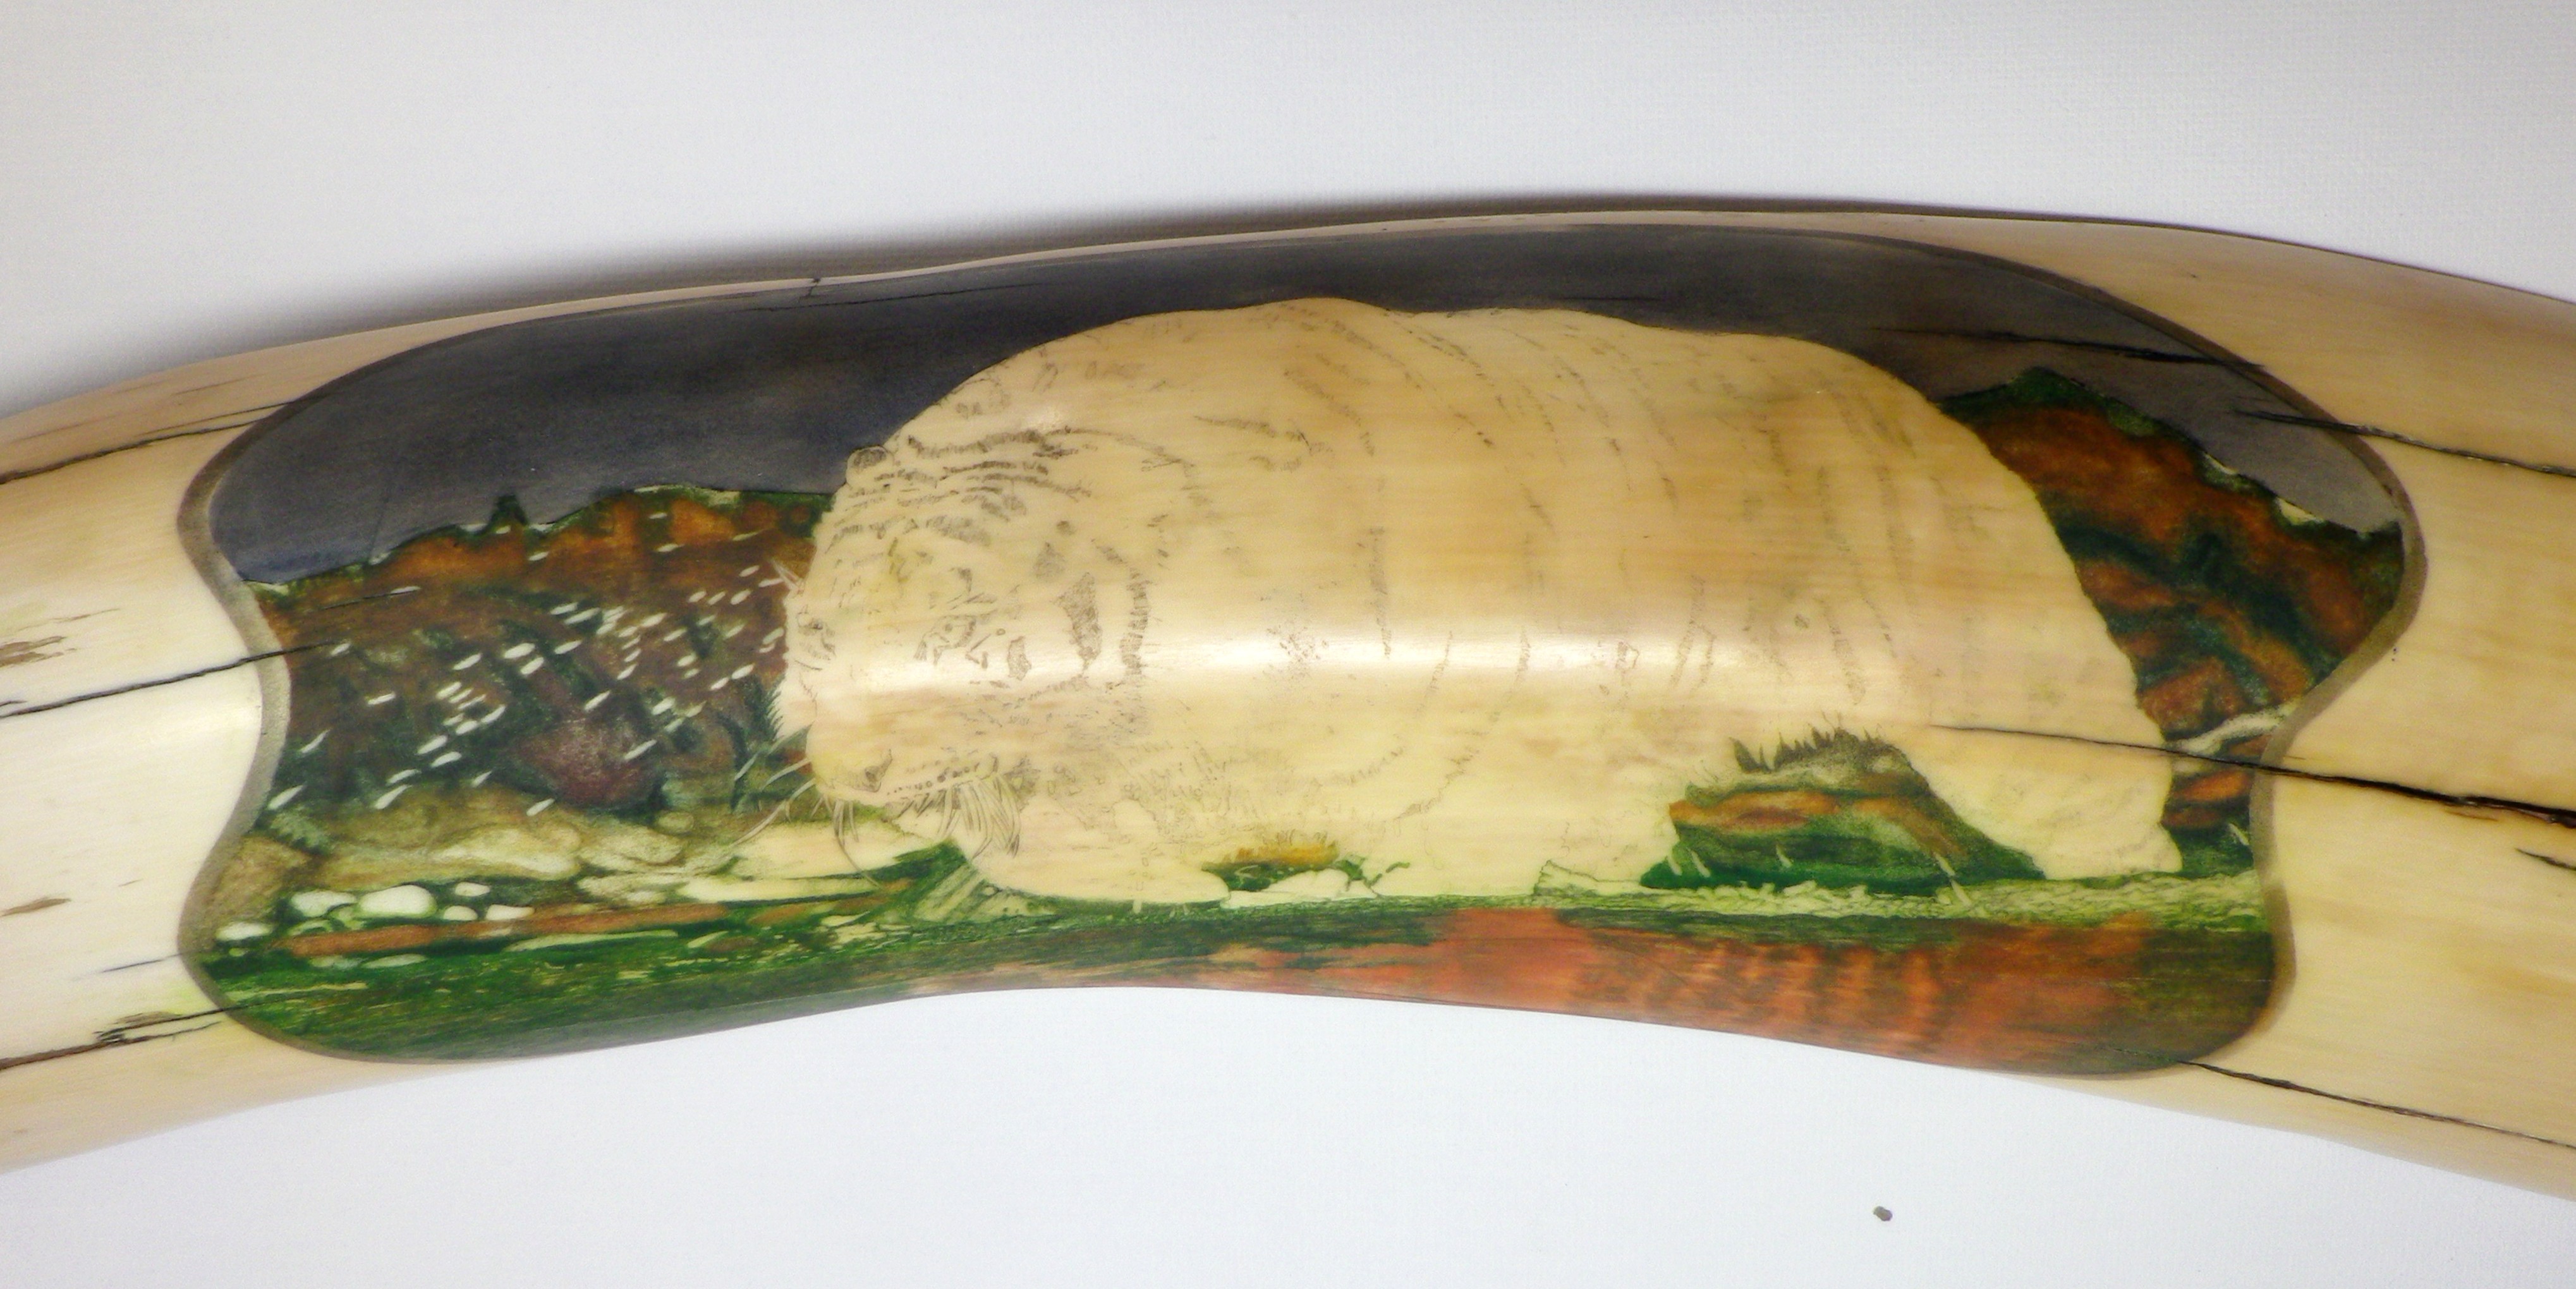
It had to be very heavily stippled for 7 hours to get the right intensity with a touch of lighter foliage showing through.

Step 6: Tiger In Water Scrimshaw After 67 Hours
Now the fun part – the tiger. I’ll start with the tricky bits like the front paw, chest and stomach.
Tiger Scrimshaw Step 7 – 14/5/15
All stippling on this scrimshaw is being done with Randy’s Stippling Machine. It’s designed to do fine detailed work as well as coarse fill in work.
Tiger In Water Scrimshaw Being Stippled
8 hours later the front paw is almost done, most of the black stripes on its lower body are done and some of the shading on the stomach is finished. This is the point where it starts looking like it’ll turn out alright.

Step 7: Tiger In Water Scrimshaw After 75 Hours
Tiger Scrimshaw Step 8 – 16/5/15
26 hours later and the scrimshaw is finished. The orange really stands out against the background. This scrimshaw has been very tedious, the stippling to get such an intense orange took 20 hours and the face and fur took another 6 hours. Next comes the base and name plate, I’m on the home strait.

Step 8: Tiger In Water Scrimshaw After 101 Hours
Tiger Scrimshaw Step 9 – 19/5/15
Base/ Stand
5 hours later and the base is finished.
This base will be very similar to the base of my “Fredo” scrimshaw on the home page. If you have a bandsaw this is a simple stand to make but looks professional.
40cm x 20cm x 5.5cm New Guinea rose wood. I got this piece for free from a timber yard because it was an off-cut.
New Guinea Rose Wood For Scrimshaw Stand
First a cut is made across the top using the bandsaw to match the curve in the ivory where it will sit on the base. The notches are needed so that the ivory will lock in place. First, I roughly cut the notches with a wood saw then used very coarse carbide burs in my jewellers flexible shaft drill hand piece.
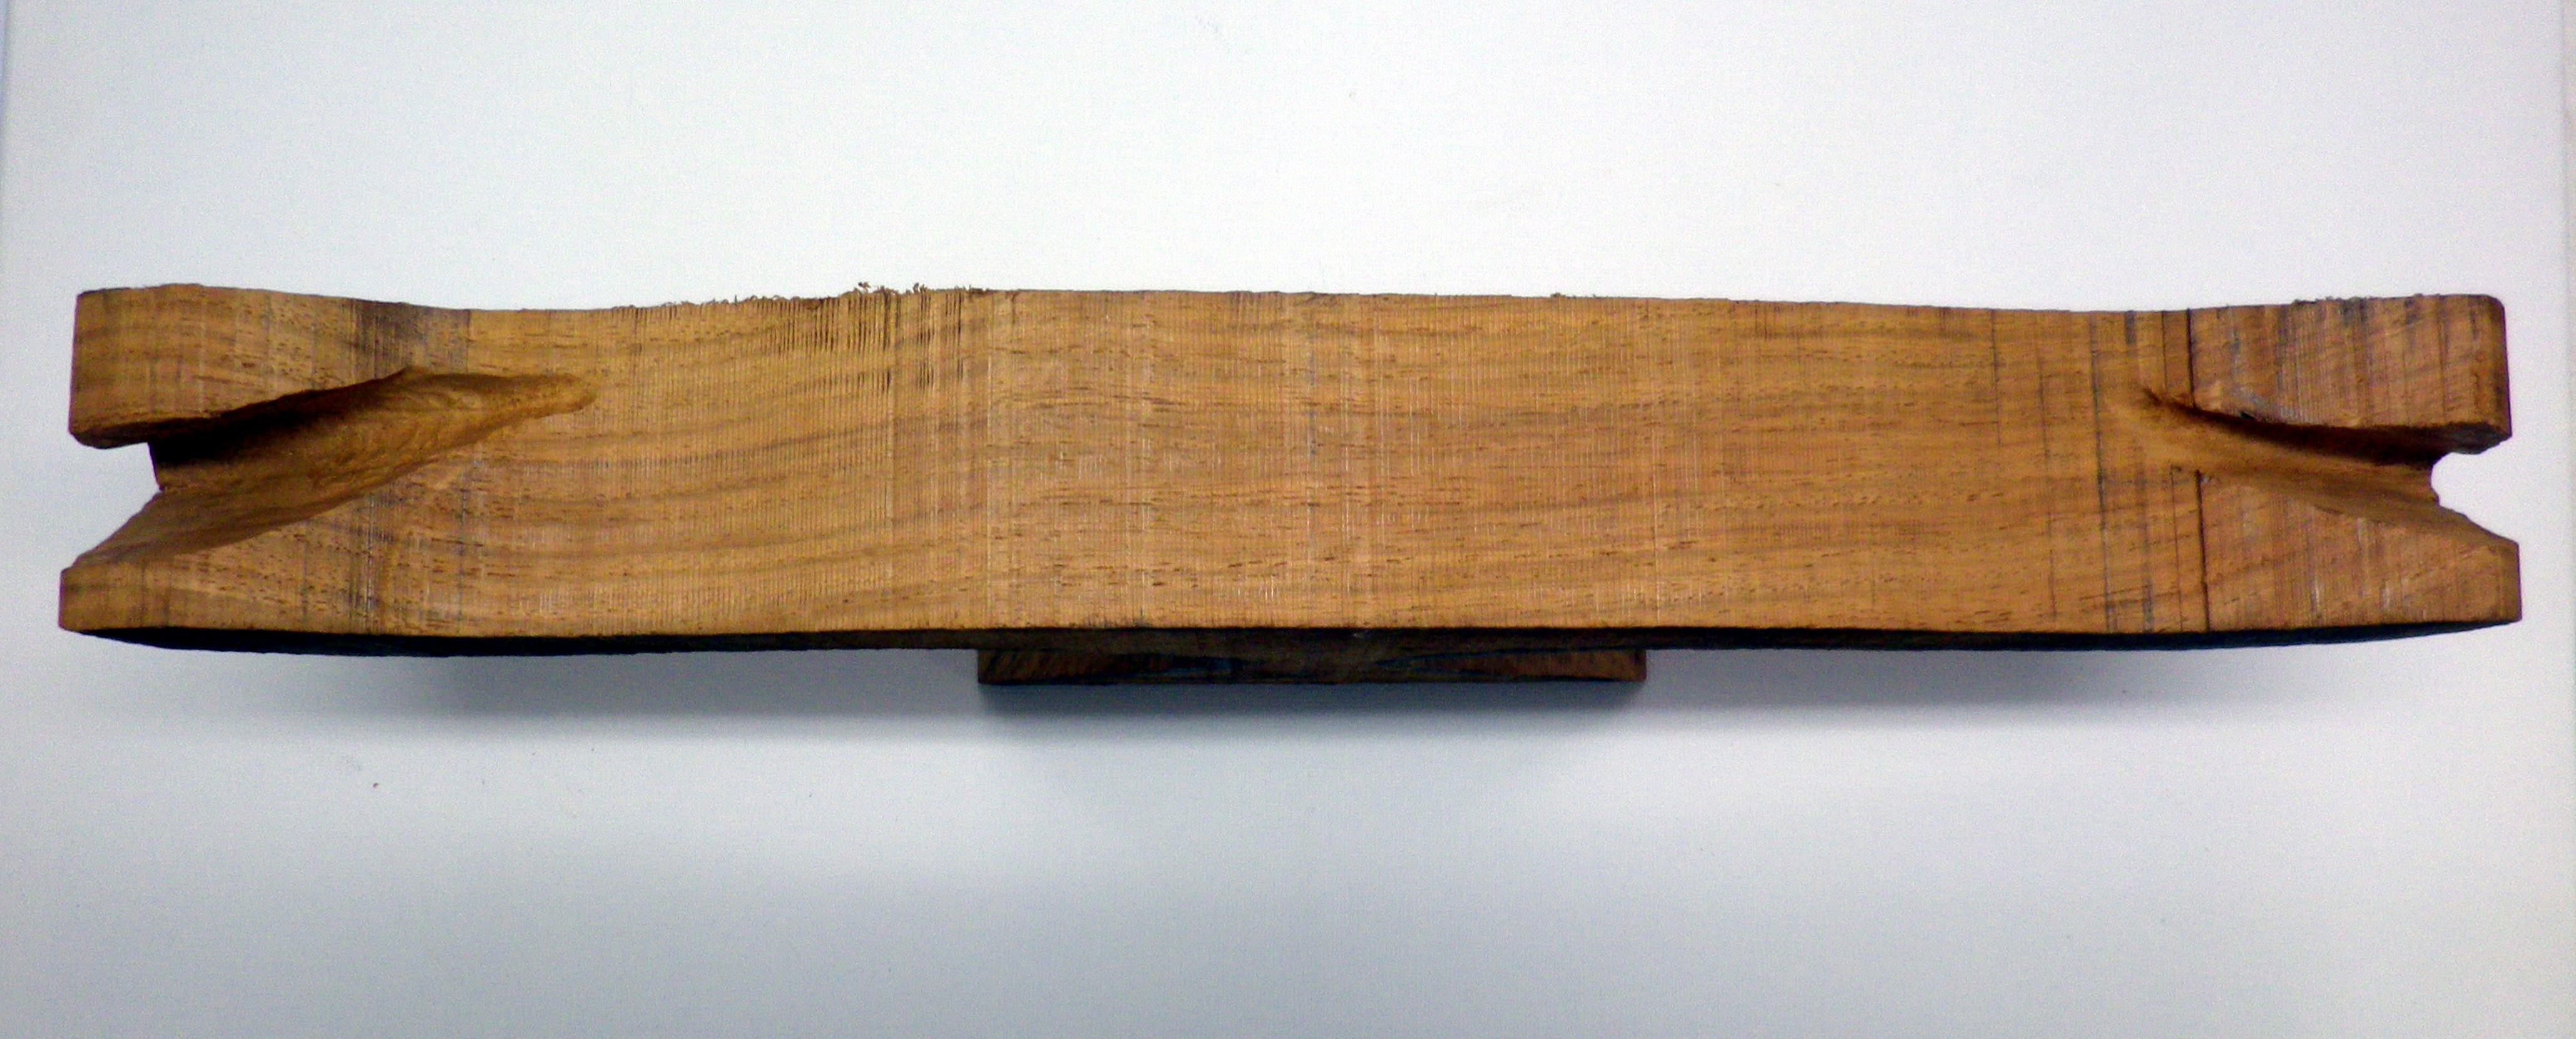
Scrimshaw Stand With Grooves
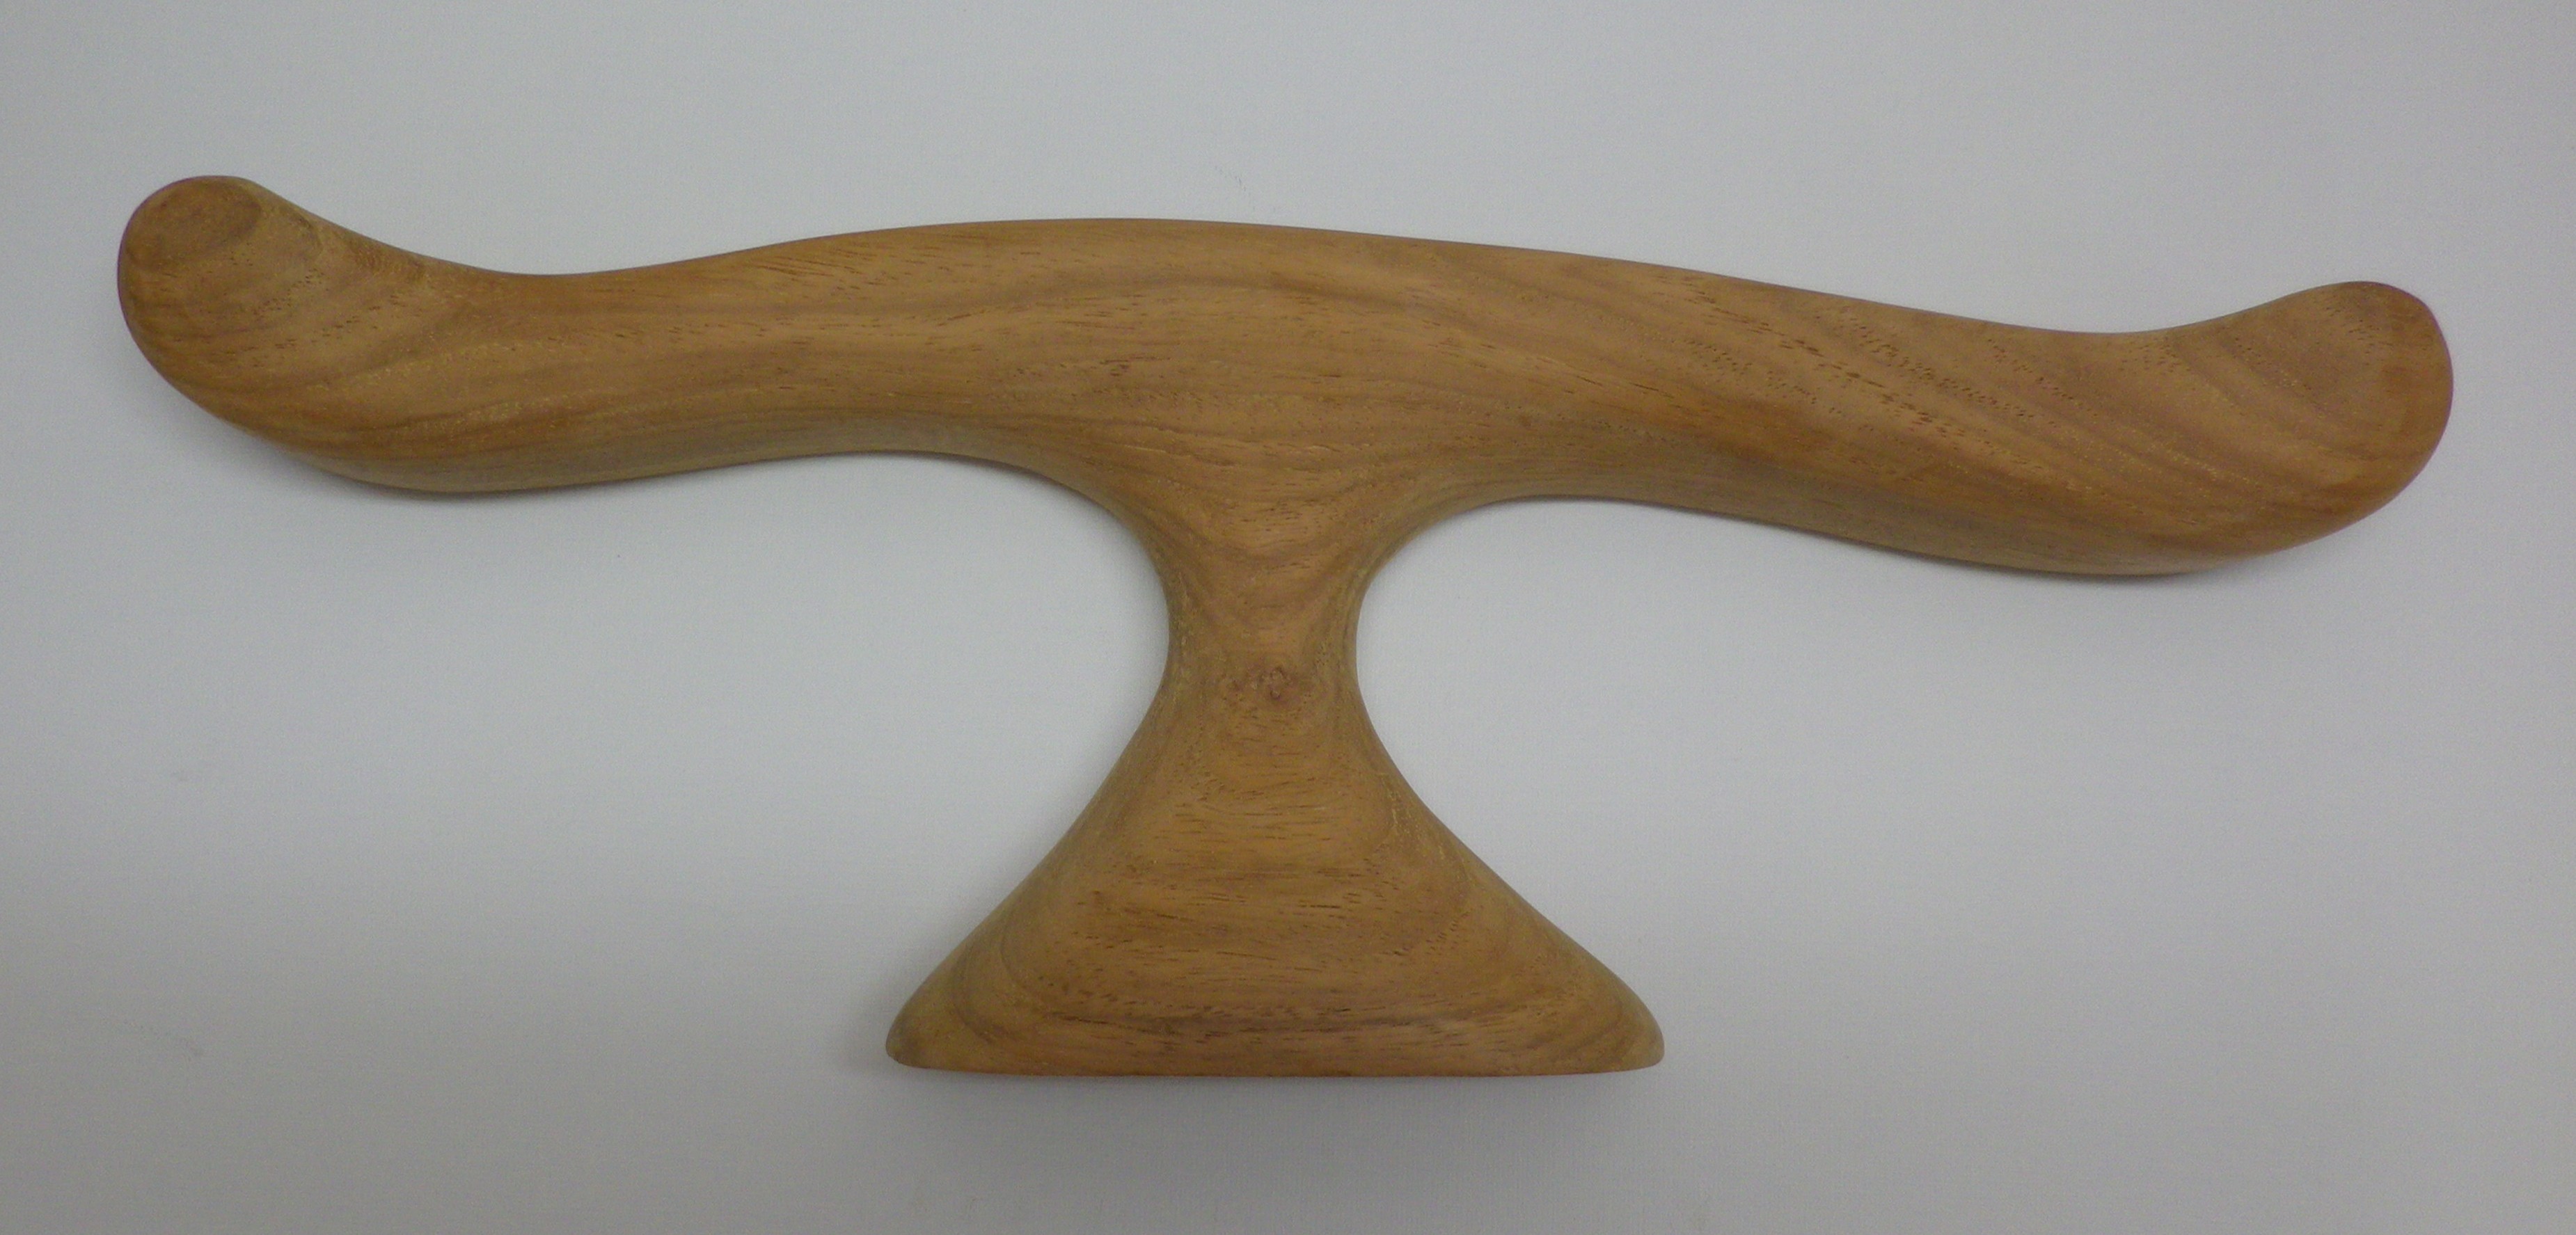
Next using the bandsaw, I cut the wine glass shape then cleaned it up and shaped it.
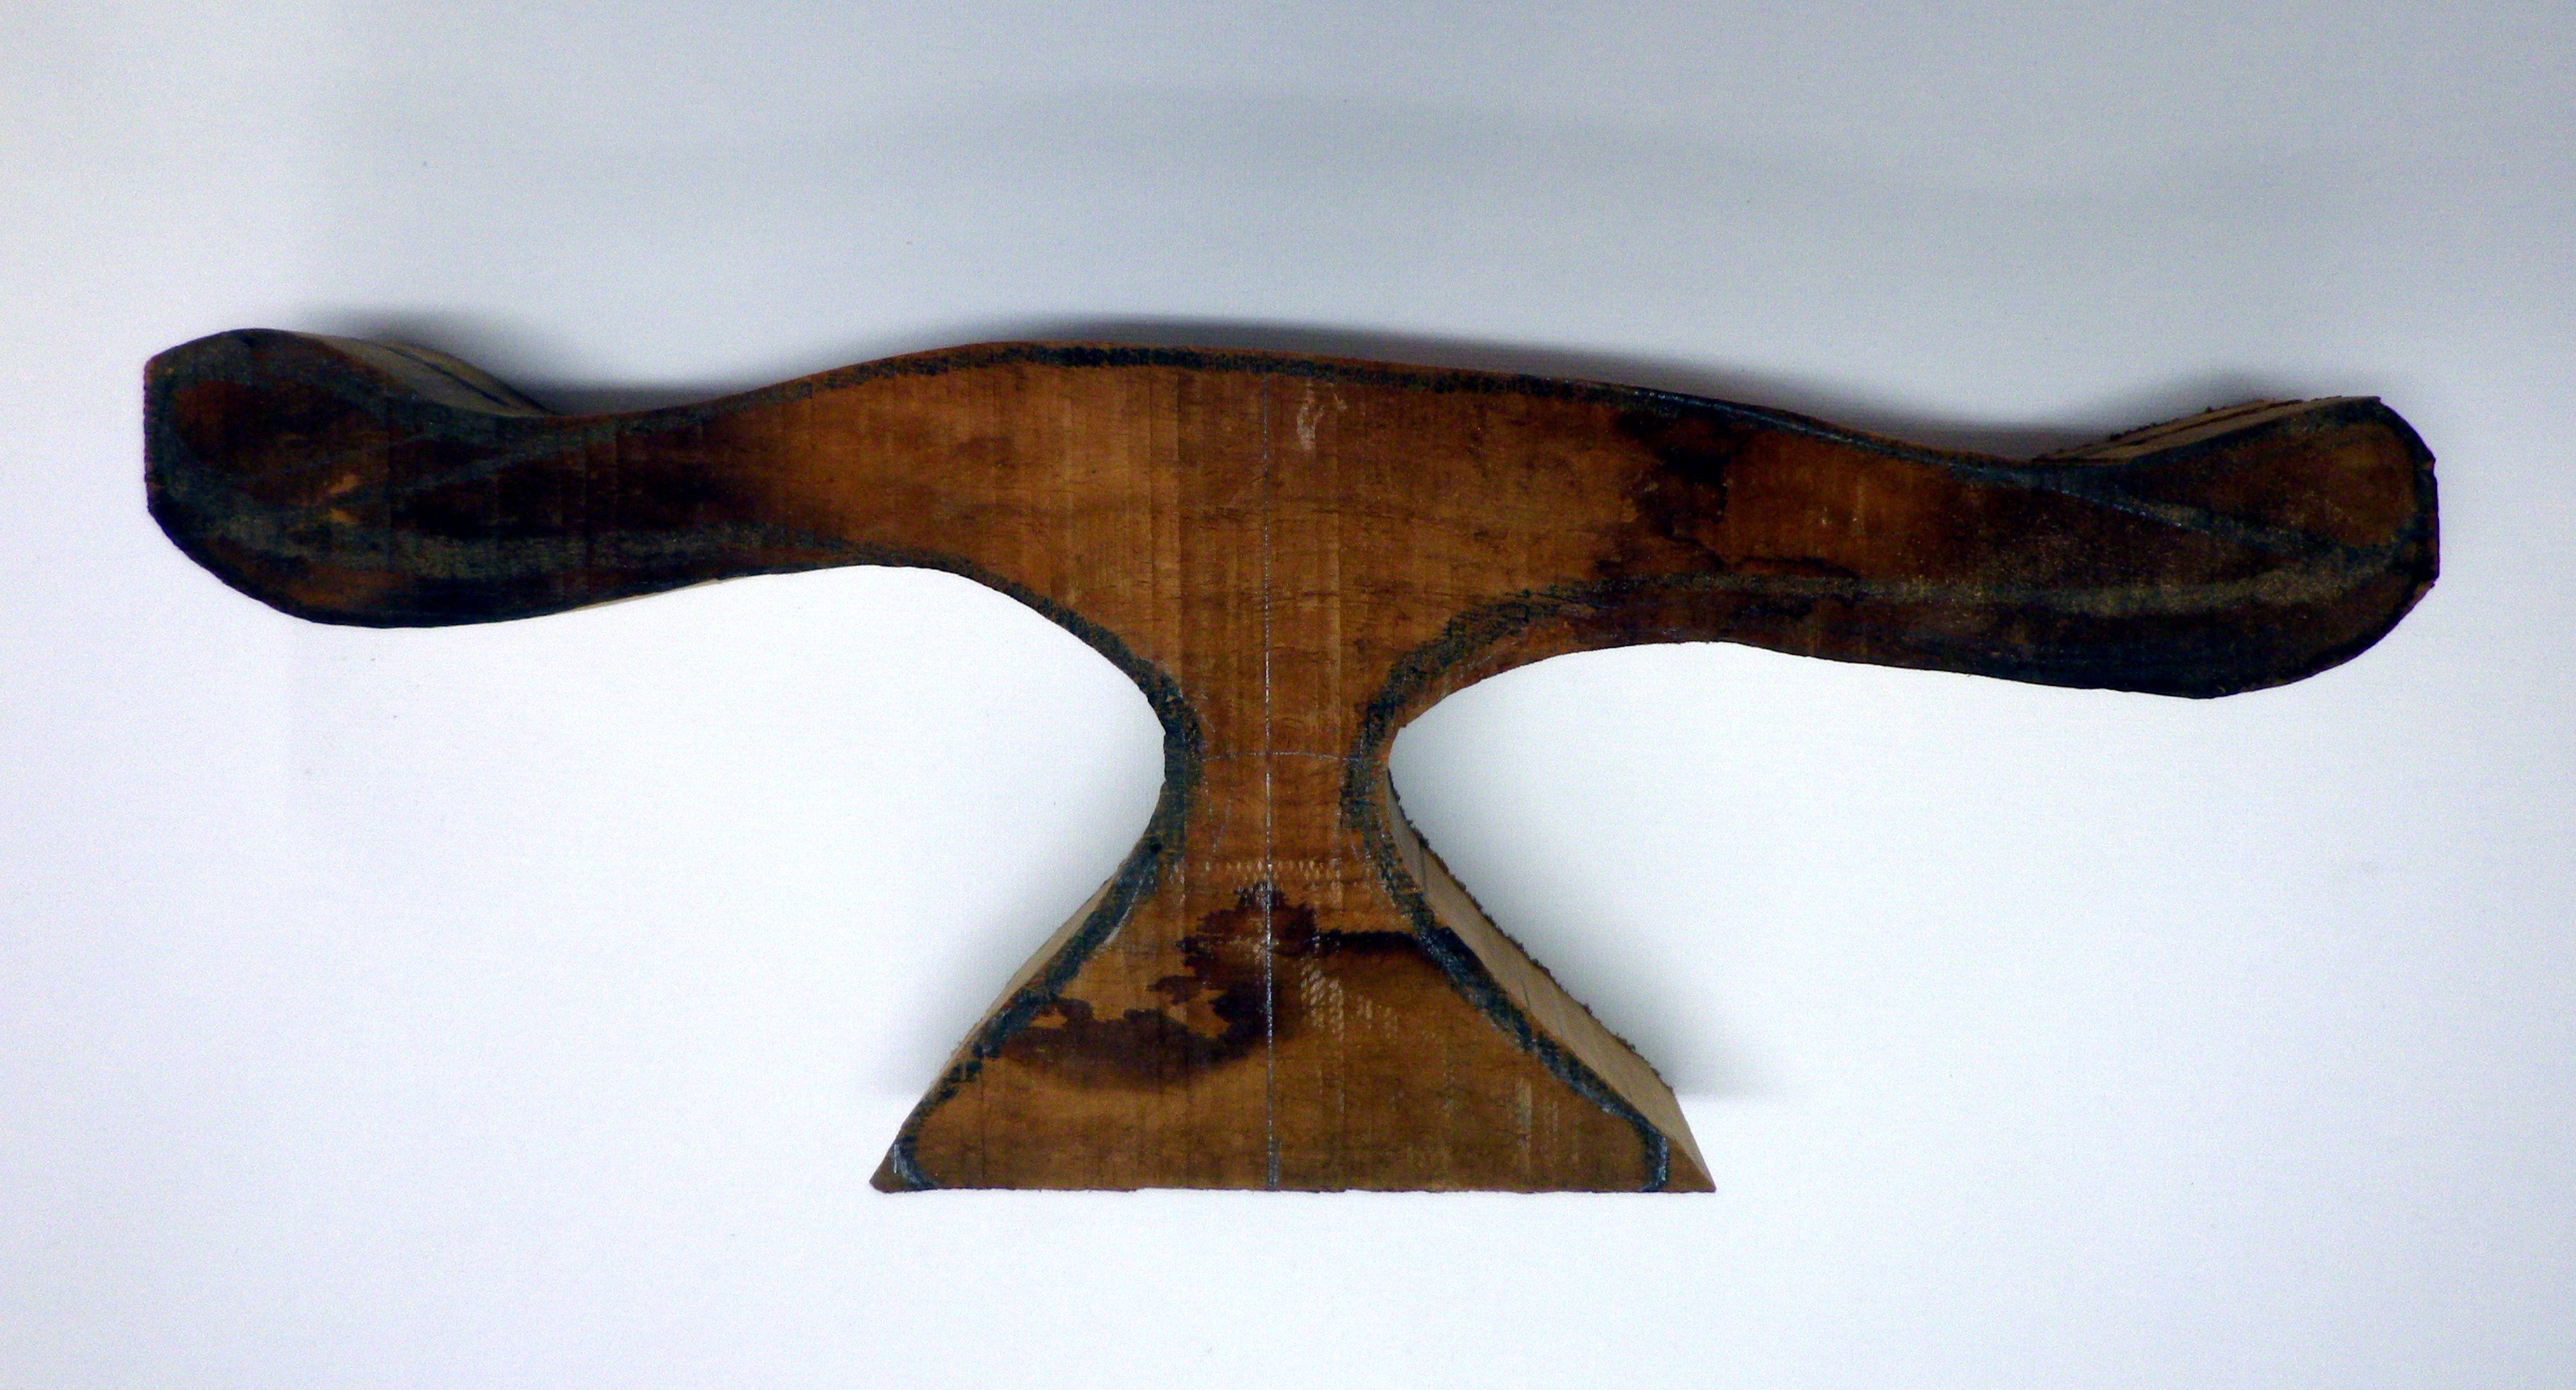
Scrimshaw Stand Initial Shaping
I then continued to shape and clean it with a belt sander attachment on my bench grinder.
I also used a bench grinder with a 6” lapping plate backed with flexible rubber/ foam, (you can see the flexible rubber backing on the bench grinder on the left of the picture). This flexible backing allows you to round out the wood without leaving flat spots.
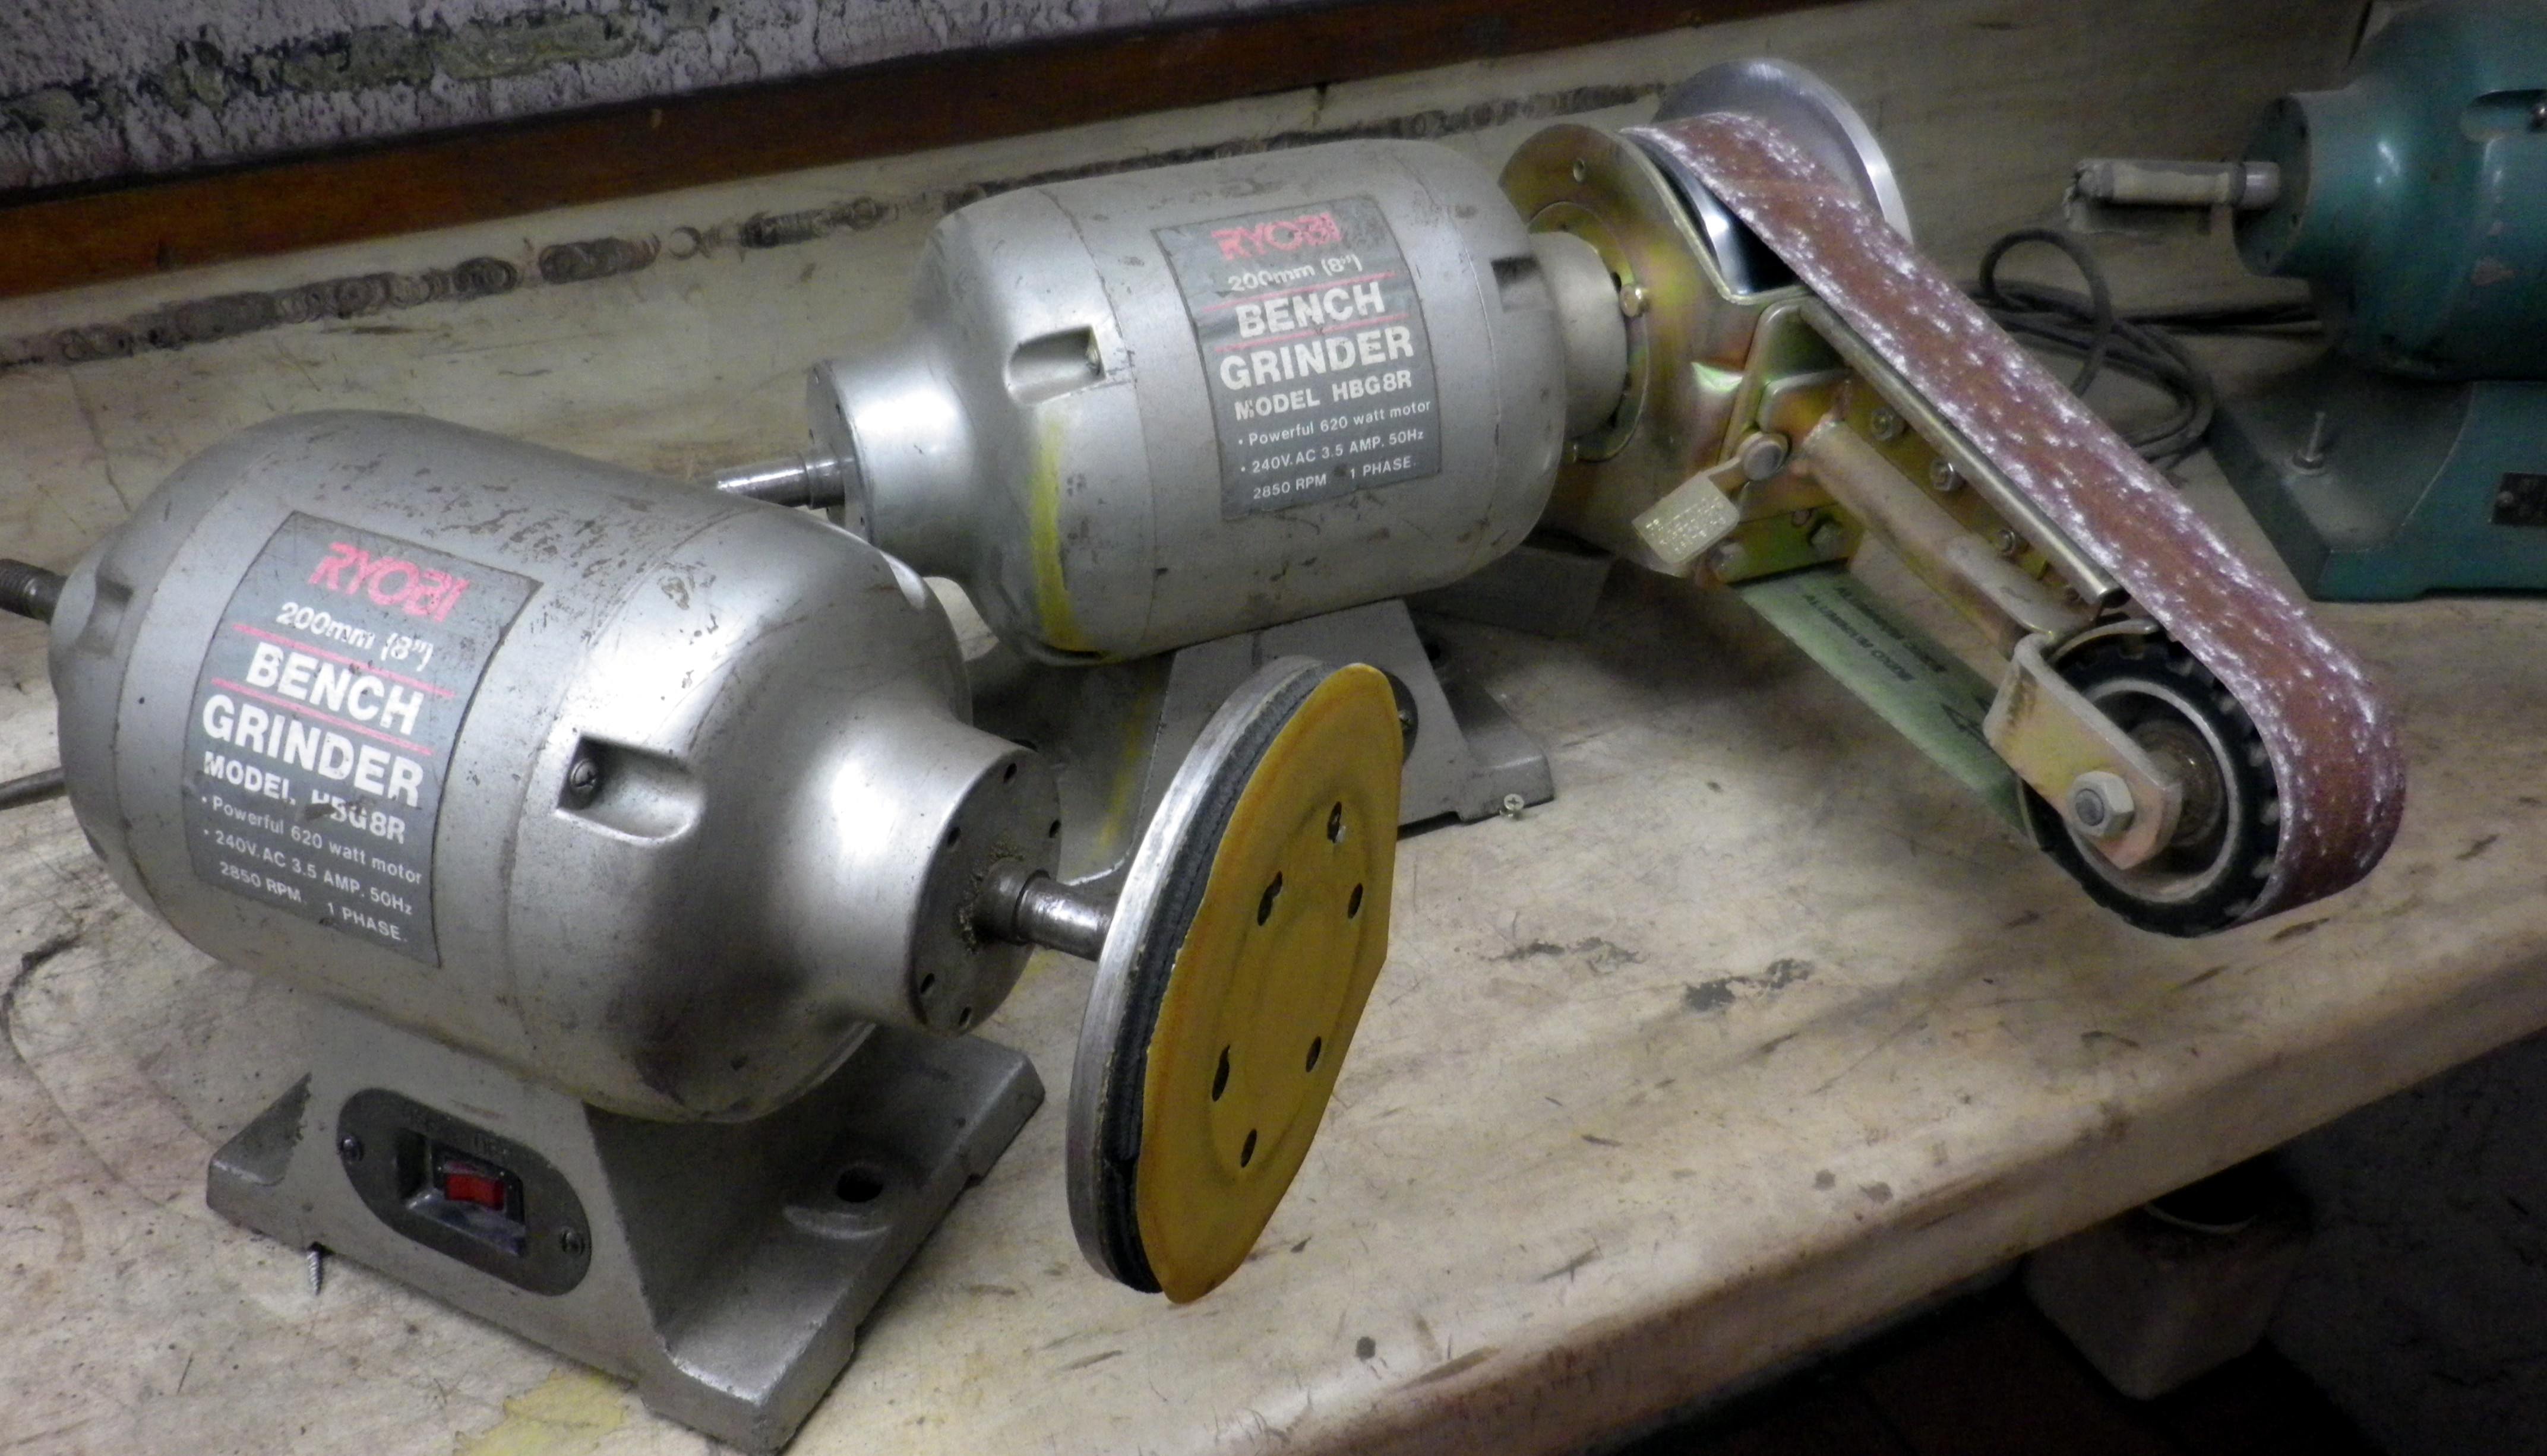
Bench Grinder
I started with a very coarse 40grit that removes the excess wood quickly, then moved onto 600grit and finally a hand held orbital sander. This is what the base looks like after the sanding is finished.
Finished Scrimshaw Stand
I finish the wood with several coats of White Shellac mixed with methylated spirits. Then I rub it over with Eee-Ultra Shine which leaves it with a nice dull glow.
Name Plate
2 hours later and the final touch – the name plate, is finished. Using a 2-3mm thick off-cut of mammoth ivory, I shaped a name plate to suite the size of the base and sanded and polished it.

Mammoth Ivory for Name Plate
Then, with a laser printer I used the acetone transfer method described in section “Scrimshaw Shortcuts – Bases/ Stands and Name Plates”. Don’t forget to print the words in reverse.
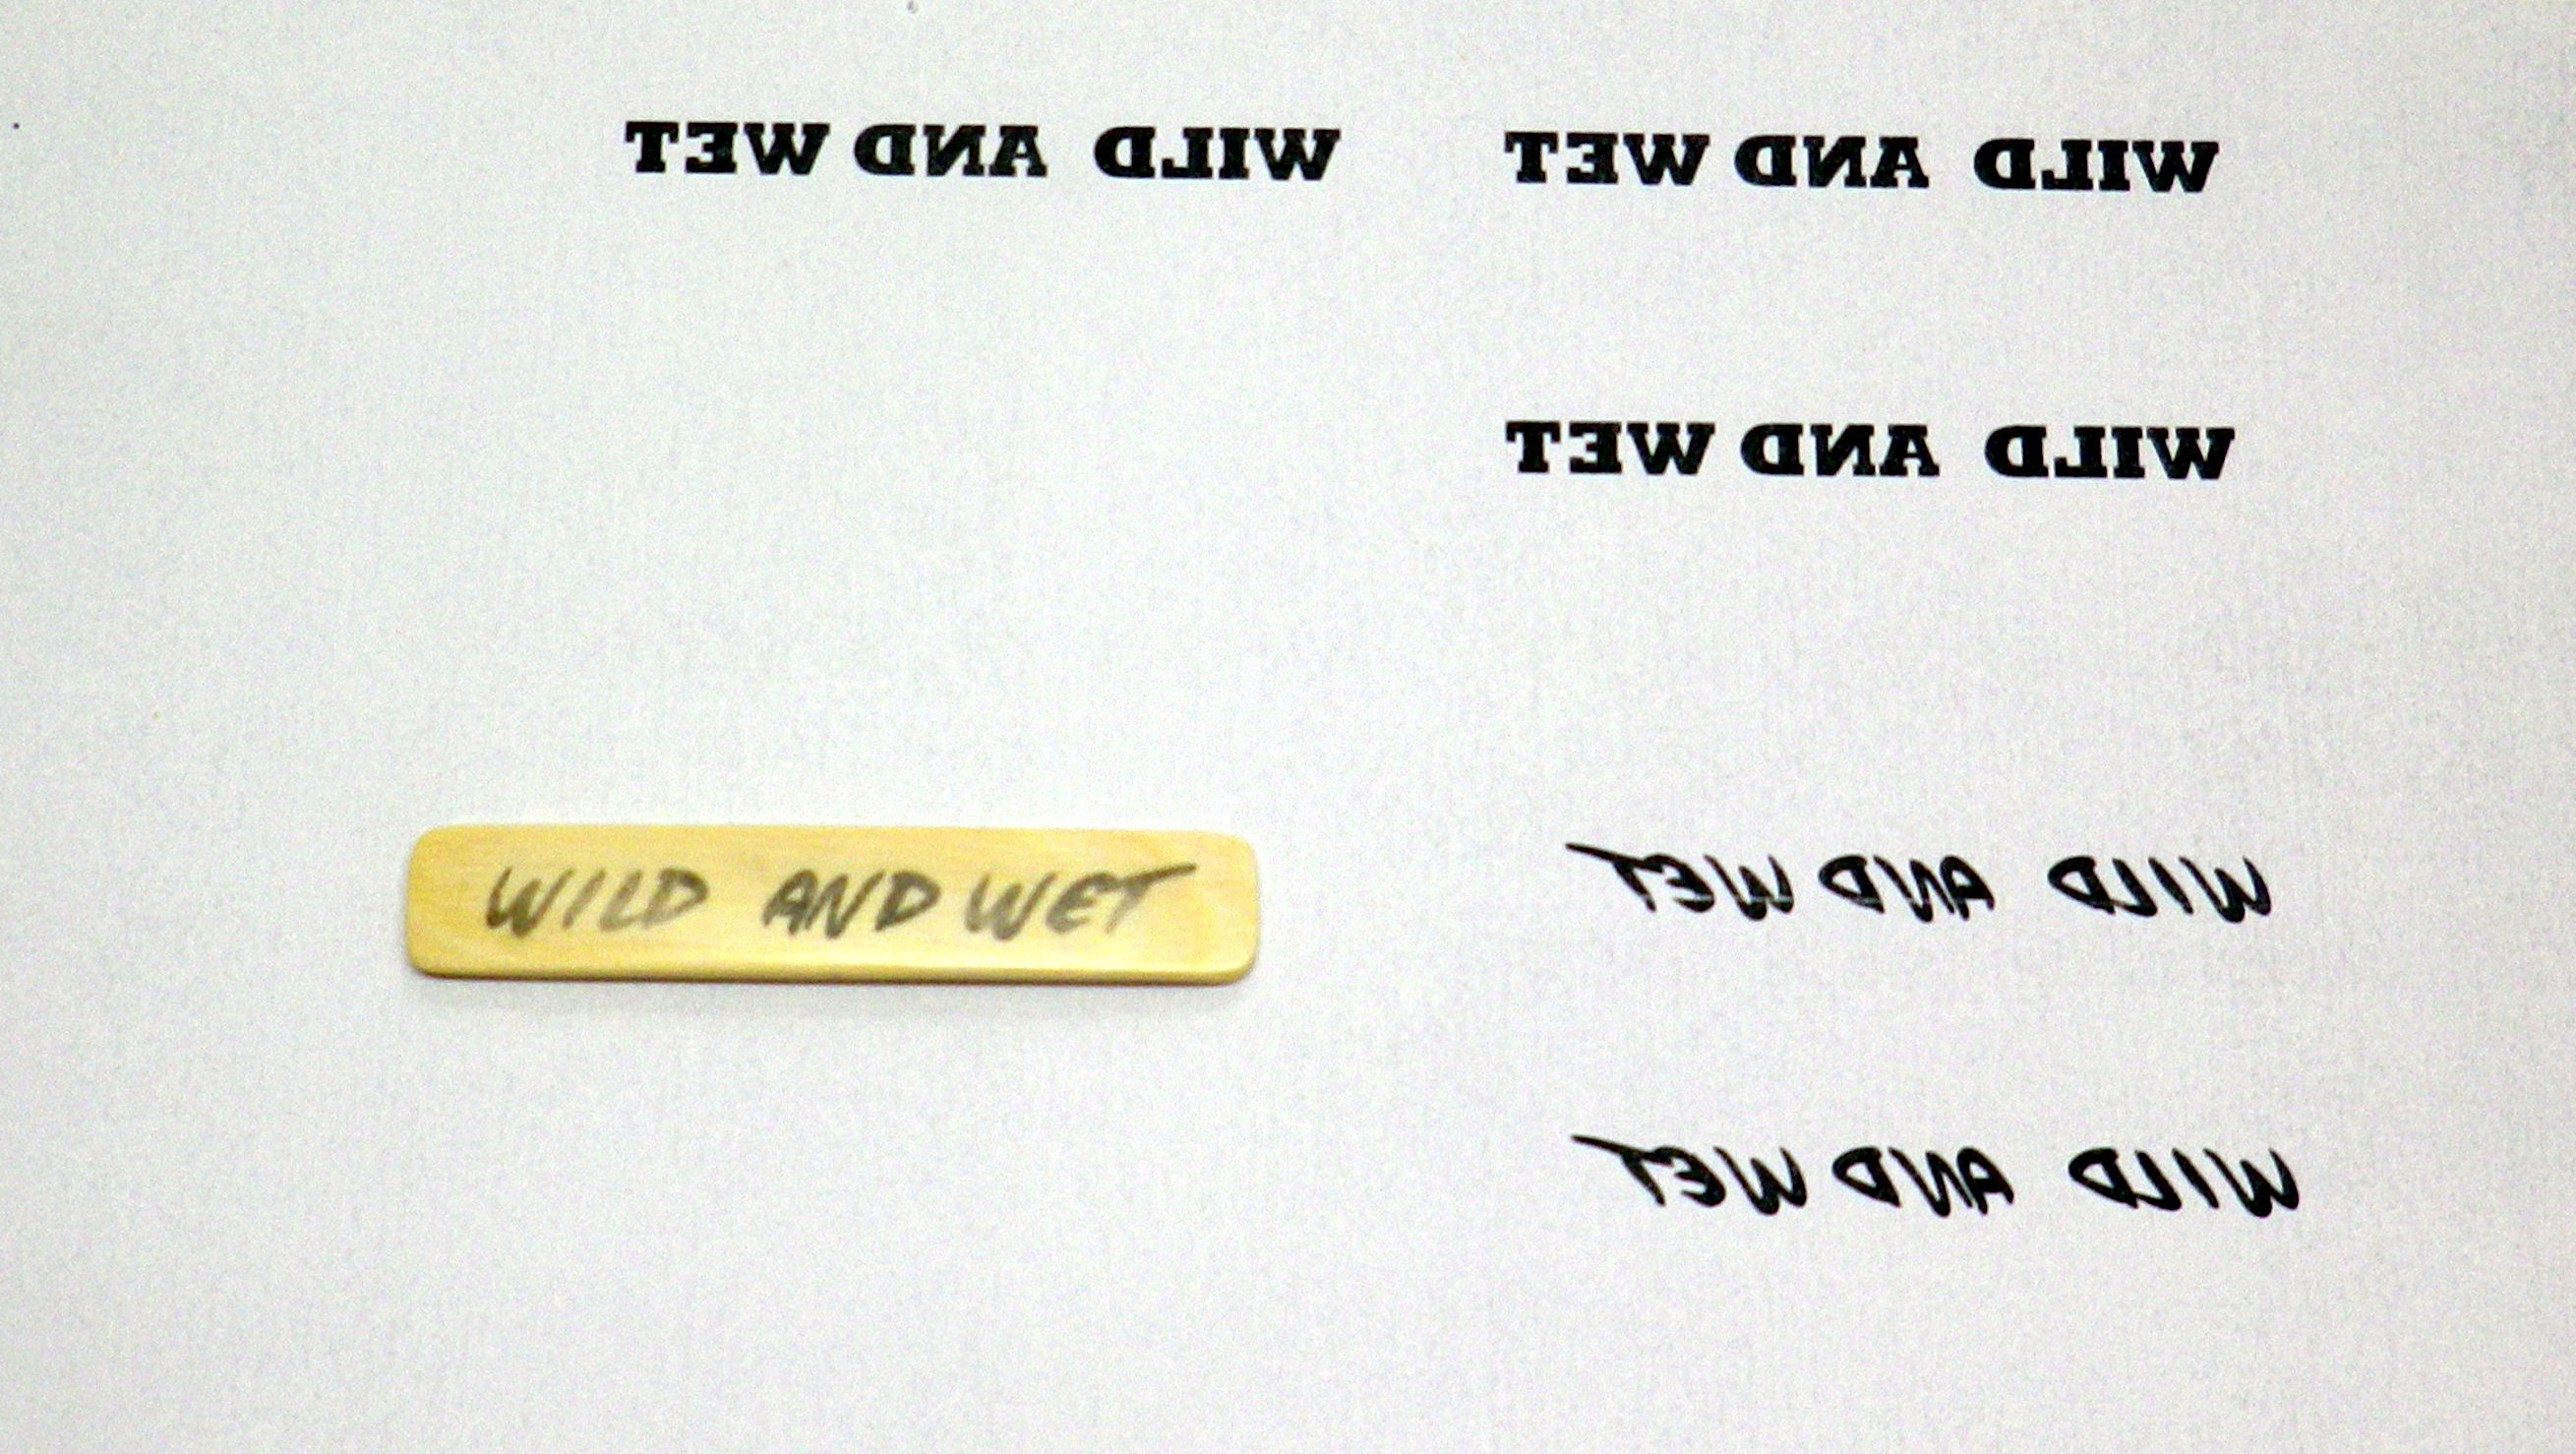
Print Text In Reverse for Acetone Transfer
Then I clamped it in the engravers block and stipple and ink it.
I prefer black oil paint because it covers very quickly.

“Wild and Wet” Name Plate in Clamp
Finally I drilled two holes part way into the back of the name plate and glued in 2 sterling silver pins to hold it in place. Then I drilled 2 corresponding holes into the base and glued it down.
Tiger Scrimshaw – “Wild and Wet”
The End.
Contact Rod: randclacey@bigpond.com

You must be logged in to post a comment.